
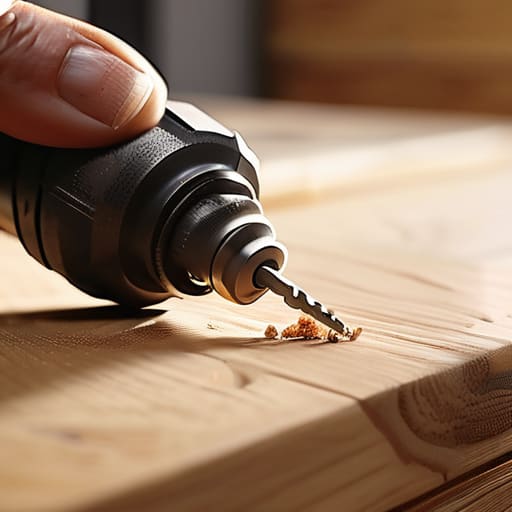
I was halfway through mounting a heavy floating shelf in my workshop last weekend when the bit suddenly skated across the wood, leaving a jagged scar right where I didn’t want it. Most people think that mastering how to use a drill is just about pulling a trigger and hoping for the best, but that’s a fast track to ruined projects and wasted materials. I’ve spent years troubleshooting complex systems, and I can tell you that the same logic applies here: if your foundation is off, the whole thing falls apart. It isn’t about having the most expensive cordless kit on the market; it’s about understanding the physics of what’s happening between the bit and the surface.
I’m not here to give you a twenty-page manual or a list of fancy features you’ll never use. Instead, I’m going to show you the straightforward, mechanical realities of control, pressure, and precision. We’re going to cover how to pick the right bit, how to stop that dreaded bit-slip, and how to actually feel when the tool is doing its job. Let’s cut through the clutter and get you confident enough to pick up a tool and actually get the job done right the first time.
Table of Contents
Guide Overview
Tools & Supplies
- Power Drill (Cordless or corded drill for making holes and driving screws)
- Drill Bit Set (Various sizes for wood, metal, or masonry)
- Safety Glasses (1 pair)
- Screws or Anchors (Small assortment based on project)
Step-by-Step Instructions
- 1. First things first, you need to pick the right bit. I’ve seen too many people try to force a wood bit through a piece of metal and end up with a ruined bit and a headache. If you’re drilling into wood, grab a brad point or spade bit; if it’s metal, you need something made of high-speed steel; and if you’re hitting masonry, get a carbide-tipped bit. Don’t skip this step, or you’ll just be fighting the material the whole time.
- 2. Once you’ve got the bit, pop it into the chuck. This is the part that looks like a little claw at the front of the drill. You’ll need to twist the chuck to open the jaws, slide your bit in, and then tighten it back up. I always recommend using the provided chuck key if your drill came with one, because hand-tightening often isn’t enough to keep the bit from slipping once you start applying pressure.
- 3. Now, let’s talk about the clutch settings. Most people ignore that numbered ring behind the chuck, but it’s actually your best friend for preventing stripped screws. If you’re driving a screw, set the clutch to a low number so the drill stops spinning once it hits a certain resistance. This prevents you from burying the screw too deep or snapping the head off entirely.
- 4. Before you pull the trigger, mark your spot. Don’t just eyeball it and hope for the best. Take a pencil or a center punch and make a small indentation exactly where you want the hole to go. This gives the bit a physical guide to sit in, which prevents the tip from “walking” or skating across your workpiece when you start the motor.
- 5. Get into a solid stance. You want your feet planted and your body braced so you aren’t wobbling around like a leaf in the wind. Hold the drill with both hands if you can—one on the trigger grip and one on the side handle or the back of the drill. You need to apply steady, even pressure in a straight line. If you push too hard, you’ll stall the motor; if you don’t push enough, you’ll just burn the bit.
- 6. Start slow. When you first pull the trigger, don’t go full throttle immediately. Ease into the rotation to let the bit bite into the surface and establish its path. Once the hole is started and you’re through the initial layer, you can increase your speed, but always keep that consistent pressure applied until you’re all the way through.
- 7. Clean up the mess. Once you’ve finished the hole, pull the bit out while it’s still spinning to prevent it from getting stuck or clogged with debris. Take a moment to clear out the sawdust or metal shavings with a brush or a vacuum. It’s a small habit, but it keeps your workspace from becoming a cluttered disaster zone and makes your next task a whole lot easier.
Mastering Drill Bit Types and Uses Without the Fluff
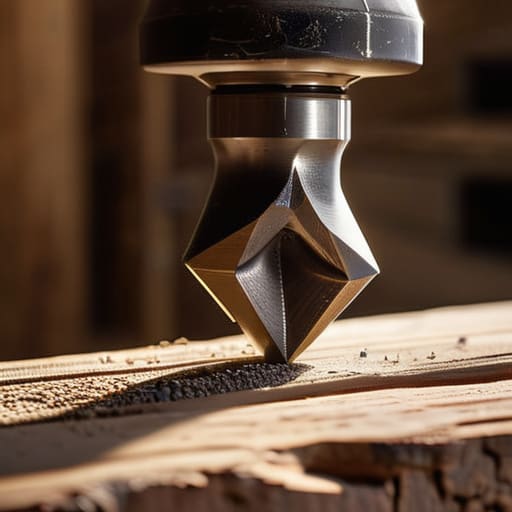
Look, the biggest mistake I see people make isn’t their technique; it’s grabbing the wrong tool for the material and expecting a miracle. You wouldn’t use a screwdriver to hammer a nail, so don’t try to force a standard twist bit through a brick wall. When you’re looking at drill bit types and uses, keep it simple: use HSS (high-speed steel) for metal, brad-point bits if you want clean holes in wood without splintering, and masonry bits for stone or brick. If you try to use a wood bit on concrete, you aren’t just wasting time—you’re ruining a perfectly good bit.
Once you’ve got the right bit, the next hurdle is control. If you’re working with smaller screws, pay attention to adjusting drill torque settings so you don’t strip the head or crack the material. It’s about finding that sweet spot where the tool does the work, but you remain the boss. Don’t just white-knuckle the handle; maintain a steady, firm grip and let the motor find its rhythm. It’s about precision, not brute force.
Essential Cordless Drill Safety Precautions for Real Work
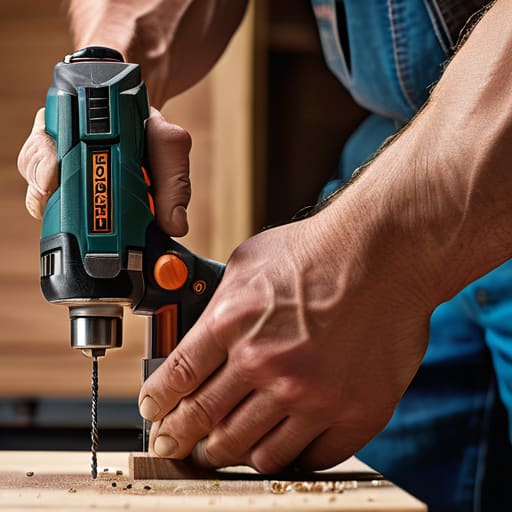
Look, I’ve seen plenty of guys get frustrated because they weren’t respecting the tool, and that’s usually when things go sideways. The first thing you need to nail down is your proper drill grip technique. Don’t just hold it like a TV remote; you need a firm, two-handed stance if you’re driving long screws, or a steady, braced grip if you’re working in tight spots. If the bit catches and the tool kicks back, you don’t want to be caught off balance. Always keep your eyes on the contact point and make sure your workspace isn’t cluttered with scraps that could trip you up or get caught in the chuck.
Beyond your physical stance, pay attention to how you’re interacting with the machine itself. One of the most common mistakes is ignoring the clutch; you should be adjusting drill torque settings based on the material you’re working with to avoid stripping screw heads or cracking the wood. If you’re pushing too hard, you’re doing it wrong. Let the tool do the heavy lifting. If you feel the motor straining or the bit wandering, stop, reset, and reassess. It’s about working smarter, not just harder.
Five Pro Moves to Stop Fighting Your Drill
- Mark your spot with a center punch or a nail. If you try to start a hole by just pressing the bit against a smooth surface, it’s going to wander, and you’ll end up with a scarred piece of wood and a hole in the wrong place.
- Let the tool do the heavy lifting. I see people every day white-knuckling the handle and leaning their entire body weight into the drill. That’s a quick way to snap a bit or strip a screw. Apply steady, even pressure, but let the motor and the bit handle the actual cutting.
- Watch your speed based on what you’re doing. If you’re driving a screw, you want high torque and low speed. If you’re drilling a clean hole in metal, you need a slower, more controlled pace. Speeding through everything is just a recipe for burnt-out motors and ruined materials.
- Keep your drill level and perpendicular to the work surface. If you’re drilling at an angle, even slightly, you’re going to end up with a crooked hole that makes everything else in your project—from shelf brackets to cabinetry—look amateur.
- Clear the debris as you go. Don’t just plow through a deep hole blindly. Pull the bit out frequently to clear the sawdust or metal shavings from the flutes. If you let the junk build up, it creates friction, heat, and eventually, a stuck bit.
The Bottom Line: Stop Fighting Your Tools
Match your bit to your material every single time; using the wrong one is just a fast track to ruined projects and wasted money.
Respect the power of the tool, but don’t let it respect you—keep your stance steady, your eyes on the work, and your safety gear on.
Focus on steady pressure and controlled speed rather than forcing it; if you’re fighting the drill, you’re doing something wrong.
Getting It Done
At the end of the day, using a drill isn’t about mastering some complex technical manual; it’s about respect for the tool and the material in front of you. We’ve covered the essentials: choosing the right bit so you aren’t fighting the substrate, maintaining a steady grip, and never skipping the safety basics. If you follow these steps, you won’t just be making holes; you’ll be building things that actually stay put. Remember, the goal isn’t to go fast—it’s to go right the first time so you don’t have to fix a mistake later. Keep your workspace clean, keep your bits sharp, and stop overthinking the process.
There is a specific kind of satisfaction that comes from finishing a project with your own two hands, especially when that project was built using tools you finally feel in control of. Whether you’re mounting a shelf or tackling a larger renovation, don’t let the fear of a slipped bit or a stripped screw hold you back. Every expert started out by making a mess and learning from it. Put the drill to work, trust your instincts, and focus on the tangible results of your labor. Now, get off the screen and go build something real.
