
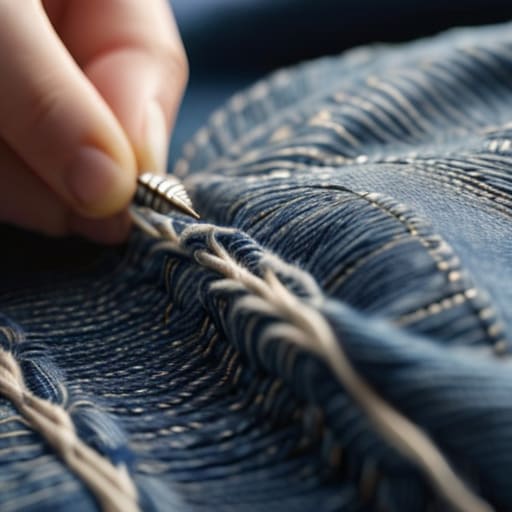
I was sitting at my workbench last Tuesday, mid-way through stripping a vintage Moog, when I realized my favorite pair of heavy-duty denim had finally given up the ghost right at the inner thigh. Most people would see that fraying hole and think they need to buy a whole new pair or spend three hours watching a convoluted sewing tutorial that requires a specialized machine. That’s a load of nonsense. Learning how to patch jeans shouldn’t feel like a weekend-long engineering project; it’s really just about understanding the tension of the fabric and having the right scrap material on hand.
I’m not here to teach you how to make “invisible” repairs that look like they came from a high-end tailor, because let’s be honest, that’s a waste of your time. Instead, I’m going to show you the straightforward, rugged way to reinforce your gear so it actually lasts. I’ll walk you through the minimal tools you actually need—and the ones you can skip—to get a fix that holds up even when you’re working hard. We’re going to focus on functional durability over perfection, getting you back to your day without the unnecessary clutter.
Table of Contents
Guide Overview
Tools & Supplies
- Fabric scissors for cutting patch shapes
- Sewing needle for hand stitching
- Embroidery hoop to keep fabric taut
- Denim scrap or fabric patch 1 piece
- Sewing thread matching denim color 1 spool
Step-by-Step Instructions
- 1. First, clear off your workspace. You don’t need a professional studio, but you do need a flat, hard surface—a kitchen table works fine. Grab a pair of scissors, some heavy-duty thread (denim thread is best, but any strong cotton will do), a needle, and a piece of scrap fabric. That scrap fabric should be slightly thicker than the jeans you’re fixing, ideally something old like an old pair of work pants or a heavy flannel shirt.
- 2. Clean up the edges of the rip. If there are any loose, fraying threads hanging off the hole, don’t just leave them to snag on everything. Use your scissors to trim the frayed bits so you’re working with a clean perimeter. This prevents the hole from spreading further while you’re trying to fix it.
- 3. Position your patch material. Lay the jeans flat and place your scrap fabric on the inside of the garment, directly underneath the hole. You want the patch to be large enough that it extends at least half an inch beyond the damaged area in every direction. If you don’t give yourself that extra margin, the tension from wearing the jeans will just rip right through your new stitching.
- 4. Start your stitching. Thread your needle and tie a decent knot at the end. Start sewing from the inside of the jeans, about a quarter-inch away from the edge of the hole. Use a simple running stitch or a basic whip stitch to secure the patch to the denim. Keep your stitches small and tight; if you try to take massive leaps, you’re just going to create weak points in the fabric.
- 5. Reinforce the perimeter. Once the patch is anchored, go back around the edges of the actual hole. You want to make sure the transition between the original denim and the patch is seamless. I like to use a slightly tighter stitch pattern here to lock the edges in place. This is the part that actually prevents the “runaway rip” scenario.
- 6. Final inspection and knotting. Once you feel like the patch is secure and the hole is covered, don’t just yank the thread out. Work your way back toward the center of the patch, tie off your thread with a double knot, and snip the excess. Give the area a firm tug to make sure everything is holding steady before you move on to the next project.
Choosing Right Denim Patch Fabric Types for Real Results
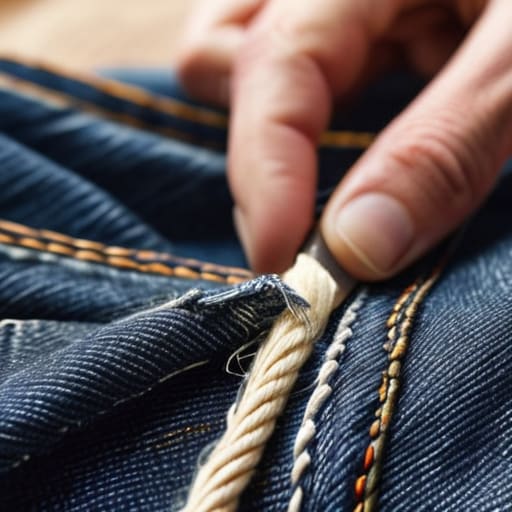
Look, don’t just grab the first scrap of fabric you find in the junk drawer. If you use a thin cotton sheet to fix a heavy-duty pair of raw denim, that patch is going to shred within a week. You need to match the weight and the weave. If you’re looking for the most durable results, I usually recommend scavenging from an old pair of jeans you were planning to toss anyway. Using denim on denim creates a structural bond that actually holds up to real-world wear.
If you aren’t interested in a perfect match, you can lean into visible mending techniques to turn the repair into a design choice. This is where using a contrasting fabric—like a heavy canvas or even a patterned flannel—can look intentional rather than lazy. For those who want a more aesthetic, rugged look, sashiko stitching for denim is a fantastic way to reinforce the area with geometric patterns. It’s not just about covering the hole; it’s about building a stronger system where the fabric failed. Just keep it simple and match the thickness to the original material.
The Essential Sewing Tools for Jeans You Actually Need
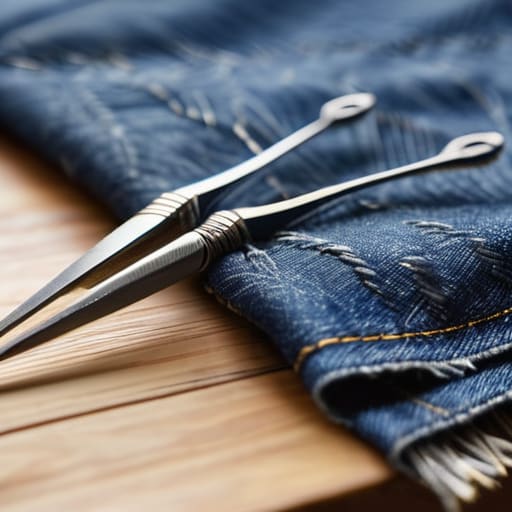
Look, you don’t need a heavy-duty sewing machine or a professional tailor’s kit to get this done. In fact, most of the high-end gear people buy is overkill for a simple repair. If you’re looking at sewing tools for jeans, start with the basics: a decent pair of fabric shears and a handful of heavy-duty needles. I prefer denim-specific needles because they won’t snap the moment they hit a thick seam. If you’re working on a repair that needs to hold up to daily wear, skip the flimsy thread and grab some all-purpose polyester thread. It’s got the tensile strength to handle the tension without fraying after three washes.
If you’re not feeling particularly handy with a needle, you can lean on iron-on denim patches to bridge the gap. They’re a solid “quick fix” for minor fraying, but let’s be honest—they aren’t a permanent solution for structural damage. For a repair that actually looks intentional rather than like a bandage, I usually suggest a bit of hand-stitching. It’s slower, but it’s the only way to ensure the patch won’t just peel off the moment you sit down.
Pro Tips to Keep Your Patches from Looking Like a Mess
- Don’t skip the ironing. If you don’t press your patch flat against the denim before you start sewing, you’re going to end up with puckered, bunchy fabric that looks amateur and feels uncomfortable.
- Match the thread weight, not just the color. Using thin, flimsy thread on heavy-duty denim is a recipe for a blowout. Grab some heavy-duty or topstitching thread so the repair actually holds up to real wear.
- Backstitch for the high-stress spots. If you’re patching a knee or an area that sees a lot of movement, don’t just do a simple running stitch. Backstitching provides the structural integrity you need so the repair doesn’t unravel the first time you sit down.
- Keep your tension in check. If you pull your thread too tight while sewing, the denim will ripple like a miniature mountain range. Aim for a stitch that is secure but allows the fabric to move naturally.
- Use a stabilizer if the denim is thin. If you’re working with older, worn-out jeans that have lost their structural integrity, pin a piece of lightweight interfacing to the back. It gives you a solid foundation to sew into without the fabric stretching out of shape.
The Bottom Line
Don’t overthink the materials; a scrap of old denim or a sturdy cotton weave is plenty, as long as it’s tougher than the hole you’re trying to fix.
Skip the fancy sewing kits and just focus on having a heavy-duty needle and strong thread—that’s the backbone of a repair that actually holds up.
Aim for function over perfection; a patch doesn’t need to look like a museum piece, it just needs to stop the rip from getting bigger the next time you sit down.
Don't Toss Them Just Yet
At the end of the day, patching your jeans isn’t about achieving some flawless, factory-perfect finish. It’s about making a smart, functional decision. You’ve picked the right scrap fabric, gathered the basic tools that actually do the job, and followed a process that doesn’t require a degree in textile engineering. By focusing on durability over aesthetics, you’re ensuring that your favorite pair of denim stays in your rotation instead of ending up in a landfill. It’s a simple system: identify the failure point, reinforce it with the right material, and get back to your life.
There is something deeply satisfying about fixing something with your own two hands instead of just clicking “add to cart” on a replacement. In a world that’s increasingly digital and disposable, taking twenty minutes to mend a rip is a way to reclaim your autonomy. It’s a small victory against the “throwaway culture” that complicates our lives and empties our wallets. So, grab that needle, sit down at the table, and finish the job. You’ll find that the most rewarding tools aren’t the ones with the most features, but the ones that actually help you maintain what you already own.
