
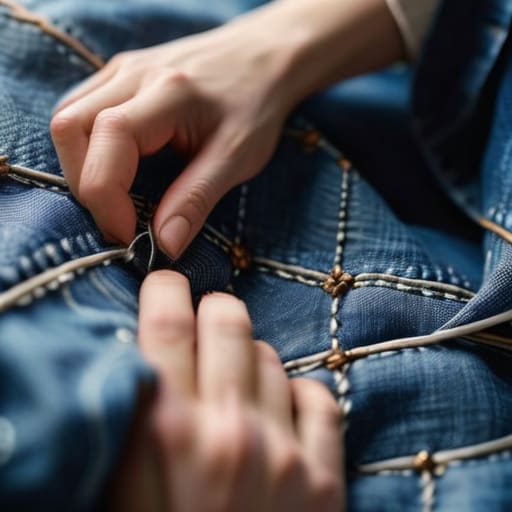
I was sitting at my workbench last Tuesday, mid-way through a stubborn teardown of an old Moog synthesizer, when I realized my favorite heavy-duty denim work shirt had finally given up the ghost at the seam. Most people would see a hole and think “trash,” or worse, they’d spend three hours watching a convoluted YouTube tutorial involving specialized embroidery hoops and decorative patches that look like a craft project gone wrong. But here’s the truth: learning how to mend clothes shouldn’t feel like a weekend-long commitment to a new hobby. It’s just basic maintenance, no different than tightening a loose screw or replacing a blown fuse in a circuit.
I’m not here to teach you how to make your wardrobe look like a patchwork quilt. My goal is to show you how to perform functional repairs that actually hold up when you’re out in the world doing real work. We’re going to skip the fluff and focus on the three or four essential skills you actually need to keep your gear in rotation. I’ll show you the most direct, no-nonsense methods to fix tears, secure loose buttons, and reinforce high-stress seams so you can stop wasting money on replacements and get back to what matters.
Table of Contents
Guide Overview
Tools & Supplies
- Hand sewing needles of various sizes
- Fabric scissors for clean cuts
- Seam ripper for removing old threads
- All-purpose sewing thread in matching colors
- Fabric scraps for patching
- Embroidery floss for decorative mending
Step-by-Step Instructions
- 1. First things first, clear off a flat surface and gather what you actually need. You don’t need a massive sewing kit; just grab a handheld needle, some decent quality thread that matches your fabric, and a pair of sharp scissors. If you’re dealing with something heavy like denim, skip the thin sewing thread and find some heavy-duty upholstery thread so you aren’t redoing the work in a week.
- 2. Turn the garment inside out before you start poking holes in it. I’ve learned the hard way that trying to fix a seam from the outside just makes the repair look like a clumsy patch job. Working from the inside allows you to hide the messy knots and keeps the “fix” looking like it was always part of the original design.
- 3. For a simple tear or a hole that hasn’t completely disintegrated, use a basic running stitch. Thread your needle, tie a knot at the end, and start about a quarter-inch away from the edge of the damage. Keep your stitches small and consistent; if you space them too far apart, the fabric will just pull away again the next time you put it in the wash.
- 4. If you’re looking at a hole in a high-stress area—like the crotch of some jeans or the elbow of a work shirt—you’re going to need a patch. Don’t go buying expensive designer patches; just find a scrap of old fabric that’s similar in weight. Pin the patch to the inside of the garment behind the hole, then sew around the edges to anchor it down. This creates a structural reinforcement rather than just a cosmetic cover-up.
- 5. When you’re dealing with a loose button, don’t just sew it on loosely. You want to create a “shank,” which is basically a little bit of space between the button and the fabric. Wrap the thread tightly around the base of the button several times after you’ve sewn it on. This gives the thread some breathing room so the button doesn’t pop off the second you try to button your coat.
- 6. Once you’ve finished the repair, don’t just rip the needle out and call it a day. You need to secure the thread by tying off your last stitch with a couple of small, tight knots against the fabric. Give the area a firm tug to make sure everything holds. If it feels sturdy, you’re done; if it feels flimsy, rip it out and do it again—it’s better to waste ten minutes now than to lose a button on your way to a meeting.
The Only Sewing Kit Essentials You Actually Need
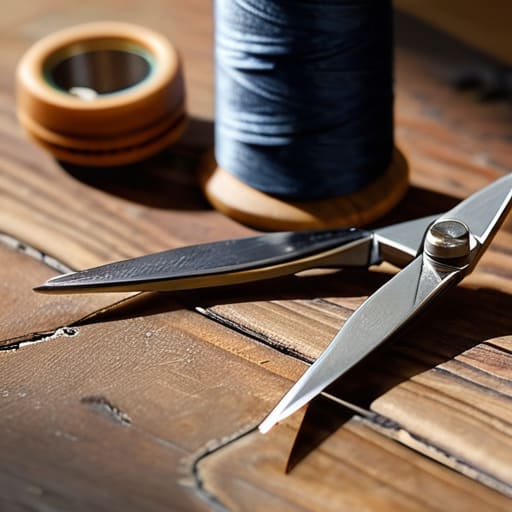
Look, you don’t need a massive, velvet-lined sewing box filled with gadgets you’ll never touch. Most of those pre-packaged kits are just clutter waiting to happen. If you want to actually fix something rather than just staring at a hole, you need a lean set of fabric repair tools that serve a purpose. Get yourself a decent pair of small, sharp embroidery scissors—don’t use your kitchen shears—a handful of assorted needles, some high-quality polyester thread, and a seam ripper. If you can’t find a seam ripper, a well-sharpened small blade works, but the dedicated tool is much cleaner for precision work.
I always keep a small tin in my workshop that covers 90% of my repairs. Beyond the basics, grab a few safety pins and some heavy-duty upholstery thread if you’re planning on patching denim holes. Standard thread is fine for a loose hem, but it’ll snap the moment you sit down in a pair of repaired jeans. Keep it simple, keep it organized, and keep it functional. If a tool doesn’t solve a specific problem, it doesn’t belong in your kit.
Patching Denim Holes and Other Real World Fabric Repairs
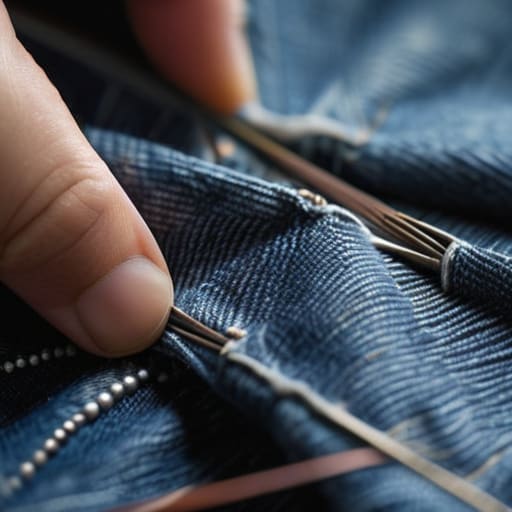
Look, we’ve all been there: you’re wearing your favorite pair of jeans, and suddenly you feel that unmistakable draft through a hole in the knee. Most people think that once the fabric gives way, the garment is trash. That’s nonsense. When it comes to patching denim holes, you don’t need a degree in textile engineering; you just need a scrap of similar weight fabric and some common sense. I usually grab a piece of old canvas or even a fragment from an outdated pair of work pants. Place the patch on the inside of the leg to keep the repair low-profile, or if you’re feeling bold, go for the “visible mending” look on the outside. It turns a flaw into a feature.
For thinner materials, like when you’re dealing with a worn-out heel in a wool pair, skip the heavy patches and look into visible mending techniques like darning. It’s essentially weaving new threads into the existing structure to bridge the gap. It’s not about making the hole disappear; it’s about reinforcing the integrity of the fabric so it doesn’t unravel further. Keep your stitches tight, stay consistent, and stop worrying about perfection. If it holds together and looks intentional, you’ve won.
Five Rules for Mending Without Losing Your Mind
- Don’t aim for perfection. If you’re fixing a work shirt or a pair of old jeans, the goal is structural integrity, not a runway look. If the stitch is a little crooked but the hole is closed, you’ve won.
- Match your thread weight to the fabric. Using heavy-duty upholstery thread on a thin cotton tee is a recipe for disaster—it’ll just chew a new hole in the fabric. Conversely, don’t try to fix denim with flimsy sewing thread; it’ll snap the first time you sit down.
- Always turn the garment inside out first. It’s much easier to see where the tension is actually needed when you’re looking at the “guts” of the seam rather than just the surface.
- Use a stabilizer for thin fabrics. If you’re working with something flimsy like an old t-shirt, pin a small scrap of similar fabric behind the hole. It gives your stitches something solid to bite into so you don’t end up with a puckered mess.
- Stop and inspect your needle. If you feel even a tiny bit of resistance or a snag, toss that needle. A dull or burred needle is the fastest way to ruin a decent piece of clothing by pulling threads.
The Bottom Line
Don’t let perfectionism stop you from starting; a messy, functional repair is always better than a garment sitting in a landfill.
Invest in a few quality tools rather than a cheap, massive kit—if you can’t use it, it’s just more clutter.
Think of mending as preventative maintenance for your wardrobe, not a weekend chore.
Getting Back to Basics
At the end of the day, mending isn’t about becoming a master tailor or owning a high-end sewing machine. It’s about having the right basics—a decent needle, some sturdy thread, and the patience to sit down for ten minutes—and knowing how to apply them when a seam gives out or a pair of jeans starts to fray. We’ve walked through the essentials, the specific ways to handle denim, and how to patch things up without overcomplicating the process. The goal here wasn’t to teach you a new hobby, but to give you the tools to stop the cycle of mindless consumption every time a minor tear appears in your favorite gear.
There is a certain kind of satisfaction that comes from fixing something with your own hands instead of just hitting “add to cart” on a replacement. It connects you to your belongings in a way that a digital transaction never will. When you repair a garment, you aren’t just saving money; you’re extending the life of a tool you rely on every day. So, don’t let a small hole dictate when a piece of clothing is “done.” Grab your kit, find a spot with good light, and make it last. It’s simpler than you think, and the results speak for themselves.
