
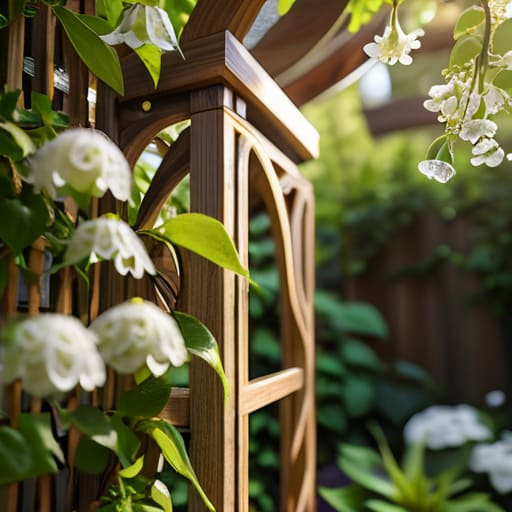
I was standing in my backyard last Saturday, staring at a pile of expensive, pre-fabricated cedar slats I’d bought online, feeling like a complete idiot. They were supposed to be “easy-install,” but within twenty minutes, the whole flimsy structure was leaning at a pathetic fifteen-degree angle under the weight of a single tomato vine. It’s the same problem I see in tech all the time: people buy over-engineered solutions that fail the moment they face any real-world pressure. If you’re looking for how to build a garden trellis that actually holds its weight, you don’t need a boutique kit or a degree in architecture; you just need a bit of structural logic and some decent materials.
In this guide, I’m stripping away the fluff and the overpriced hardware store gimmicks. I’ll show you exactly how to construct a frame that is built to last using basic tools you likely already have in your garage. We aren’t going to waste time on decorative nonsense that rots in a single season. Instead, I’m going to walk you through a straightforward, heavy-duty method that bridges the gap between a messy garden and a functional, organized growing space. Let’s get to work.
Table of Contents
Guide Overview
Tools & Supplies
- Measuring tape for precise cuts
- Hand saw or miter saw for wood processing
- Drill/Driver for assembly
- Sandpaper to smooth rough edges
- Cedar or pressure-treated wood stakes (4 count)
- Wooden lattice panels or thin slats (1 unit)
- Exterior grade wood screws (1 box)
- Garden staples or landscape ties (1 pack)
Step-by-Step Instructions
- 1. First, grab your materials. Don’t go overboard with expensive cedar if you’re just growing beans; a few pressure-treated 2x2s or even some sturdy bamboo stakes will do the job just fine. You’ll also need a roll of galvanized wire or heavy-duty twine, a pair of wire cutters, and a drill. I always keep my multi-tool handy for this part because you’ll inevitably need to snip a stray thread or scrape a bit of bark off.
- 2. Measure out your space and cut your vertical supports. If you’re building against a fence, you can skip the heavy lifting, but if this is standing alone in the middle of a bed, you need stability. I recommend cutting your main stakes to about six feet so you have enough length to drive them deep into the soil. A shallow trellis is just a fancy way to watch your plants fall over in a summer storm.
- 3. Set your vertical posts. This is where most people mess up by being too precise. You don’t need a laser level; you just need to make sure they are roughly even and spaced about two feet apart. Drive them into the ground until they feel solid. If the soil is dry and hard, give it a quick soak first—it makes the job significantly easier and saves your back.
- 4. Create the horizontal framework. Take your thinner wood strips or your heavy-duty wire and attach them to the vertical posts. I prefer using a simple “ladder” design. Run your horizontal pieces at different heights—maybe one at twelve inches and another at thirty. Use screws for wood or wrap the wire tight for a metal setup. Just make sure everything is tight and secure so it doesn’t sag under the weight of the vines.
- 5. Add the climbing grid. If you aren’t using wood slats for the crossbeams, this is where you weave your twine or wire to create a mesh. Don’t overthink the pattern; a simple criss-cross grid is all a tomato or cucumber needs to find its way up. You want enough gaps for the tendrils to grab onto, but not so many that the plant just falls through the middle.
- 6. Anchor the base. To prevent the whole structure from leaning over time, I like to use a couple of ground anchors or even just a few heavy stones at the base of the main posts. It’s a small step that prevents a massive headache later. Once it’s anchored, give it a firm shake; if it wobbles, add more support before you start planting.
- 7. Plant and train. Now that the hardware is done, get your seedlings in the ground. As they start to grow, don’t be afraid to reach in and gently guide the main stems toward your new trellis. It feels a bit intrusive, but you’re just helping the plant find its path. Once they catch hold, the system will do the rest of the work for you.
The Essential Garden Trellis Materials List for Real Results
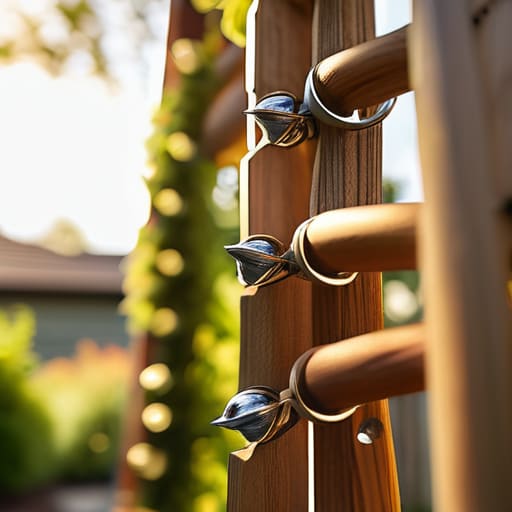
Look, you don’t need a trip to a high-end boutique garden center to get this done. When I’m putting together a list of garden trellis materials list essentials, I stick to the basics: cedar or pressure-treated lumber, galvanized screws, and some heavy-duty twine. Cedar is my go-to because it handles the rain and sun without rotting out on you after one season, which saves you the headache of rebuilding everything next spring. If you’re working with lighter plants, you can get away with thinner stakes, but if you’re planning on heavy vines like beans or even some squash, you’ll want heavy duty plant supports that won’t buckle under the weight.
Don’t get distracted by those overly fancy, pre-fabricated kits you see online. They often look good in the catalog but lack the structural integrity needed for real-world use. I prefer building my own because it allows for better customization of your vertical gardening structures based on the actual space you have available. Grab a decent multi-tool and a level, and you’ll find that a few well-chosen pieces of timber are more than enough to create something that actually lasts.
Heavy Duty Plant Supports That Actually Stand the Test of Time
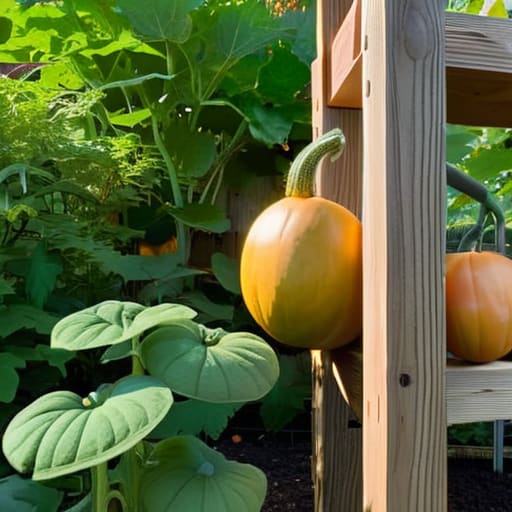
If you’re planning on growing heavy hitters like Hubbard squash or even a beefy indeterminate tomato variety, you can’t rely on those flimsy, flimsy wire kits you find at big-box stores. They’ll buckle the second a summer storm rolls through. When I’m looking at heavy duty plant supports, I think about load-bearing capacity and wind resistance. You want a structure that feels anchored. I usually recommend using pressure-treated timber or cedar for the main frame; it’s about building something that won’t rot or lean after a single season of heavy rain.
Don’t get caught in the trap of over-engineering your vertical gardening structures either. You don’t need a complex architectural feat to keep your vines off the dirt. Sometimes, the best approach is simply increasing the gauge of your hardware. Use thicker gauge galvanized wire or even heavy-duty poultry netting if you’re working with smaller climbers. The goal is to create a stable skeleton that does the heavy lifting so your plants can focus on producing fruit. If the foundation is solid, the rest of the system takes care of itself.
Five Ways to Stop Your Trellis From Becoming a Pile of Junk
- Don’t skimp on the anchors. If you’re building in soft soil, a light wooden frame will just tip over the first time a heavy tomato vine catches a breeze. Drive your main supports at least a foot into the ground or use heavy-duty stakes to give it a solid foundation.
- Think about the physics of the weight. A climbing plant isn’t just a decoration; it’s a living, growing mass that gets heavier every single day. If your trellis design looks “pretty” but lacks structural integrity, it’s going to buckle by mid-July.
- Leave room for the mess. Plants don’t grow in straight lines, and they certainly don’t follow your blueprint. Build your trellis with enough clearance so you can actually get in there to prune, harvest, or check for pests without getting tangled in a web of vines.
- Use materials that play well with others. If you’re using treated lumber, make sure it’s safe for edible crops, or better yet, stick to cedar or redwood. I’ve seen too many people ruin a perfectly good harvest by using hardware that leaches chemicals into the soil.
- Plan for the wind, not just the plant. A solid mesh trellis can act like a sail in a storm and rip right out of the dirt. Use a grid pattern or spaced wire to let the air pass through, reducing the drag and keeping your structure upright when the weather turns.
Bottom Line: Keep It Simple and Solid
Don’t get distracted by fancy, store-bought kits that fall apart after one season; stick to heavy-duty materials like cedar or treated lumber that can actually handle the weight and the weather.
Build for the plant’s future, not just its current size—if you don’t account for the full growth spread now, you’ll be rebuilding the whole system by mid-July.
Focus on structural integrity over aesthetics; a trellis that looks “perfect” but wobbles in a breeze is just wasted time and money.
Get Out There and Build It
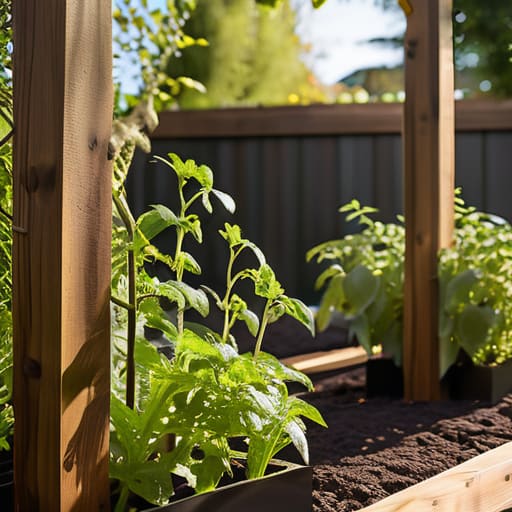
At the end of the day, building a trellis doesn’t require a degree in landscape architecture or a massive budget for fancy hardware. You’ve got your materials list, you know which heavy-duty supports will actually hold up under the weight of a summer harvest, and you have a solid plan for the construction. The goal here wasn’t to create a complicated piece of garden art, but to build a functional system that supports your plants without collapsing the moment a storm rolls through. Keep your joints tight, your stakes deep, and don’t overthink the aesthetics. If it holds the weight and stays upright, you’ve done your job.
There is something deeply satisfying about stepping away from a glowing screen and actually putting your hands into the dirt to build something tangible. We spend so much of our lives managing digital workflows and invisible data, but a well-built trellis is something you can touch, maintain, and eventually reap the rewards from. Don’t let the fear of a crooked line or a messy knot stop you from starting. Just grab your tools, get the structure in the ground, and let the plants do the rest. Real progress happens in the garden, not in the planning phase.
