
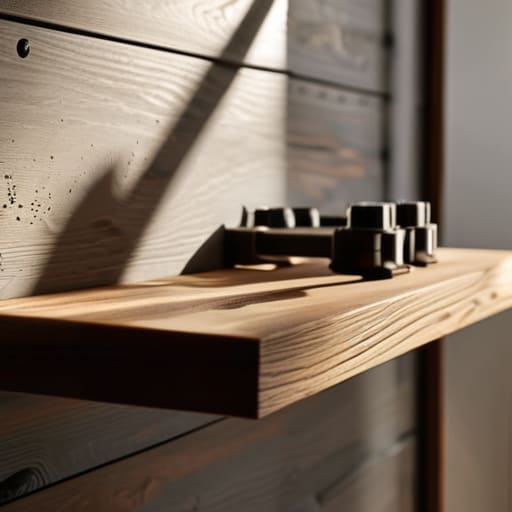
I was staring at a pile of expensive reclaimed wood and a set of mounting brackets last Saturday, wondering why every “easy” tutorial online made this look like rocket science. Most people think you need a workshop full of specialized laser levels and high-end power tools to get it right, but that’s just more noise. The truth is, learning how to install a shelf isn’t about having the fanciest gear; it’s about understanding the physics of your wall and having the patience to find a stud. I’ve spent years fixing “DIY” disasters where someone relied on cheap plastic anchors instead of actual structural integrity, and frankly, I’m tired of seeing good hardware end up in a landfill because of a simple mistake.
In this guide, I’m cutting through the fluff to give you a system that actually works. I won’t waste your time with twenty different gadget recommendations; instead, I’ll show you the essential tools you need and the straightforward methods to ensure your shelf stays exactly where you put it. We’re going to focus on precision, stability, and making sure your hard work doesn’t end up in a heap on the floor. Let’s get to work.
Table of Contents
Guide Overview
Tools & Supplies
- Drill/Driver for making holes
- Level to ensure evenness
- Pencil for marking spots
- Measuring tape for accuracy
- Shelf unit 1
- Wall anchors and screws 1 set
- Wall brackets 2-4 pieces
Step-by-Step Instructions
- 1. First, clear your workspace and gather your gear. You don’t want to be halfway through a hole and realize you’re missing a driver. You’ll need a level, a drill, a pencil, your brackets, and the shelf itself. If you’re mounting into drywall without hitting a stud, make sure you have the right heavy-duty anchors—don’t try to wing it with those cheap plastic sleeves that come in the box.
- 2. Find your studs. This is where most people mess up and end up with a pile of broken ceramics on the floor. Use a stud finder to locate the wooden framing behind your wall. If you can hit at least one stud, you’re in good shape; if you’re stuck in the “dead zone” between studs, you’ll need to locate the exact center of the stud to ensure your screws actually bite into something solid.
- 3. Mark your spots. Hold your first bracket up against the wall at the height you want. Use your level to make sure it isn’t leaning like the Tower of Pisa. Once it’s straight, take your pencil and mark the screw holes clearly. Repeat this for the second bracket, making sure the distance between them matches the length of your shelf.
- 4. Drill the pilot holes. Don’t just jam a screw into the wall; it’ll split the wood or crack your drywall. Use a drill bit that is slightly smaller than your screw diameter. If you’re hitting a stud, drill straight into the wood. If you’re using anchors in drywall, drill a clean hole sized specifically for that anchor. If the hole is too big, the whole system fails.
- 5. Mount the brackets. Line your brackets up with the marks you made and drive your screws in. I like to do this in stages—tighten them until they’re snug, then give them a final turn to ensure they are firmly seated. Give the bracket a quick tug with your hand; if it wiggles, it’s not ready for a shelf yet.
- 6. Set the shelf. Place your shelf on top of the brackets. If your brackets have pre-drilled holes on the top flange, align them with the shelf. Use short wood screws to secure the shelf to the brackets. Don’t over-tighten these, or you might strip the wood or crack the finish, especially if you’re working with a softer timber.
- 7. The final stress test. Before you go running to the store to buy decor, put something heavy on the shelf—like a stack of books or a heavy tool kit. If it holds, you’re golden. If it sags or creaks, you didn’t hit a stud or your anchors are insufficient. Fix it now before you put something expensive on there.
Mastering Wall Stud Finder Usage and Essential Tools for Shelving
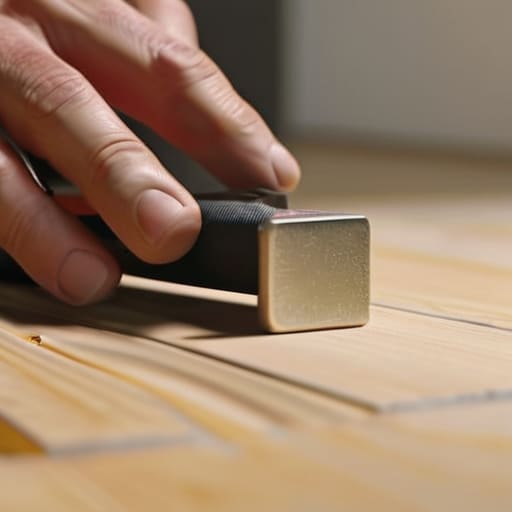
Look, before you even pick up a drill, you need to understand the foundation of this whole project. I’ve seen too many people try to hang a heavy load of books or kitchenware using nothing but cheap plastic toggles, only to watch the whole thing come crashing down. The real secret to success is mastering wall stud finder usage before you make that first hole. If your stud finder is one of those cheap magnetic ones, don’t trust it blindly; grab a small nail and tap the wall to feel for that solid wood resistance. If you can’t hit a stud, you better be investing in high-quality heavy duty shelf anchors rather than the flimsy stuff found in a bargain bin.
As for your kit, don’t go overboard with fancy gadgets you’ll never use again. The essential tools for shelving are simple: a decent cordless drill, a level that actually stays level, a tape measure, and a sharp pencil. If you’re working with floating designs, precision is everything. One degree off at the start means a massive gap by the time you reach the other side. Get your measurements twice, drill once, and keep it simple.
Choosing Between Drilling Into Drywall vs Studs for Real Stability
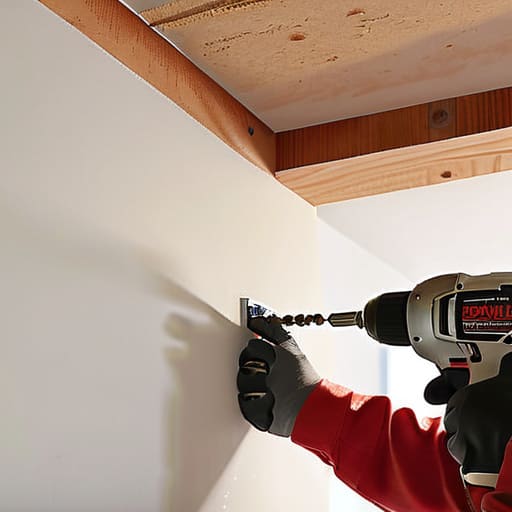
Here’s the deal: if you’re planning on putting anything heavier than a single Polaroid on that shelf, the decision between drilling into drywall vs studs isn’t really a choice—it’s a necessity. I’ve seen too many people try to save five minutes by skipping the stud search, only to end up with a pile of shattered plaster and a shelf sitting on the floor. If you hit a stud, you’re golden; you’ve got solid wood to bite into. But if you’re stuck in that awkward gap between studs, don’t just wing it with some cheap plastic plug you found in a junk drawer.
When you can’t hit a stud, you need to invest in heavy duty shelf anchors. Forget the flimsy ones; look for toggle bolts or zinc self-drilling anchors that are actually rated for the weight you’re planning to support. I always tell my clients to over-engineer the support system. It’s much easier to deal with a slightly larger hole than it is to patch a massive crater in your drywall because your “quick fix” failed under pressure. Just get it right the first time.
Five ways to keep your gear from hitting the floor
- Don’t trust those cheap plastic anchors blindly. If you aren’t hitting a stud, use high-quality toggle bolts instead of the flimsy ribbed ones that come in the box; they actually grip the back of the drywall instead of just wedging in.
- Level it twice, then level it a third time. A shelf that looks “mostly straight” is going to drive you crazy every time you set a book or a tool on it, and it’ll eventually make your items slide off.
- Account for the weight before you even pick up a drill. If you’re planning on stacking heavy hardcovers or a collection of vintage gear, you can’t treat that shelf like a decorative piece of art—it needs serious structural support.
- Check for hidden wires before you go rogue with the drill. I’ve seen too many people go through the effort of finding a stud only to puncture a live electrical line because they didn’t check what was running behind the wall first.
- Keep your hardware organized. There is nothing more frustrating than being halfway through a job and realizing you’re one screw short or that you grabbed the wrong length; lay everything out on your workbench before you start.
The Bottom Line: Don't Let Your Shelf Become a Hazard
Stop guessing and find the studs; if you aren’t hitting solid wood, you aren’t building something that lasts.
Invest in the right hardware upfront—cheap plastic anchors are just a recipe for a midnight cleanup when your stuff hits the floor.
Prioritize function over aesthetics; a shelf that looks great but wobbles is just expensive clutter.
Getting It Done Right
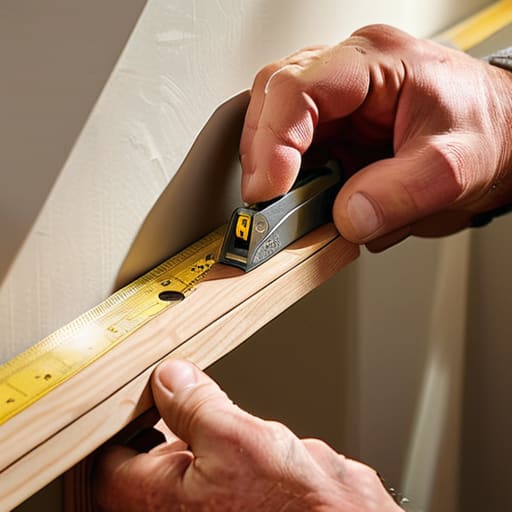
At the end of the day, installing a shelf isn’t about having a garage full of expensive power tools; it’s about doing the prep work so you don’t end up with a pile of broken ceramics on your floor. We covered the essentials: finding those studs, knowing when to rely on heavy-duty anchors, and choosing the right hardware for the job. If you took the time to measure twice and verify your mounting points, you’ve already done the hard part. Don’t cut corners by skipping the stud finder or guessing where the support is. A shelf is only as good as what’s holding it up, and stability is non-negotiable if you want this to last longer than a week.
Once that last screw is tightened and you’ve given the bracket a solid tug to make sure it isn’t budging, take a second to appreciate the result. There’s a specific kind of satisfaction that comes from fixing something with your own two hands and seeing a functional system come together in your space. We spend so much time staring at digital interfaces that we forget how good it feels to interact with the physical world and actually improve it. Stop overthinking the aesthetics for a moment and just focus on the utility. You’ve got the tools, you’ve got the method, now go build something that lasts.
