
I spent three hours last weekend watching a YouTube tutorial on the “perfect” way to prep a wall, only to realize the guy was using tools that cost more than the paint itself. It’s the same old story: people think learning how to paint a room requires a degree in fine arts or a garage full of expensive, specialized gear. Truth is, most of those high-end gadgets are just noise designed to separate you from your paycheck. I learned the hard way growing up in a house where we fixed things with whatever was in the toolbox, and I can tell you right now, a steady hand and a bit of common sense beat a thousand-dollar setup every single time.
In this guide, I’m stripping away the fluff and the “influencer” nonsense to give you a system that actually works. I’ll show you how to prep your surfaces without losing your mind, how to choose the right gear that won’t break the bank, and the specific sequence to follow so you aren’t cleaning up drips for a week. We’re going to focus on functional efficiency—getting a professional-looking finish through smart, repeatable steps. Let’s get your hands dirty and get it done.
Table of Contents
Guide Overview
Tools & Supplies
- Paintbrush (for edges and corners)
- Roller and tray (for large wall surfaces)
- Painter's tape (to protect trim and ceilings)
- Drop cloths (to protect floors)
- Interior paint (1-2 gallons per room)
- Painter's tape (1-2 rolls)
- Sandpaper (1 pack for smoothing walls)
- Spackle (1 small tub for patching holes)
Step-by-Step Instructions
- 1. First, you need to clear the deck. I’ve seen too many people try to paint around a cluttered room and end up with more stress than they’re worth. Move the heavy furniture to the center of the room and cover it with old sheets or plastic. Don’t forget to pull the outlet covers off—it’s a small detail, but it makes the whole job look professional instead of amateur.
- 2. Next, tackle the prep work. This is where most people try to cut corners, and it’s exactly where they fail. Take a damp cloth and wipe down the walls to get rid of dust and cobwebs; paint won’t stick to a dirty surface. If you’ve got holes from old nails or dents in the drywall, grab some spackle, fill them in, and sand them smooth once they’re dry. If you skip this, your new color is just going to highlight every single imperfection.
- 3. Now, grab your painter’s tape and protect your edges. I don’t care how steady your hand is; tape is your best friend. Run it along the baseboards, the ceiling line, and around window frames. Press the edges down firmly with your finger or a putty knife so the paint doesn’t bleed underneath. It’s better to spend ten minutes doing this right than to spend two hours scraping dried paint off your trim later.
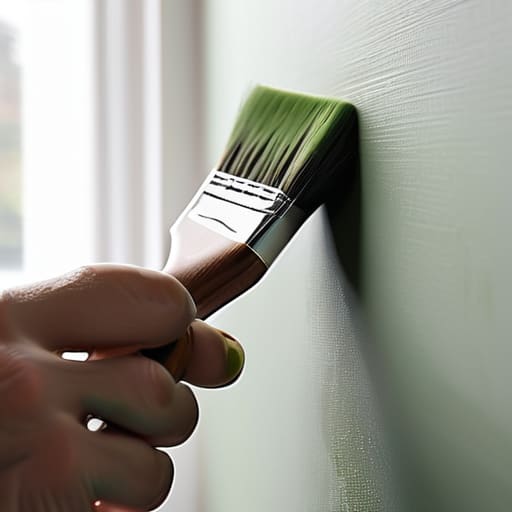
- 4. It’s time to “cut in.” You aren’t going to use a big roller for the corners and edges; that’s a recipe for a mess. Take a high-quality 2-inch angled brush and paint a border about two or three inches wide along the ceiling, the corners, and the baseboards. Work in small sections so the “cut in” paint stays wet when you start rolling the rest of the wall, which helps prevent those ugly paint lines where the brush meets the roller.
- 5. Get the roller moving. Don’t just dunk the thing in the tray and go to town. Load it up, roll it back and forth on the textured part of the tray to get an even coat, and then apply it to the wall using a “W” or “M” pattern. This ensures you’re distributing the paint evenly across the surface rather than just dumping it in one spot. Once you’ve covered the area, go back over it with vertical strokes to smooth everything out.
- 6. Be patient and do a second coat. I know you want to see the finished product immediately, but applying a second coat while the first is still tacky is a mistake. Let the first layer dry completely—usually a few hours depending on the humidity—and then repeat the rolling process. This is how you get that solid, even color that actually looks like it was done by a pro.
- 7. Finally, pull the tape while the paint is still slightly damp. If you wait until the paint is bone-dry and hard, the tape might pull chunks of your new finish right off the wall. Peel it back at a steady angle, and if you see a tiny bit of bleed, just take a small brush and touch it up. Once the tape is off, pack up your gear, clean your brushes with warm soapy water, and enjoy the clean space.
Your Essential Painting Supplies Checklist Without the Fluff
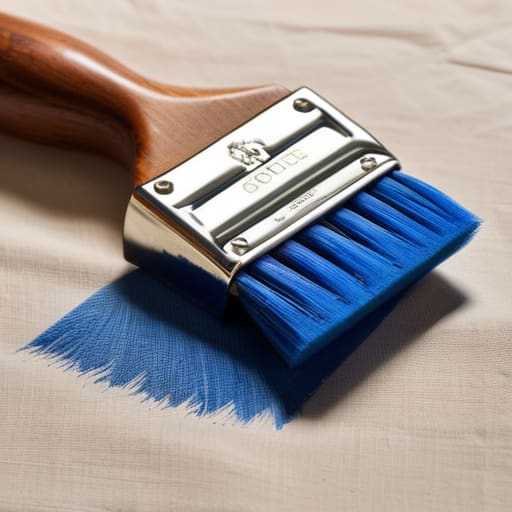
Look, you can walk into a big-box hardware store and get lost in an aisle full of high-tech sprayers and specialized gadgets you’ll never touch again. Don’t fall for it. You don’t need a massive kit; you need the right tools that actually do the job. My essential painting supplies checklist starts with quality over quantity: a decent angled brush for cutting in, a medium-nap roller, a sturdy tray, and enough painter’s tape to keep your lines sharp. If you skimp on the brush, you’ll spend more time fighting streaks than actually finishing the wall.
Before you even crack open a can, remember that protecting furniture while painting is just as important as the brushwork itself. Throw some old drop cloths down—not those thin plastic sheets that tear if you look at them wrong, but actual canvas. Once the floor is safe, focus on how to prep walls for painting by wiping away the dust and filling those annoying nail holes. If the surface isn’t clean and smooth, even the most expensive gallon of paint is going to look like a mess once it dries.
How to Prep Walls for Painting Like a Pro
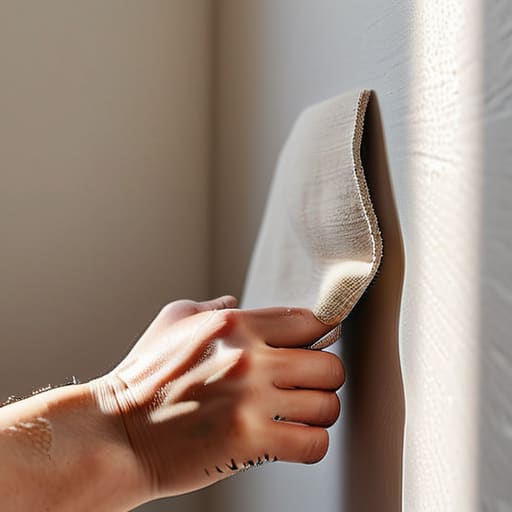
Look, if you want to avoid a peeling mess six months from now, you can’t just slap color over old dust and grease. Most people skip the grunt work, but how to prep walls for painting effectively comes down to one thing: surface integrity. Start by cleaning the walls with a mild detergent solution. I’ve seen too many guys try to paint over kitchen grease or bathroom grime, only to watch the new coat bubble and slide right off. If you have holes from old picture frames, don’t just smear putty in there; sand it flush once it’s dry so the transition is seamless.
Once the surface is clean and smooth, you need to handle the surrounding environment. Don’t be lazy with protecting furniture while painting; a cheap plastic drop cloth is fine, but make sure it’s taped down securely. I always keep a roll of painter’s tape and my multi-tool handy to ensure everything is tucked away or covered tightly. If you leave gaps, you’ll spend more time cleaning paint drips off your hardwood than you actually spent on the walls. Do the prep right once, and the actual painting becomes the easy part.
Five Rules to Keep You From Making a Mess of It
- Don’t skimp on the tape. I’ve seen guys try to save five bucks on cheap painter’s tape only to spend three hours picking dried latex out of their baseboards. Buy the good stuff, press it down hard with your finger, and your edges will actually look sharp.
- Learn the “W” technique. Don’t just slap paint on in random streaks. Work in small sections and move your brush in a consistent ‘W’ pattern to distribute the load, then fill it in. It prevents those heavy streaks that make a wall look like a topographical map.
- Keep a wet rag in your back pocket. Seriously. If you drip on the floor or get a glob on the trim, wipe it up immediately. Once that paint cures, you’re no longer painting—you’re sanding, and nobody wants that extra work.
- Stop painting when the light changes. If you start a room at 4 PM and finish at 8 PM, you’re going to see every single imperfection once the sun goes down and the overheads kick in. Try to time your heavy lifting for when you have consistent, natural light.
- Don’t forget the ceiling first. It sounds backwards, but if you paint the walls and then realize you missed a spot on the ceiling, you’re going to end up with drips on your fresh work. Get the overheads out of the way so you can focus on the details below.
The Bottom Line: Don't Overthink It
Spend 80% of your energy on the prep work; if the walls aren’t clean and the edges aren’t taped tight, even the most expensive paint in the world won’t save you from a sloppy finish.
Buy quality tools once rather than cheap ones three times—a decent brush and a solid roller frame make the actual painting part a breeze instead of a chore.
Focus on the process, not the perfection—keep your workspace organized, follow your system, and don’t let the fear of a drip stop you from getting the job done.
Getting Over the Finish Line
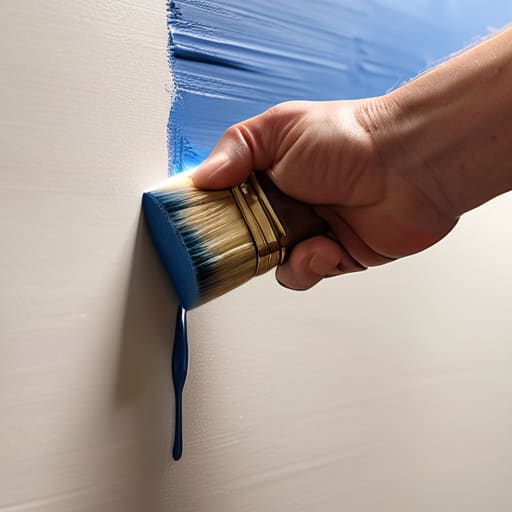
Look, at the end of the day, painting isn’t about having the most expensive sprayer or a degree in fine arts; it’s about the discipline of the process. We covered the essentials: getting the right gear, prepping those walls until they’re actually clean, and following a logical workflow. If you skipped the prep work or tried to cut corners on the taping, you’re going to pay for it when you see those messy drips under your new lights. Just remember that consistency beats speed every single time. Take your time with the edges, keep your tools clean, and don’t rush the drying process just because you’re eager to sit on the couch.
Once the rollers are washed and the tape is peeled back, take a second to actually look at what you’ve done. There’s a specific kind of satisfaction that comes from transforming a space with your own two hands, moving from a chaotic project to a finished, functional room. It’s not just about a new color on the walls; it’s about the fact that you actually did the work instead of just dreaming about it. Put the tools back in the garage, grab a drink, and enjoy the view. You earned it.
