
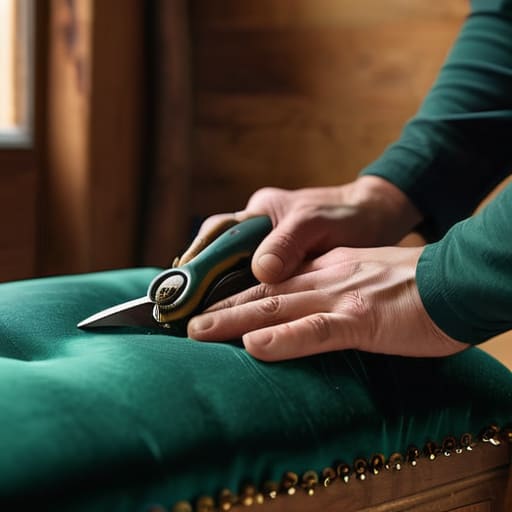
I was staring at my grandfather’s old wingback chair last weekend, watching the sunlight hit a massive, jagged tear in the fabric, and I realized something: most people think you need a professional workshop and a mountain of expensive equipment to fix something like this. They see a piece of furniture that’s seen better days and think they have to toss it in a landfill or pay a specialist three times what the chair is actually worth. That’s a lie. Learning how to reupholster a chair isn’t about mastering some complex, high-tech craft; it’s about understanding the mechanical logic of tension, staples, and fabric grain.
I’m not going to give you a twenty-step process that requires a specialized sewing machine and a degree in textile design. Instead, I’m going to show you how to strip it down, prep the frame, and pull new fabric tight enough to last another twenty years using just a few basic tools. We’re going to focus on the functional fundamentals—the stuff that actually keeps the seat from sagging and the corners from looking like a crumpled paper bag. Let’s stop wasting good furniture and get to work.
Table of Contents
Guide Overview
Tools & Supplies
- Staple gun and staples for securing fabric
- Upholstery pliers for pulling fabric and removing old staples
- Scissors for cutting fabric and foam
- Measuring tape for sizing materials
- Pliers for removing old hardware
- Upholstery fabric (2-3 yards depending on chair size)
- High-density foam (1 pad)
- Batting/Dacron (1 roll or sheet for padding)
- Dust cover fabric (1 yard for the bottom)
- Replacement upholstery tacks or staples (1 small box)
Step-by-Step Instructions
- 1. Before you even touch a staple gun, you need to strip the chair down to its bones. Pull off the old fabric, remove the foam, and clear out any old, crumbling stuffing. I always keep my notebook handy during this stage to sketch out the frame’s dimensions; you don’t want to realize halfway through that you’ve lost track of how the original tension was set.
- 2. Inspect the frame for any structural weaknesses. If the wood is wobbly or the joints are loose, now is the time to fix it with some wood glue and clamps. There is no point in putting beautiful new fabric over a fundamentally broken foundation.
- 3. Lay your new fabric out on a clean, flat surface—ideally a workbench or a hard floor—and place the chair seat right in the middle. You want enough “overhang” on all sides to pull tight, so don’t be stingy with the material. I like to use a bit of chalk to mark my cutting lines so I don’t end up with an asymmetrical mess.
- 4. Start your stapling process from the center of each side. Pull the fabric taut—not so tight that it puckers, but enough to remove the wrinkles—and drive a staple into the frame. Work your way from the center out to the corners in a cross pattern. This ensures the tension is distributed evenly across the entire surface.
- 5. Tackling the corners is where most people screw up and end up with a bunched-up look. Don’t just fold the fabric over like a gift wrap; you need to neatly pleat the excess material so it lays flat against the frame. It takes a bit of patience and a sharp pair of scissors to trim the bulk, but it makes the difference between a DIY project and a professional finish.
- 6. Once the fabric is secure, take your utility knife and trim away any loose threads or hanging edges. If you’re working on a chair with a wooden rim, you might want to tack a thin strip of trim or welt cord around the edge to hide the staples. It’s a small detail, but it’s what makes the piece look intentional rather than accidental.
The Bare Essentials Upholstery Tools and Supplies That Actually Work
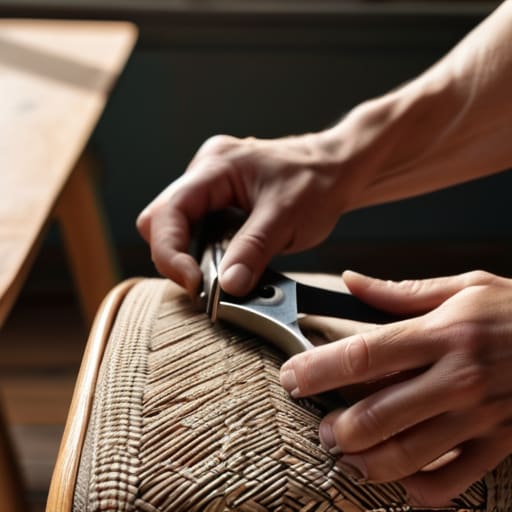
Look, you don’t need a professional workshop or a credit card full of specialized gadgets to pull this off. I’ve seen people get paralyzed by choice, spending more on gear than the actual chair is worth. The truth is, most of your success comes down to a few solid basics. Start with a decent pair of heavy-duty shears and a staple gun that doesn’t jam every five minutes. If you’re serious about the longevity of the piece, don’t skimp on the upholstery webbing installation; if that foundation is weak, the whole project is a waste of time.
When you’re actually digging into the guts of the chair, pay close attention to the condition of the interior. If the seat feels like sitting on a brick, you’ll need to prioritize replacing chair foam padding before you even think about the new fabric. It’s the difference between a chair that looks good and one that actually feels good to sit in. Just grab a high-density foam block and some batting. Keep your kit minimal, keep it functional, and don’t overcomplicate the setup.
Removing Old Upholstery Fabric Without Breaking the Frame
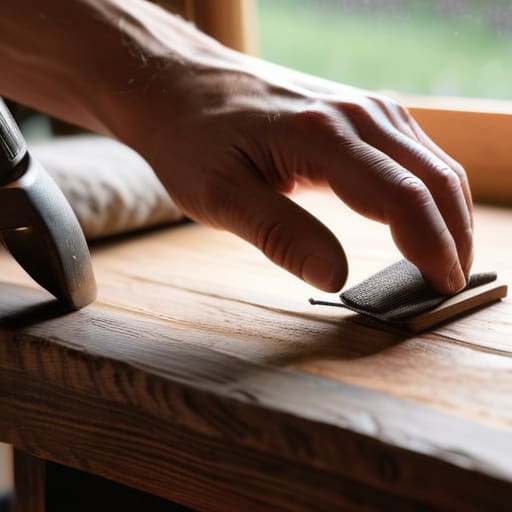
Before you start tearing things apart, take a second to look at how the chair was built in the first place. I’ve seen too many people go in swinging a pair of pliers like they’re trying to pry open a can of beans, only to end up splintering the wood. When you’re removing old upholstery fabric, your goal isn’t speed; it’s preservation. Use a flat-head screwdriver or a dedicated staple remover to gently nudge those old staples out. If you hit a stubborn one, don’t force it—just move to the next and come back. You want to clear the workspace without compromising the structural integrity of the frame.
Once the fabric is off, you’re going to see the “skeleton” of the piece. This is the perfect time to inspect the upholstery webbing installation to see if the tension is still holding up. If the webbing is sagging or the jute twine is frayed, fix that now. It’s a lot easier to stabilize the foundation before you start replacing chair foam padding or stretching new material. Think of it like prepping a site for a build: if the base is shaky, the finished product will never sit right.
Five Pro-Tips to Save Your Sanity (and Your Fabric)
- Don’t throw away the old stuff yet. Keep the original fabric, foam, and even the staples in a pile as you strip the chair down; they are your literal blueprint for putting everything back together.
- Test your fabric tension before you commit. Pull it tight over the frame to see if it bunches or ripples in the corners—if it does, you either need more fabric or a different grain direction.
- Work in small, symmetrical increments. If you pull the fabric tight on the left side, immediately move to the right side to keep the tension even, otherwise, you’ll end up with a lopsided seat.
- Invest in a decent staple gun, but don’t rely on it for everything. Sometimes a hand-sewn welt or a bit of heavy-duty upholstery tack is the only way to get a clean finish on those tricky curves.
- Watch your corners like a hawk. Most people rush the corners and end up with a bulky, messy lump of fabric that ruins the whole silhouette of the chair. Take the extra minute to fold it neatly.
The Bottom Line
Don’t get distracted by fancy, specialized upholstery kits; a solid staple gun, a heavy-duty needle, and a decent pair of pliers are all you really need to get the job done.
Respect the frame more than the fabric—if you rush the teardown and crack the wood, no amount of expensive new velvet is going to save the chair.
Always prioritize tension over perfection; if the fabric is pulled tight and even, it’ll look professional, even if your stitching isn’t textbook perfect.
Finishing the Job
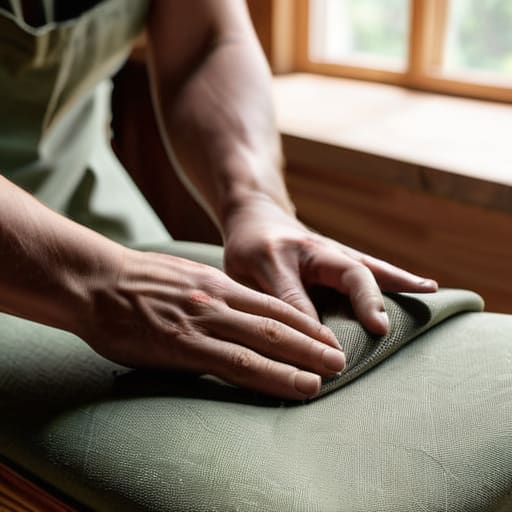
At the end of the day, reupholstering a chair isn’t about achieving factory perfection; it’s about applying a solid process to something that was headed for the landfill. You’ve stripped the old fabric, assessed the frame, and picked out tools that actually do the job instead of just taking up space in your garage. Remember, the secret isn’t in some high-end industrial stapler, but in the patience you show when pulling those corners tight and ensuring the tension is even. If you followed the steps, took your time with the measurements, and didn’t rush the stapling process, you’ve built a piece of furniture that is structurally sound and looks damn good.
There is a specific kind of satisfaction that comes from sitting down in a chair you fixed with your own two hands. In a world where everything is designed to be disposable and replaced with a single click, taking the time to repair and renew something is a radical act of efficiency. You aren’t just saving a few hundred bucks; you’re reclaiming a bit of agency over your physical environment. So, once you’ve tucked that last bit of fabric and wiped the dust off the frame, take a second to appreciate it. You didn’t just follow a guide—you solved a problem.
