
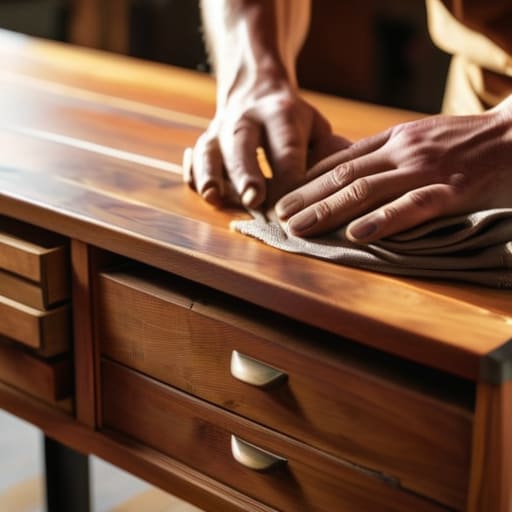
I was staring at a mid-century sideboard last Saturday, covered in layers of cheap, peeling polyurethane and cigarette smoke, wondering why I even bothered. Most people will tell you that learning how to refinish furniture requires a workshop full of expensive pneumatic sanders and a degree in fine arts. They make it sound like a high-stakes engineering project, but honestly? That’s just a way to sell you more gear you don’t need. I’ve spent years stripping down old analog gear and heavy timber, and I’ve learned that the secret isn’t in the fancy tools—it’s in the patience and the prep work.
In this guide, I’m going to show you how to strip away the junk and bring out the real grain without turning your garage into a disaster zone. I’m not going to give you any of those “miracle” spray-can shortcuts that look terrible after six months. Instead, we’re going to focus on a systematic, repeatable process that actually sticks. We’ll cover everything from choosing the right grit to applying a finish that lasts, focusing on functional results over aesthetic perfection. Let’s get to work.
Table of Contents
Guide Overview
Tools & Supplies
- Sandpaper (various grits for smoothing)
- Screwdriver (to remove hardware)
- Paintbrush or foam roller (for application)
- Microfiber cloth (for dust removal)
- Wood primer (1 quart)
- Furniture paint or stain (1 quart)
- Degreaser or TSP (1 bottle)
- Clear topcoat/polyurethane (1 quart)
Step-by-Step Instructions
- 1. First, you need to strip it down. If the piece has a thick, old varnish or a heavy lacquer, don’t waste your life trying to sand it off immediately—you’ll just burn through your sandpaper and get nowhere. Grab a decent chemical stripper and a plastic scraper. Apply it, let it do the heavy lifting, and scrape that old gunk away. It’s messy, and you’ll want to work in a ventilated space, but it saves you hours of mindless sanding later.
- 2. Now comes the actual sanding, and this is where most people mess up by rushing. Start with a coarse grit, maybe around 80 or 100, to level out any deep scratches or uneven spots left by the stripper. Once the surface feels relatively flat, move to 150, and finish with 220. The trick is to always sand with the grain of the wood. If you go across it, you’re just creating tiny valleys that will show up like scars once you apply the finish.
- 3. Clean the hell out of it. I mean it. After sanding, your workspace and the furniture will be covered in a fine layer of dust that acts like sandpaper if you try to paint or stain over it. Don’t just wipe it with a rag; use a vacuum with a brush attachment first, then go over everything with a tack cloth. If there’s even a speck of dust left, your final finish will look like it has sand trapped under the surface.
- 4. If you’re looking to change the color, it’s time for the stain. Don’t go buying the most expensive, complicated multi-step pigment kits you can find. Pick a decent oil-based stain, apply it with a lint-free rag, and let it sit for as long as the can suggests before wiping the excess off. If you want a darker look, don’t keep adding more wet stain—just apply a second coat once the first one is completely dry.
- 5. Seal the deal with a topcoat. This is what protects your hard work from coffee rings and scratches. I usually recommend a polyurethane. If you want a natural look, go with a satin finish; if you want it to pop, go with gloss. Apply it in thin, even layers. Most people try to glob it on to get it done faster, but that leads to drips and bubbles. Thin coats are your best friend here.
- 6. Let it cure. This is the hardest part for people who want instant gratification. Just because the surface feels dry to the touch after an hour doesn’t mean it’s finished. If you put heavy objects on that table too soon, you’ll leave permanent indentations. Give it at least 24 to 48 hours before you even think about putting anything on it, and a full week before you treat it like normal furniture.
Mastering Wood Stripping Techniques Without the Mess
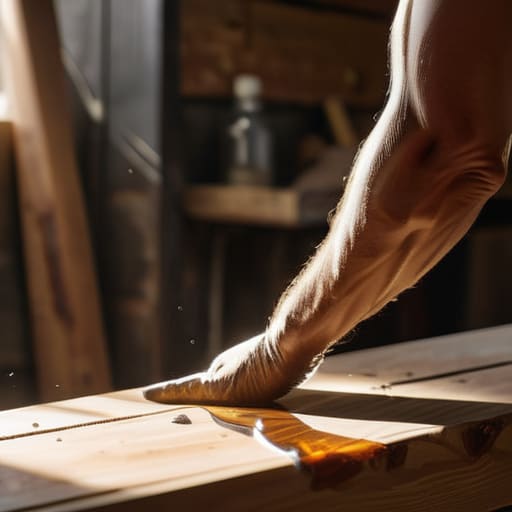
Look, if you’re planning on using chemical strippers, don’t expect a magic wand. Most people make the mistake of slathering it on thick and walking away, only to end up with a gummy, useless mess that’s impossible to clean. The trick to effective wood stripping techniques isn’t about brute force; it’s about patience. Apply a thin, even layer, cover it with plastic wrap to keep the chemicals from evaporating, and let it do the heavy lifting. You want to spend your energy removing old varnish with a dull scraper rather than scrubbing like a maniac for three hours.
Once the finish is off, your biggest enemy is residue. I’ve seen too many guys skip the cleaning step, only to find their new stain looks blotchy and amateur. Grab a mineral spirits wash to neutralize the surface before you even think about touching a sander. If you don’t get that chemical sludge out of the grain, you’re just sealing the mess under your new coat. It’s a bit of extra legwork, but it’s the only way to ensure a professional-grade finish that actually lasts.
The Essential Furniture Restoration Tools You Actually Need
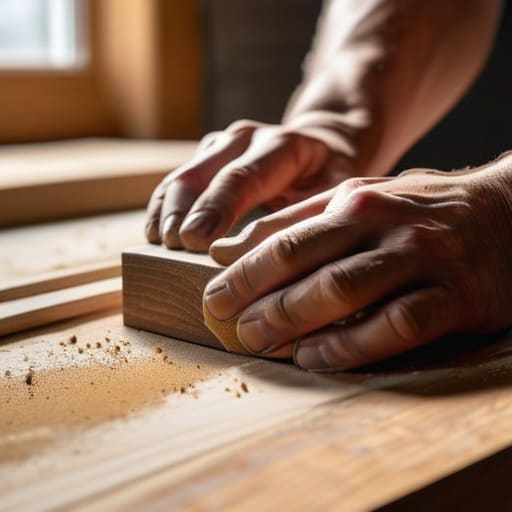
Look, you can walk into any big-box hardware store and find a wall of shiny, expensive gadgets designed to separate you from your paycheck. Most of it is overkill. If you’re serious about this, you don’t need a workshop full of power tools; you need a few reliable items that actually do the heavy lifting. Start with a decent set of sanding blocks and a solid furniture sanding grits guide—don’t just wing it with whatever paper you find in the junk drawer. You’ll need 80-grit for the rough stuff and 220-grit for the final smoothing. If you skip the progression, you’re just inviting scratches into your finish.
For the cleanup, grab a high-quality tack cloth and a stiff-bristled brush. When you’re removing old varnish, those tiny crevices in the wood grain will trap debris that a standard rag will miss. I also suggest keeping a small, sharp scraper on hand. It’s much more efficient than trying to force a chemical stripper to do all the work for you. Stick to the basics, buy quality over quantity, and you’ll save yourself a massive headache when it’s time to seal the wood.
Five Things Most People Get Wrong (And How to Avoid Them)
- Don’t go overboard with the sandpaper. I see people jump straight to the ultra-fine grit because they want a smooth finish, but if you haven’t cleared the old finish with a coarser grit first, you’re just polishing the gunk into the wood grain. Work your way up the grits—start heavy, end light.
- Stop buying every specialized chemical the hardware store throws at you. Most of the time, a decent quality stripper and a steady hand are all you need. You don’t need a “professional grade restoration kit” to fix a dining table; you just need to follow the instructions on the bottle you actually bought.
- Test your stain on a scrap piece or a hidden spot first. I’ve seen too many guys get excited about a dark walnut stain, slap it on a whole dresser, and realize too late that the wood is too porous and now looks like a charcoal brick. Always know how the wood is going to react before you commit.
- Control your environment. If you’re trying to apply finish in a dusty garage or a humid basement, you’re asking for trouble. Dust settles into wet varnish like tiny boulders, and humidity messes with the drying time. Find a clean, dry, well-ventilated spot and stay there.
- Patience is a tool, just like a screwdriver. If the instructions say let the stripper sit for ten minutes, don’t try to scrape it off after three because you’re in a hurry. If you rush the chemical reaction or the drying time, you’ll end up with a streaky, gummy mess that’ll take twice as long to fix.
The Bottom Line
Don’t let “perfect” be the enemy of “done.” You don’t need a professional workshop to get great results; you just need the right grit, a bit of patience, and the willingness to get your hands dirty.
Invest in quality tools, but don’t get distracted by the shiny gadgets. A good scraper and decent sandpaper will do 90% of the heavy lifting—everything else is just extra noise.
Respect the process, especially the drying times. If you rush the finish because you’re eager to see the end result, you’ll end up undoing hours of hard work with a tacky, messed-up surface.
Don't Let the Dust Settle
Look, I know it feels like a lot. Between choosing the right grit of sandpaper, stripping back that old, stubborn varnish, and making sure your workspace isn’t a complete disaster zone, it’s easy to feel overwhelmed. But if you remember one thing, let it be this: stick to the fundamentals. You don’t need a workshop full of expensive pneumatic tools or a degree in fine arts to get this right. Just focus on a clean surface, steady hands, and applying your finish in thin, even layers. If you skip the prep work to save time, you’re just setting yourself up to redo the whole job in a month. Do it right the first time, and the system will work for you.
At the end of the day, refinishing furniture isn’t just about making an old coffee table look new again; it’s about reclaiming something that has actual substance. We live in a world of “disposable” everything—cheap, flat-packed stuff that’s designed to end up in a landfill the moment it gets a scratch. When you take the time to restore a piece of solid wood, you’re pushing back against that cycle. There is a unique kind of satisfaction that comes from looking at a finished piece and knowing you were the one who brought it back to life. So, clear off the workbench, grab your tools, and just get started.
