

I remember sitting in my garage last winter, surrounded by half-melted wax spills and a mountain of expensive, specialized equipment I’d bought because some influencer told me I needed it. I was trying to figure out how to make candles that actually smelled like something and didn’t look like a science experiment gone wrong, but all I had to show for it was a wasted afternoon and a massive mess. The truth is, you don’t need a laboratory-grade setup or a hundred-dollar kit to get decent results; you just need to understand the basic physics of heat and wick tension.
In this guide, I’m stripping away the fluff and the overcomplicated “artisan” nonsense to give you a process that actually works. I’ll show you the exact, stripped-down workflow I use to create clean-burning, functional candles without the unnecessary overhead. We’re going to focus on the essential mechanics—the right wax ratios, temperature control, and simple tools you likely already have in your kitchen. No hype, no complicated chemistry, just a straightforward system to get you from raw wax to a finished product that actually performs.
Table of Contents
Guide Overview
Tools & Supplies
- Double boiler or heat-proof bowl and pot for melting
- Thermometer to monitor wax temperature
- Pouring pitcher for controlled pouring
- Wick centering tool or clothespin to hold wicks
- Soy or paraffin wax (1-2 lbs)
- Candle wicks (set of 5-10)
- Fragrance oils (1 oz)
- Glass jars or tins (3-5 units)
Step-by-Step Instructions
- 1. First, get your workspace set up so you aren’t cleaning up wax spills for the next three hours. Clear a flat surface, grab some old newspapers or a silicone mat, and make sure you have a dedicated pouring vessel—a heat-safe pitcher or even a clean metal measuring cup works fine. You want to minimize friction here; if your setup is a mess, your process will be too.
- 2. Grab your wax and get it melting using a double boiler setup. Don’t try to melt wax directly in a pot over a flame unless you want a house fire; it’s unnecessary risk that serves no purpose. Use a thermometer to track the temperature as it climbs. You aren’t looking for a specific “magic number,” but you need to keep it steady and avoid overheating the material.
- 3. Once the wax is liquid, pull it off the heat and let it settle slightly before adding your scent. If you’re using essential oils or fragrance oils, stir them in slowly and deliberately for about two minutes. This isn’t just about smell; you’re ensuring the oil actually bonds with the wax molecules so the scent doesn’t just sink to the bottom.
- 4. Prep your containers and get your wicks centered. This is where most people fail by being too sloppy. Use a tiny bit of melted wax or a wick sticker to secure the base of the wick to the bottom of your jar, and use a clothespin or a simple wooden skewer to keep it upright. If that wick leans, your candle will burn unevenly and look like a disaster.
- 5. Now, the pour. Slowly pour the wax into your containers, leaving about half an inch of space at the top. Don’t rush this part; pouring too fast can trap air bubbles that create unsightly pits in the surface. I prefer a steady, thin stream to keep the surface smooth and professional.
- 6. Let them sit. This is the hardest part for people who want instant gratification, but you have to leave the candles alone in a room with a stable temperature. If you put them in a drafty spot or a freezing garage, the wax will crack or pull away from the glass. Patience is a tool, just like any other.
- 7. Once the candles are completely solid—usually after 24 hours—trim your wicks. You want them to sit about a quarter-inch above the wax. If they’re too long, you’ll get a massive, smoky flame; if they’re too short, the candle won’t stay lit. Trim them, clean up the edges, and you’ve got a functional tool for lighting up your space.
The Essential Soy Wax Candle Making Supplies You Actually Need
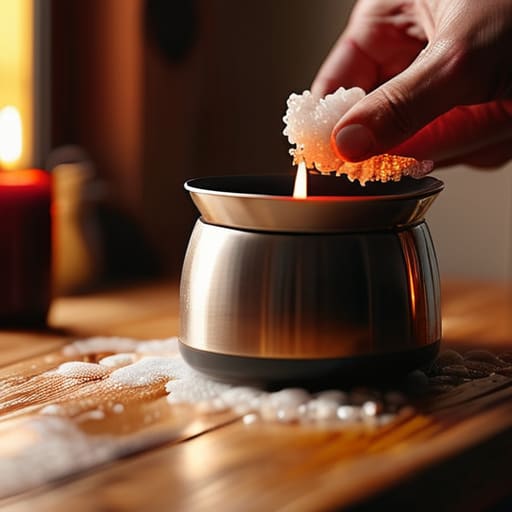
Look, you can spend a fortune on fancy kits online, but most of it is just marketing fluff designed to clutter your workspace. When you’re first starting out with candle making for beginners, my advice is to stick to the fundamentals. You need a reliable heat source, a dedicated pouring pitcher, and a digital thermometer. If you can’t accurately track your heat, you’re just guessing, and guessing leads to wasted wax and cracked containers.
Don’t get distracted by every shiny new additive on the market. For your first run, focus on high-quality soy wax candle making supplies—specifically a clean-burning soy wax and the right wick size for your jar diameter. If the wick is too small, you get a tunnel; too large, and you get a soot-covered mess. Once you’ve mastered the physics of the melt, then you can start playing around with essential oils for scented candles. Keep your setup minimal, keep it clean, and treat it like any other engineering project: focus on the core components first.
A Natural Beeswax Candle Tutorial for a Cleaner Burn
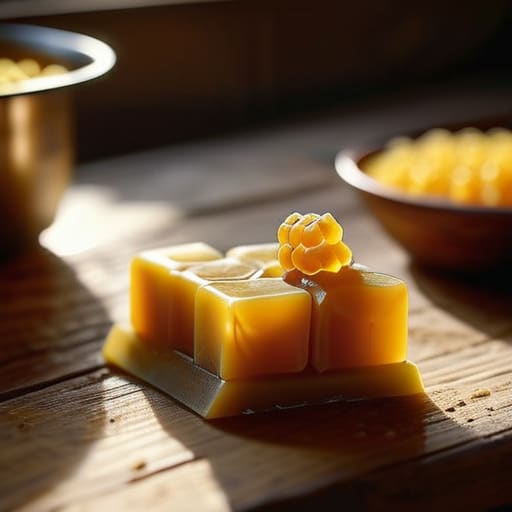
If you’ve already scouted out your soy wax candle making supplies but want to level up, you need to look at beeswax. While soy is great for a reason, beeswax is the heavy hitter when it comes to air quality. It’s a denser, more robust material that produces a much cleaner burn with almost zero soot. Because it’s a natural byproduct, you’re essentially working with a material that’s been refined by nature itself. Just keep in mind that beeswax has a higher melting point than soy, so you can’t treat it with the same casual approach.
When you’re following this natural beeswax candle tutorial, don’t expect the same easy scent throw you get with other waxes. Beeswax has a distinct, honey-like aroma that can fight against heavy fragrances. If you want to add scent, stick to high-quality essential oils for scented candles that complement that earthy base rather than trying to mask it. It’s about working with the medium, not fighting against it. Get your temperature right, keep your workspace clean, and you’ll end up with a candle that actually improves the atmosphere of a room instead of just cluttering it up.
Five ways to stop wasting wax and start making real candles
- Don’t trust the thermometer blindly; use a real analog one if you can. Digital probes are fine, but seeing the temperature rise steadily in a glass thermometer gives you a better feel for the wax’s “heartbeat” before you add your scents.
- Stop overcomplicating your scent profiles. If you’re just starting, stick to one or two high-quality essential oils. Trying to mix five different fragrances is a quick way to end up with a scent that smells like a chemical spill rather than a relaxing room.
- Wick size isn’t a suggestion, it’s math. If your wick is too small, you get a “tunnel” where the wax burns down a hole in the middle; too big, and you’ve got a fire hazard. Test a small batch first to find the sweet spot for your specific container.
- Patience is a tool, just like a soldering iron. Let your candles cure for at least a week before you light them. I know it’s tempting to see the result immediately, but the molecular structure needs time to settle for a clean, even burn.
- Clean your gear like you would a piece of precision machinery. If you leave old wax or residue in your melting pot, your next batch will be contaminated. Keep a dedicated set of tools for candle making—don’t mix your kitchen cookware with your hobby gear.
The Bottom Line
Don’t get distracted by fancy kits; stick to high-quality wax and a simple wick to ensure a clean, functional burn every time.
Keep your workspace organized and your process predictable—overcomplicating the setup is the fastest way to end up with a mess instead of a candle.
Focus on the quality of your ingredients over the complexity of your methods; a simple soy or beeswax candle beats a complicated, chemical-heavy one any day.
Cutting Through the Wax and Wick
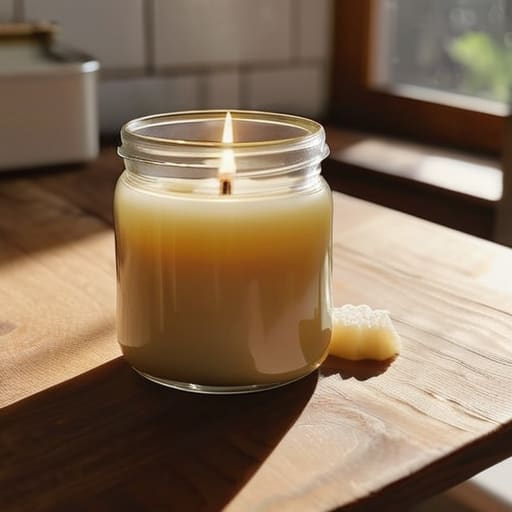
Look, making a decent candle isn’t about owning a laboratory full of specialized equipment or following a twenty-step ritual that leaves your kitchen looking like a disaster zone. Whether you went with the straightforward soy method or opted for the cleaner, natural burn of beeswax, the principle remains the same: respect the process and keep your setup simple. You’ve got your wax, your wicks, and a basic heat source. That’s it. Don’t get distracted by the flashy additives or the expensive fragrance oils that promise the world but usually just end up clogging your nostrils. Focus on the fundamentals of a steady burn and a clean pour, and you’ll have something functional that actually works when you light it.
At the end of the day, I don’t care if your first batch looks a little lopsided or if the scent isn’t quite perfect. The point of doing this isn’t to compete with a factory in a high-end boutique; it’s about the satisfaction of building something with your own two hands. There is a specific kind of clarity that comes from stepping away from the digital noise and focusing on a tactile, physical task. So, light one of your creations, put the phone in another room, and just enjoy the quiet. You’ve earned it.
