
I was standing in my kitchen three years ago, staring at a pile of expensive subway tiles and a YouTube tutorial that seemed to suggest I needed a degree in architecture just to finish a single wall. The guy in the video was using laser levels and high-end vacuum suction tools, making me feel like I was trying to launch a satellite instead of fixing a kitchen. I realized then that most people make learning how to tile a backsplash way harder than it actually needs to be by chasing expensive, unnecessary gadgets. You don’t need a showroom full of specialized equipment; you just need a solid plan and the right basic fundamentals.
In this guide, I’m stripping away the fluff and the “pro-only” gatekeeping. I’m going to show you the exact, streamlined process I use to get straight lines and clean grout without losing my mind or my entire weekend. We’ll cover everything from prepping your surface to the actual layout, focusing on tested methods that work in a real, messy home. No hype, no complicated systems—just a straightforward way to get the job done so you can finally get back to your life.
Table of Contents
Guide Overview
Tools & Supplies
- Tile cutter or wet saw for precise cuts
- Notched trowel for applying adhesive
- Rubber grout float for spreading grout
- Sponges and bucket for cleaning
- Backsplash tiles (enough for area plus 10% extra)
- Tile adhesive or mastic
- Grout (color matching the design)
- Tile spacers to maintain even lines
Step-by-Step Instructions
- 1. First, you need to prep the surface. I’ve seen people try to tile over greasy cabinets or old, peeling paint, and let me tell you, that is a recipe for disaster. Scrub your walls down with a degreaser to get every bit of cooking oil off, then make sure the surface is bone-dry and flat. If your drywall is wonky, you’re going to fight it the whole time, so fix the foundation first.
- 2. Don’t just dive in with the glue; you need a layout plan. Grab a pencil and map out where your first tile is going to sit. I usually start in the center of the most visible area and work my way out toward the edges. This prevents you from ending up with a tiny, pathetic sliver of tile in the corner that makes the whole thing look amateurish.
- 3. Now, it’s time to mix your thin-set. Don’t follow those “instant” instructions on the bag blindly; you want a consistency that looks like peanut butter, not soup. If it’s too runny, your tiles will slide right down the wall the moment you let go, and you’ll spend the next hour chasing them back up.
- 4. Spread the thin-set using a notched trowel. Use the notched side to create those little ridges—they aren’t just for show, they create the suction needed to hold the tile in place. Apply it in small sections so it doesn’t skin over and dry out before you actually get the tile pressed into it.
- 5. Set your tiles and use spacers. This is where people get lazy and try to “eyeball it,” but if you want straight lines, you need spacers. Don’t skimp here; even a tiny deviation at the bottom will turn into a massive, crooked gap by the time you reach the top of the counter.
- 6. Once the tiles are set and the thin-set has actually hardened (give it at least 24 hours), it’s time for grout. Mix a small batch and push it into the gaps using a rubber grout float. Move diagonally across the tiles so you aren’t scooping the grout right back out of the joints as you move.
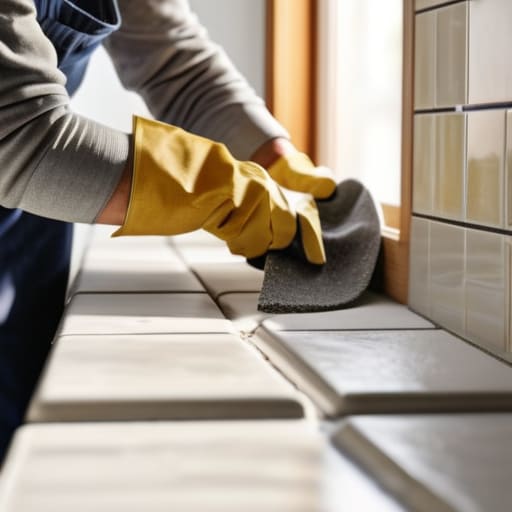
- 7. The final step is the cleanup, and it’s more important than you think. Take a damp—not soaking wet—sponge and wipe away the excess grout from the tile faces. If you leave a cloudy film, it’s a pain to get off later. Once it’s clean, let it cure, and then buff it with a dry cloth to get that professional, matte finish.
A Tiling Materials Checklist That Actually Matters
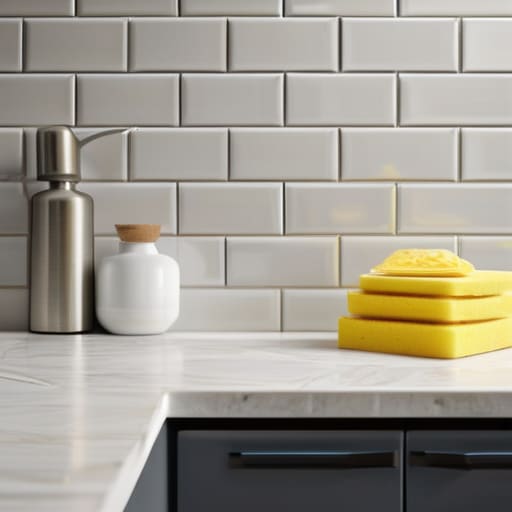
Look, I’ve seen too many guys head to the hardware store, grab a box of tiles, and realize halfway through the job that they’re missing a crucial piece of gear. You don’t need a warehouse full of equipment, but you do need the right kitchen tile installation tools to avoid a total headache. Beyond the obvious tiles and grout, make sure you have a decent notched trowel, a bucket for mixing, and a high-quality sponge. If you’re working with anything other than basic ceramic, invest in a proper manual tile cutter; trying to force a cut with a cheap pair of snips is a fast way to crack a beautiful, expensive piece of stone.
Don’t skip the prep work either. Your tiling materials checklist should always include a level and some spacers. I can’t stress this enough: if your layout isn’t dead-on from the start, no amount of clever grout application techniques will save you from a crooked finished product. Grab a roll of painter’s tape to mark your lines and a clean rag to wipe away excess adhesive immediately. Keep it simple, keep it clean, and keep moving.
Backsplash Tile Layout Planning Before You Touch a Tool
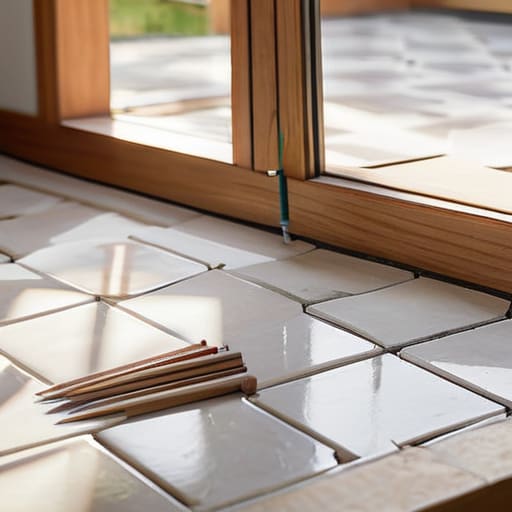
Before you even think about applying tile adhesive, you need to stop and look at your walls. Most people make the mistake of starting in a corner, only to realize halfway through that they’ve ended up with a tiny, pathetic sliver of tile against the most visible edge of the counter. That’s a rookie move. Effective backsplash tile layout planning is about finding the center point of your workspace and working outward. I always grab my notebook and sketch out a rough grid first. You want to ensure that the cuts at the ends of your runs are substantial enough to look intentional, rather than like an afterthought.
Once you’ve mapped it out, take a dry run. Lay your tiles out on the counter without any mortar to see how the pattern flows around outlets and under cabinets. This is where you’ll catch those annoying geometry issues that make you want to throw a trowel across the room. Pay close attention to the symmetry of your cuts near the stove or sink; these are the focal points where any misalignment will scream for attention. If the math doesn’t look right on paper, it won’t look right on your wall.
Five Things Most People Screw Up (And How to Avoid Them)
- Don’t trust your eyes; trust the level. I’ve seen plenty of guys eyeball a straight line only to realize halfway through that their countertop is sloped and their tiles are heading for a disaster. Use a level every single time you set a new row.
- Mix your thin-set in small batches. If you mix the whole bucket at once, it’ll start to skin over and lose its grip before you’ve even finished the first section. Work in increments that you can actually use in twenty minutes.
- Clean your grout lines as you go. If you let wet grout build up in the cracks while you’re working, you’re going to spend three hours scrubbing it out later with a toothbrush. Keep a damp sponge handy and wipe the excess off the tile faces immediately.
- Give yourself some breathing room with grout. Don’t try to cram the tiles so tight that there’s no room for the grout to actually sit in the joints. If the grout can’t get in there, the bond won’t hold, and you’ll end up with gaps that look amateur.
- Resist the urge to rush the cleanup. Once the grout is set, use a clean, slightly damp sponge to do a final wipe. If you leave a cloudy haze on the tiles, it can be a nightmare to get off once it cures, and no amount of elbow grease will make it look professional.
The Bottom Line
Don’t get blinded by the fancy tools; a good level, the right thin-set, and a solid layout plan are what actually keep your backsplash from looking like a mess.
Measure twice, cut once, and plan your layout before you ever open a bag of mortar—fixing a crooked row halfway through is a headache you don’t need.
Focus on the fundamentals of the system rather than chasing expensive gadgets; a clean, functional backsplash comes down to patience and precision, not how much you spent at the hardware store.
The Finish Line
At the end of the day, tiling a backsplash isn’t about having the most expensive laser level or a professional-grade setup. It’s about the fundamentals: getting your layout right before you mix the thin-set, keeping your grout lines clean, and having the patience to not rush the process. If you followed the checklist and did the prep work, you’ve already cleared the biggest hurdles. You’ve bridged the gap between a messy construction zone and a functional, polished kitchen. Just remember that a little bit of cleanup goes a long way—don’t let dried grout ruin a good job. Focus on the precision of the details, and the rest will take care of itself.
There’s a specific kind of satisfaction that comes from looking at a wall you built with your own two hands. In a world where everything is digital, ephemeral, and often feels a bit hollow, there is something deeply grounding about physical work. You aren’t just fixing up a kitchen; you’re improving the system of your home. Don’t sweat the tiny imperfections that only you will ever notice. What matters is that you stepped up, picked up the tools, and got the job done. Now, wipe down those tiles, grab a drink, and enjoy the view. You earned it.
