
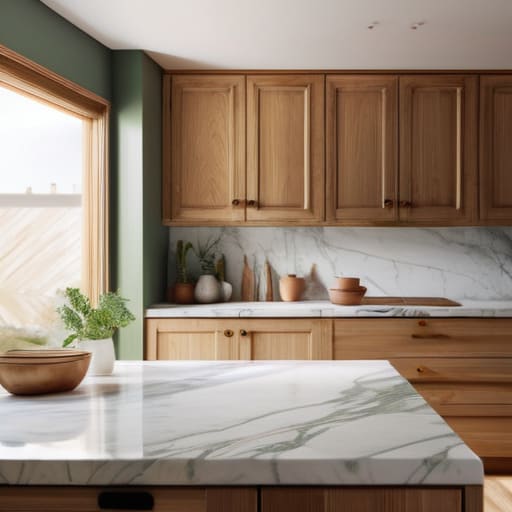
I was standing in my kitchen last summer, staring at a set of honey-oak cabinets that looked like they belonged in a 1994 sitcom, holding a high-end sprayer I’d spent way too much money on. I’d watched dozens of those polished, high-production DIY videos, but as I looked at the dust and the grease buildup on the wood, I realized none of them actually addressed the real headache. Most people think learning how to paint kitchen cabinets is about finding the perfect shade of white or buying the most expensive gear, but they’re wrong. It’s actually about the prep work—the unglamorous, gritty stuff that happens before you ever crack open a can of paint.
If you’re tired of seeing “hacks” that leave you with peeling edges and a wasted weekend, you’re in the right place. I’m not going to sell you on some magical three-step process that ignores the laws of physics. Instead, I’m going to walk you through a systematic approach that bridges the gap between a messy DIY disaster and a professional-grade finish. We’re going to focus on the essential tools, the correct sanding sequence, and the right way to prime so your hard work actually lasts. Let’s get to it.
Table of Contents
Guide Overview
Tools & Supplies
- Screwdriver or drill for removing hardware
- Sandpaper (various grits) for surface preparation
- High-quality angled brush for cutting in
- Small foam roller for smooth finishes
- Drop cloths to protect countertops and floors
- Cabinet degreaser or TSP for cleaning
- Painter's tape for masking edges
- Primer (high-adhesion) 1-2 gallons
- Cabinet-grade paint 1-2 gallons
- Sanding sponges for smoothing between coats
Step-by-Step Instructions
- 1. First things first, you need to clear the deck. Take everything out of those cabinets and set it aside. Don’t try to be a hero by painting around your cereal boxes and spice racks; you’ll just end up with a mess and a bad finish. Once they’re empty, unscrew the doors and the drawer fronts. Label everything with a piece of painter’s tape on both the door and the corresponding cabinet frame so you aren’t playing a guessing game when it’s time to put them back together.
- 2. Now, grab a screwdriver and get those hinges and handles off. I know it seems like a chore, but it’s the only way to avoid those annoying paint drips that make a DIY job look amateur. If the hardware looks beat up or dated, this is your chance to swap it out for something cleaner. If you’re keeping the old stuff, toss the screws into a small jar or a magnetic tray so they don’t vanish into the floorboards.
- 3. This is where most people fail: cleaning. Kitchen cabinets are magnets for grease, even if they look clean at a glance. Grab a heavy-duty degreaser—not just some mild dish soap—and scrub every inch of those surfaces. If you don’t get the grease off, the paint won’t bond, and you’ll be peeling flakes off your walls in six months. It’s tedious, but it’s the foundation of the whole system.
- 4. Once they’re dry, you’ve got to sand. You aren’t trying to sand the wood down to the grain; you just need to scuff up the surface so the primer has something to grab onto. Use a medium-grit sandpaper and keep your strokes even. If you see any deep scratches or dents, hit them with a bit of wood filler and sand that smooth too. A smooth surface now means less work for you when you’re doing the final coats.
- 5. Apply your primer. Don’t skimp here and don’t use the cheap stuff from the bargain bin. Use a high-quality, stain-blocking primer designed specifically for cabinetry. If you’re working with dark wood, you might need two coats to get a consistent base. I prefer using a small foam roller for the large flat areas to keep it smooth, and a brush just for the tricky corners and recessed details.
- 6. Now for the actual paint. Use a cabinet-specific enamel—it’s designed to dry harder and resist the daily wear and tear of being touched and bumped. Apply thin, even coats rather than trying to cover everything in one thick, gloopy layer. It’s better to do three thin coats than one heavy one that runs and leaves streaks. Let each coat dry completely according to the can’s instructions before you even think about the next one.
- 7. The hardest part: waiting. Once you’ve finished your last coat, don’t rush to hang those doors back up. Even if the paint feels dry to the touch, it hasn’t cured yet. Give it at least 24 to 48 hours before you start reattaching the hardware and the doors. If you rush this stage, you’ll end up with fingerprints or even worse, doors that stick to the frames. Patience is a tool, just like a screwdriver.
The Truth About the Kitchen Cabinet Refinishing Process
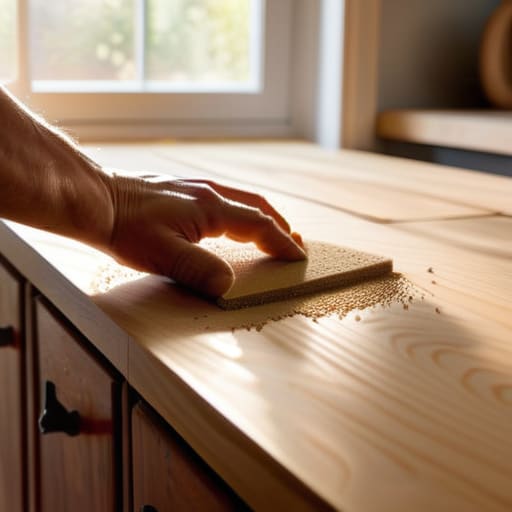
Look, I’ve seen too many people dive into this project thinking they can just slap a coat of latex over old oak and call it a day. That’s a recipe for a peeling disaster. The real secret to the kitchen cabinet refinishing process isn’t some magic brush; it’s the prep work. If you don’t spend the time getting the surface perfectly smooth, you’re essentially just painting over a mess. I’ve spent more hours than I care to admit fixing mistakes because someone got lazy with their cabinet sanding techniques. Don’t skip the grits—start coarse to remove the old finish and work your way up to a fine grit so the surface is actually receptive to the new layer.
Another thing people get wrong is the chemistry. You can’t just use any old wall paint. You need a specialized primer for painted cabinets that is designed to bond to slick, greasy surfaces. If you skimp here, the paint will bubble or chip the first time you bump a pot against the door. It’s about building a solid foundation, not just making things look pretty for the weekend.
Choosing the Best Paint for Kitchen Cabinets Without the Fluff
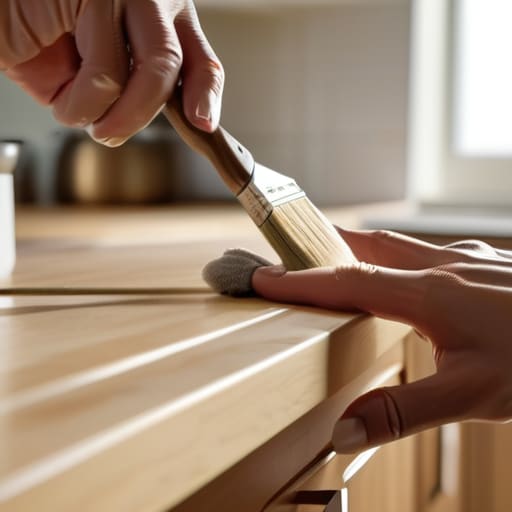
Don’t get distracted by the fancy labels at the big-box hardware stores. Most of them will try to sell you a “specialty” product that costs three times as much but performs exactly like the standard stuff. When you’re looking for the best paint for kitchen cabinets, you aren’t looking for color—you’re looking for durability. Kitchens are high-traffic zones. They deal with grease, steam, and the occasional spilled glass of red wine. You need an enamel-based paint or a high-quality waterborne alkyd. These options dry harder than standard wall paint, which is the only way you’re going to avoid a finish that feels tacky or peels off after a month of wiping down counters.
The second thing people mess up is skipping the foundation. You can buy the most expensive gallon on the shelf, but if you don’t use a dedicated primer for painted cabinets, you’re just setting yourself up for failure. A good primer acts as the glue between your prep work and your final coat. It seals the old finish and gives the new layer something to bite into. If you cut corners here, you’ll spend more time fixing bubbles and drips than you would have spent just doing it right the first time.
Five things I wish I knew before I picked up a brush
- Don’t skimp on the sandpaper. If you think you’ve sanded enough, sand for another ten minutes. If you leave those shiny, factory-smooth spots, your new paint is going to peel off like a bad sunburn within a year.
- Stop trying to be a hero with cheap brushes. I’ve seen guys try to save twenty bucks on a brush only to spend three days picking dried bristles out of their finish. Buy a decent synthetic brush and a small, high-quality microfiber roller; it’s worth every penny for the smoother finish.
- Patience is your most important tool here. I know you want to see the finished product, but if you rush the drying time between coats, you’re just going to trap moisture and create a gummy mess. Let it cure. Seriously.
- Clean your workspace like you’re prepping a surgical suite. A single grain of sawdust or a stray hair caught in wet paint is a permanent reminder of your impatience. Wipe everything down—not just the cabinets, but the counters and floors too.
- Label everything. Once you take those doors off and start painting, they all start looking the same. Use my notebook to sketch a quick map of which door goes where, or use painter’s tape to number them. Trust me, you don’t want to be playing a guessing game with your hardware on Sunday night.
The bottom line on your kitchen refresh
Don’t skimp on the prep; if you don’t sand and clean properly, you’re just painting over a disaster that will peel in a few months.
Buy the good paint—the stuff that actually bonds to surfaces—because trying to save twenty bucks on cheap cans will cost you triple in wasted time and frustration.
Forget the “perfect” finish you see on Instagram; aim for durability and a clean look that stands up to real-life cooking and cleaning.
Getting It Done
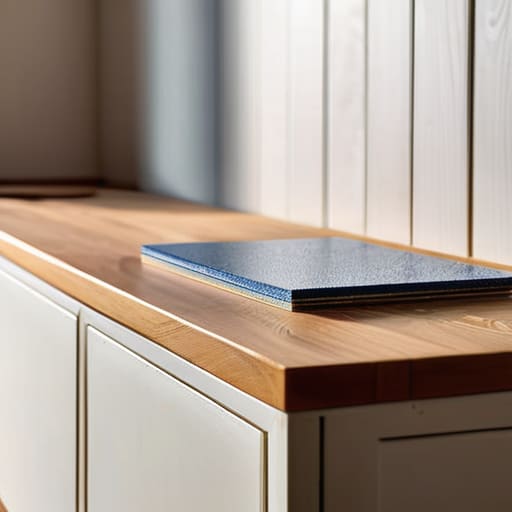
Look, I’m not going to tell you this is a weekend project if you’re doing it right. If you’ve followed these steps—properly sanding the surfaces, cleaning off every bit of grease, and applying high-quality primer before that final coat of enamel—you’ve already done the hard part. The secret isn’t some magic spray or a specialized tool; it’s the discipline to not skip the prep work. Most people fail because they try to rush the drying times or get lazy with the cleaning, and that’s exactly when the paint starts peeling in six months. Stick to the system, respect the drying windows, and you’ll end up with a finish that actually holds up to real-world kitchen use.
At the end of the day, your kitchen shouldn’t be a showroom that’s too precious to touch; it should be a functional space that works for you. Refinishing your own cabinets isn’t about achieving some impossible, factory-perfect aesthetic—it’s about taking ownership of your environment through steady, intentional effort. Once the dust settles and the last door is hung, you won’t just see a new color; you’ll see the result of a job done with your own two hands. Now, put the phone away, clear off the workspace, and go get started.
