
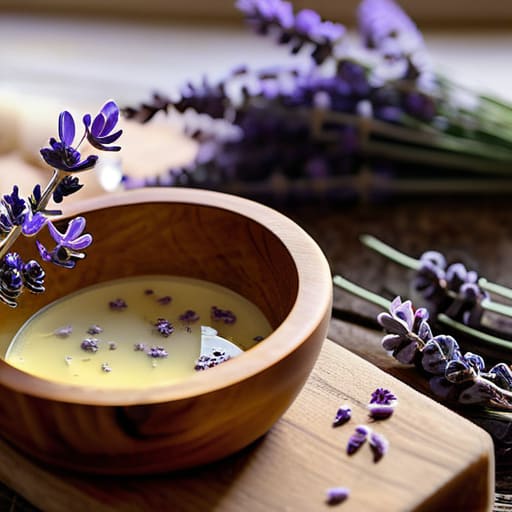
I was staring at a kitchen counter covered in expensive essential oils, three different types of specialty molds, and a mountain of “beginner” YouTube tutorials that felt more like chemistry lectures than actual instructions. Most people think you need a laboratory setup and a degree in organic chemistry to figure out how to make soap, but that’s just more noise. I learned the hard way that you don’t need a hundred fancy additives to get a quality bar; you just need to understand the basic mechanics of the reaction. My goal isn’t to turn your kitchen into a sterile manufacturing plant, but to help you master the fundamental process without the headache.
In this guide, I’m stripping away the fluff and the overpriced “lifestyle” nonsense to show you the direct path. I’ll walk you through the essential gear, the safety protocols you can’t skip, and the exact steps to get a clean, functional result every single time. We aren’t chasing perfection or complex art projects here; we are focusing on reliable systems that work. By the time we’re done, you’ll have a solid grasp of the craft and a batch of soap that actually does its job.
Table of Contents
Guide Overview
Tools & Supplies
- Digital scale for precise measurements
- Stick blender for emulsifying oils and lye
- Heat-safe glass beaker or stainless steel pot
- Silicone molds for shaping the soap
- Base oils (e.g., Coconut, Olive, or Shea butter) 500g
- Sodium Hydroxide (Lye) 70g
- Distilled water 150g
- Essential oils or fragrance oils 15-30ml
Step-by-Step Instructions
- 1. First things first, get your workspace set up like a real lab, not a kitchen. You’re dealing with lye, which is caustic as hell, so clear off a non-porous surface—think stainless steel or heavy-duty plastic—and get your safety gear on. I’m talking goggles, gloves, and long sleeves; don’t be the guy who thinks he’s too experienced to get a chemical burn. Once you’ve got your gear on, lay out your digital scale, your stainless steel pot, and your heat-resistant pitchers so everything is within reach.
- 2. Weigh out your oils and fats with precision. Forget those measuring cups; in soapmaking, volume is a lie and weight is everything. If your recipe calls for 500 grams of olive oil and 200 grams of coconut oil, use the scale to hit those numbers exactly. I like to use a single large bowl for the oils to keep things simple, but make sure you’ve checked that your scale is calibrated before you start dumping expensive fats into it.
- 3. Now, handle the lye solution, and for heaven’s sake, do it outdoors or in a very well-ventilated area. Pour your measured lye crystals into your distilled water—never the other way around, or you’ll end up with a “volcano” situation—and stir until it’s clear. It’s going to get hot, and it’s going to release fumes, so don’t go breathing that in. Set the mixture aside to cool down to a temperature that won’t shock your oils, ideally somewhere between 90°F and 110°F.
- 4. Once your oils and your lye water have cooled down to that sweet spot, it’s time to combine them. Slowly pour the lye solution into your oil container and start stirring. If you want to save your arms the trouble, use a stick blender. Give it a few short bursts, then a few stirs, until the mixture reaches “trace.” You’ll know you’re there when the liquid has the consistency of thin pudding and leaves a visible trail when you lift the blender out.
- 5. If you’re adding scents or clays, this is the moment to do it. I usually stick to simple essential oils, but if you’re going to use fragrance oils, make sure they are specifically rated for soapmaking. Fold them in gently with a spatula so you don’t accidentally re-emulsify the mixture and lose that trace you just worked so hard to achieve.
- 6. Pour the mixture into your mold—silicone molds are the gold standard because they’re easy to work with and don’t require constant greasing. Tap the mold firmly on the counter a few times to shake out any large air bubbles trapped in the corners. Once it’s poured, cover it with a piece of cardboard and a towel to keep the heat in, which helps the saponification process finish up smoothly.
- 7. Let the soap sit undisturbed for 24 to 48 hours until it’s firm enough to handle. Once it’s solid, pop it out of the mold and slice it into bars using a sharp knife or a dedicated soap cutter. But don’t think you’re done yet; you can’t use it right away. You need to set those bars on a drying rack in a cool, dry place for four to six weeks. This “curing” period is non-negotiable—it lets the water evaporate, making your bars harder, longer-lasting, and much gentler on your skin.
The Cold Process Soap Making Method Without the Complexity
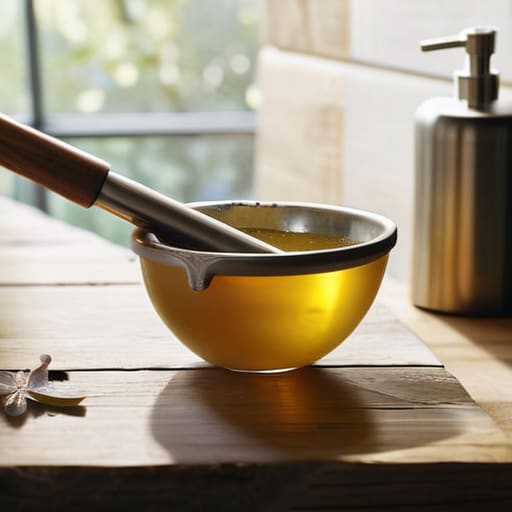
Look, I’ve seen plenty of people get paralyzed by the sheer number of gadgets they think they need. You don’t need a laboratory; you just need a solid soap making equipment list that focuses on utility over flash. I’m talking about a reliable digital scale, stainless steel containers, and a sturdy stick blender. If you try to wing it with imprecise measurements, you’re going to end up with a greasy mess or, worse, a bar that’s too harsh for your skin. Stick to the basics and treat the process like any other system: precision in the inputs leads to reliability in the output.
Before you even touch a single ingredient, don’t skip the lye safety precautions. This isn’t some casual hobby where you can cut corners; lye is caustic, and it demands respect. Wear your goggles, keep your gloves on, and always add the lye to the water—never the other way around. Once you’ve mastered that safety protocol, you can start experimenting with natural soap ingredients for skin like shea butter or olive oil. Keep it simple, keep it safe, and let the chemistry do the heavy lifting for you.
Essential Oils for Natural Soap That Actually Smell Good
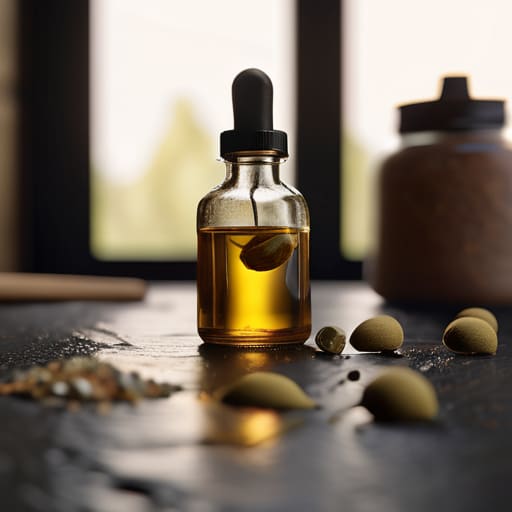
Look, I’ve seen too many people ruin a perfectly good batch of soap because they treated scent like an afterthought. If you’re using the cold process soap making method, you have to remember that scent is a chemical component, not just a perfume you splash on at the end. Some oils smell great in a diffuser but vanish the second they hit the lye. I always tell my clients: don’t chase the most expensive fragrance. Stick to high-quality essential oils for natural soap that have enough “heft” to survive the saponification process.
If you want a scent that actually lasts, start with the heavy hitters like cedarwood, patchouli, or sandalwood. These base notes act like an anchor for lighter, more volatile scents like lemon or peppermint. A common mistake is trying to use a single oil and expecting it to do all the heavy lifting. Instead, think like an engineer: create a blend. Mix a base, a middle, and a top note. It’s about building a stable system for your fragrance, ensuring that when you finally unwrap that bar, it actually smells like something worth keeping.
Five Rules to Keep Your Batch from Becoming a Disaster
- Don’t skimp on the gear. I know it’s tempting to use your kitchen’s good whisk, but once you touch lye, that utensil is retired. Buy a dedicated stainless steel immersion blender; it’ll save you twenty minutes of manual labor and a hell of a lot of frustration.
- Safety isn’t a suggestion, it’s the foundation. Lye is no joke—it’ll eat through skin faster than you can react. Wear your goggles, use gloves, and keep a bottle of vinegar nearby just in case, though water is actually your best bet for rinsing skin.
- Stop guessing with your measurements. If you try to “eyeball” the oils or the water, you’re going to end up with a greasy mess or a bar that’s too harsh to use. Use a digital scale and measure everything by weight, not volume. It’s the only way to ensure consistency.
- Temperature control matters, but don’t obsess. You don’t need a lab-grade thermometer, but you do need to make sure your oils and your lye water are in the same ballpark—ideally between 90°F and 110°F—before you mix them. If one is hot and the other is cold, you’ll run into “false trace” issues.
- Patience is your most important ingredient. Once the soap is in the mold, leave it alone. I’ve seen people try to slice into their bars too early because they were excited, only to end up with a gummy, unworkable sludge. Let it cure. The wait is what makes the soap functional.
The Bottom Line: Keep It Simple
Don’t get distracted by fancy additives or complex recipes; focus on mastering the basic chemistry of oils and lye first.
Safety isn’t optional—treat your lye with respect, wear your gear, and keep your workspace organized to avoid a mess.
Precision matters more than perfection; use a digital scale for everything because “eyeballing it” is how you end up with a useless batch of grease.
Getting Your Hands Dirty
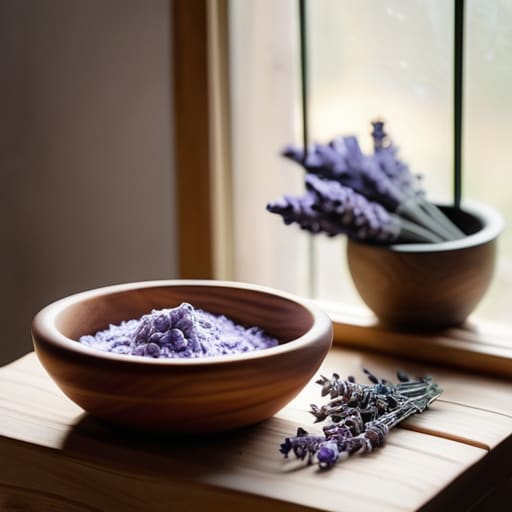
Look, making soap isn’t about having a laboratory-grade setup or a degree in chemistry. It comes down to the fundamentals: getting your lye-to-oil ratios right, choosing oils that actually clean without stripping your skin, and having the patience to let the cold process method do its job. You don’t need fifty different additives to make a quality bar; you just need high-quality ingredients and a clean workspace. Once you’ve mastered the basic chemistry and found an essential oil blend that doesn’t drive you crazy, you’ve already bypassed the most common mistakes beginners make. Just stick to the tried-and-true ratios and don’t let the minor variables distract you from the process.
At the end of the day, there is a specific kind of satisfaction that comes from using something you built with your own two hands. In a world where everything is digital, ephemeral, and mass-produced, making a physical product provides a much-needed connection to the real world. It’s about reclaiming a bit of self-sufficiency and proving that you don’t need a complex system to achieve a functional result. So, stop reading about it, clear off your workbench, and just start making. You’ll learn more from one messy batch than you ever will from a dozen more tutorials.
