
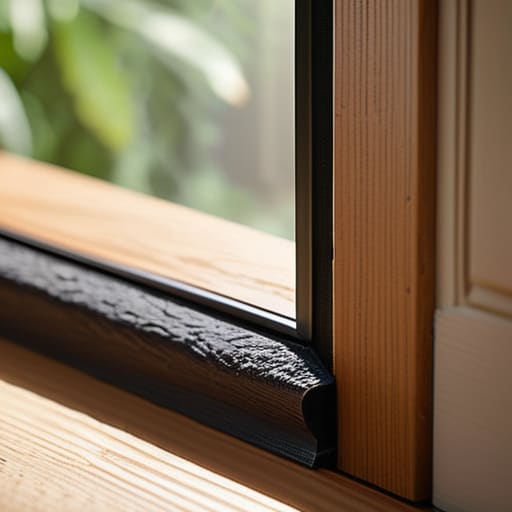
I was sitting in my home office last Tuesday, trying to focus on a project deadline, when I felt that familiar, icy finger of wind snake its way right under my feet. It’s one of those small, nagging inefficiencies that drives a systems guy crazy—you’re paying a fortune to heat the neighborhood instead of your living room. Most people think they need to replace the entire door assembly or call in a contractor to fix a draft, but that’s just expensive noise. The truth is, weatherstripping a door is a twenty-minute fix that solves the problem without draining your bank account or your patience.
I’m not going to give you a list of fifty different specialty products that all claim to be “revolutionary.” Instead, I’m going to show you how to identify exactly where the seal is failing and which specific materials actually hold up against the elements. We’ll skip the fluff and focus on the tools and techniques that get the job done right the first time. By the time you’re finished, that draft will be a memory, and your utility bill will actually start making sense again.
Table of Contents
Guide Overview
Tools & Supplies
- Measuring tape for determining door perimeter
- Utility knife for trimming excess material
- Scissors for cutting adhesive backing
- Microfiber cloth for cleaning the door frame
- Weatherstripping roll (adhesive or tension type)
- Rubbing alcohol for surface preparation
Step-by-Step Instructions
- 1. First, you need to figure out what you’re actually dealing with. Grab a flashlight and a piece of paper, and run it along the door frame on a windy day to see where the air is actually sneaking through. Don’t just assume it’s the bottom; check the sides and the top too. Once you’ve identified the culprits, you’ll need to measure the gaps. Don’t eyeball it—get a real tape measure and write down the width of those gaps so you don’t end up at the hardware store buying the wrong thickness.
- 2. Before you even think about sticking anything new on, you have to clean the surface. If there’s old, crusty foam or layers of grime on the frame, the new strip won’t hold, and you’ll be doing this all over again in a month. Use some isopropyl alcohol and a clean rag to wipe down the entire perimeter where the seal will sit. You want that surface to be completely bone-dry before you move to the next step.
- 3. Now, pick your weapon. If you have large, uneven gaps, go with a thick foam tape or a rubber bulb seal. If the gaps are tight and consistent, a V-strip (that’s the tension seal) works wonders. Personally, I prefer the silicone-based strips because they don’t degrade as fast as the cheap foam stuff. Just remember: buy for the gap, not the price tag, or you’ll just be wasting your time.
- 4. Start applying the stripping at the top corner of the door. If you’re using adhesive tape, peel back just enough of the backing to get it started. Press it firmly into place, working your way down the side. Don’t pull the strip too tight as you go, or it’ll want to snap back and peel off later. You want it to lay flat and smooth, like a well-laid cable in a server rack.
- 5. Tackle the bottom of the door next, which is usually the biggest offender. If your door has a massive gap at the threshold, skip the tape and install a proper door sweep. You can screw these directly into the bottom of the door, or if you’re renting, get one that just slides onto the bottom edge. Just make sure it creates a tight seal without making the door impossible to swing shut.
- 6. Once everything is installed, it’s time for the stress test. Close the door and feel around the edges with your hand to see if you can still catch a breeze. If you see light coming through the cracks, your seal isn’t tight enough. You might need to add another layer or choose a slightly thicker material. It’s better to fix the gap now than to sit there shivering in January wondering why your heating bill is through the roof.
Foam vs Rubber Weatherstripping Choosing What Actually Lasts
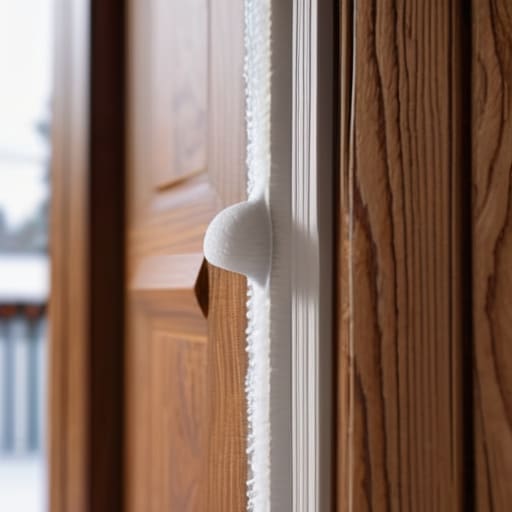
Look, you’ll see a dozen different options at the hardware store, and most of them look identical in the packaging. Don’t fall for it. Most people grab the cheap adhesive foam because it’s easy and inexpensive, but if you want to stop fighting the same draft every six months, you need to understand the difference between foam vs rubber weatherstripping. Foam is fine for a temporary fix or a low-traffic closet door, but it compresses and disintegrates under pressure. If you’re dealing with a main entrance that gets slammed or experiences temperature swings, foam will fail you.
I always recommend going with rubber or silicone. It’s got the “memory” to bounce back after the door closes, which is crucial for preventing air leaks around doors over the long haul. It’s a slightly higher upfront cost, but it’s a one-and-done solution. If you’re also looking at a door bottom seal installation, stick to the heavy-duty EPDM rubber. It bridges the gap between your digital obsession with “smart homes” and the physical reality of a house that actually stays warm. Get the right material the first time, and you won’t have to do this again next season.
Preventing Air Leaks Around Doors Without the Extra Hassle
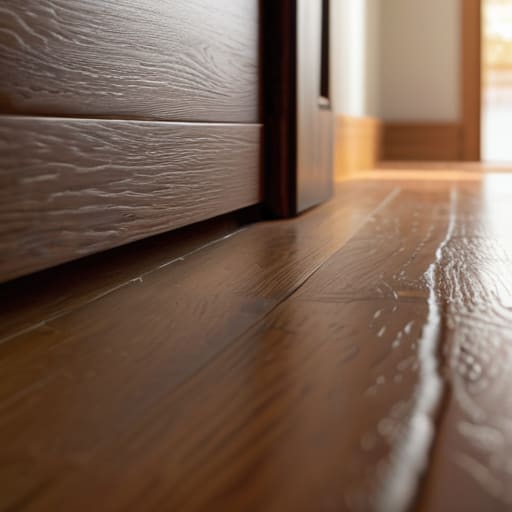
Look, even if you’ve gone through the trouble of sealing the sides and top, you’re still losing money if you ignore the gap at the floor. Most people forget that the bottom of the door is the biggest culprit for drafts. If you aren’t looking into a proper door bottom seal installation, you’re essentially trying to plug a leaky bucket with your thumb. I’ve seen plenty of guys spend a weekend on the jambs only to realize they’re still shivering because there’s a massive gap at their feet.
If your current sweep is cracked or just flattened out from years of being stepped on, don’t bother trying to patch it. Just grab a new one. A quick door sweep replacement guide is usually all you need to get back on track—it’s a ten-minute job that pays for itself in heating costs by next month. My rule of thumb is simple: if you can see light under the door, you’re throwing money out the window. Keep it tight, keep it simple, and don’t let the easy stuff slip through the cracks.
Pro Tips to Keep the Job from Falling Apart
- Clean the surface twice before you stick anything down. If there’s a layer of old dust or oily residue on that door frame, your new weatherstripping will peel off in a week, and you’ll be right back where you started.
- Don’t go overboard with the thickness. I’ve seen guys buy the beefiest rubber seals they can find, only to realize they can’t actually close the door anymore. You want a snug fit, not a workout every time you want to enter the room.
- Check your threshold while you’re at it. If the bottom of the door has a massive gap, no amount of side-seal stripping is going to save your heating bill. Sometimes you need a door sweep more than you need side gaskets.
- Use a real measuring tape, not your “eye.” Measure the height and width of the frame, then add a little extra for the ends. It’s much easier to trim a piece that’s too long with a utility knife than it is to try and bridge a gap because you cut it short.
- Test the seal with a flashlight. Once you’re done, have someone stand outside at night with a bright light while you’re inside. If you see light peeking through the edges, you’ve still got a leak that needs fixing.
The Bottom Line
Don’t overthink the materials; buy quality rubber over cheap foam so you aren’t redoing this work again in six months.
Focus on the gaps where you actually feel the draft, because fixing the biggest leaks gives you 80% of the results for 20% of the effort.
Keep it simple—seal the door, stop the energy waste, and get back to your life.
Getting It Done
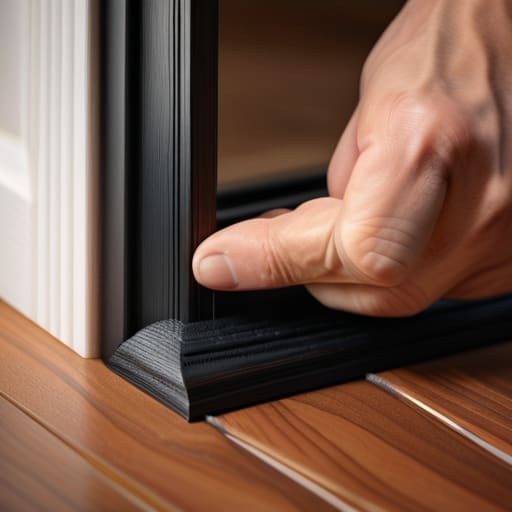
Look, at the end of the day, weatherstripping isn’t some complex engineering feat; it’s just about closing the gaps that are bleeding your bank account dry. We’ve covered the essentials: pick the right material so you aren’t replacing cheap foam in six months, prep your surfaces properly so the adhesive actually sticks, and make sure that seal is tight without making the door a nightmare to latch. If you follow those steps, you’ve done the heavy lifting. You’ve moved from guessing why your utility bills are spiking to actually controlling your environment with a few simple, physical fixes. It’s about setting up a system that works so you don’t have to keep thinking about it.
My philosophy has always been that the best tools and methods are the ones that let you get back to your real life. Once that door is sealed and the draft is gone, you shouldn’t have to give it another thought. You’ve reclaimed a bit of comfort and a bit of your hard-earned money by simply taking ownership of your space. Don’t let the small, nagging inefficiencies pile up until they become a massive headache. Fix the leak, seal the gap, and move on to the next project. That’s how you build a life that runs smoothly, one practical step at a time.
