
I was sitting at my workbench last weekend, surrounded by the smell of solder and old capacitors from a 1970s Moog I was stripping down, when I realized how much time I’d wasted chasing the wrong things. I’d spent years thinking I needed the latest $1,200 flagship or a complex array of mobile lenses to capture a decent shot, but it’s all just marketing noise. Most of the “pro” tutorials you see online are just layers of digital fluff that make a simple task feel like a chore. If you’re tired of scrolling through endless menus trying to figure out how to take better phone photos only to end up with something that looks flat and lifeless, you aren’t alone.
I’m not here to sell you on a new app or a subscription to some “AI enhancer” that ruins the soul of the image. My goal is to give you the straightforward, mechanical basics—the stuff that actually matters when you’re standing in the real world. We’re going to talk about light, stability, and composition in a way that actually sticks. I’ll show you how to bridge that gap between the digital sensor in your pocket and the actual scene in front of you, so you can finally stop fiddling with settings and just start capturing things that look real.
Table of Contents
Mastering Phone Camera Focus and Exposure Settings Instantly
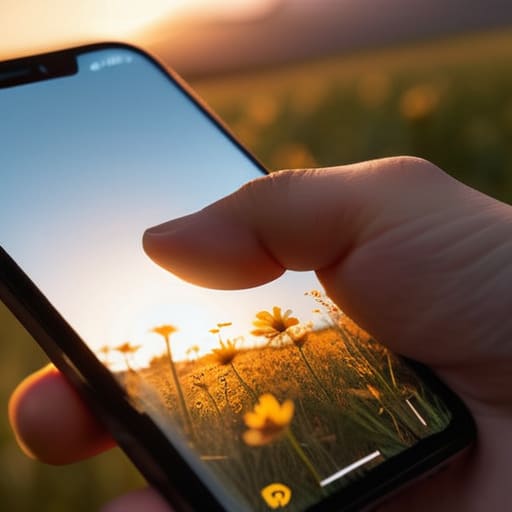
Most people just point, tap the shutter, and hope for the best. That’s a recipe for blown-out skies and blurry subjects. If you want to actually control the shot, you need to stop treating your phone like a point-and-shoot toy and start using it like a tool. When you’re framing a shot, tap the screen exactly where you want the focus to land. Once that yellow box appears, don’t just leave it. Slide your finger up or down on the screen to manually adjust the brightness. This is the simplest way of mastering phone camera focus and exposure settings without digging through a dozen sub-menus.
I’ve spent years tinkering with complex analog gear, and I can tell you: light is everything. If your photo looks washed out or muddy, it’s likely because you didn’t account for the light source before you clicked. Instead of relying on the phone’s “auto” mode to guess what you’re looking at, use that exposure slider to bring the highlights down. It’s much easier to recover detail from a slightly darker photo than it is to fix a shot that’s completely white and lifeless.
Simple Mobile Photography Composition Rules That Actually Work
Look, you don’t need a degree in fine arts to frame a shot that doesn’t look like a total accident. Most people just point and shoot, which usually results in a cluttered mess. If you want to start improving smartphone image quality without buying a single piece of gear, start with the Rule of Thirds. Turn on the grid lines in your settings—it’s a simple system, much like any good engineering schematic. Instead of shoving your subject dead center, align them with those intersecting lines. It gives the image room to breathe and makes the whole thing feel intentional rather than accidental.
Another thing that trips people up is depth. A flat photo is a boring photo. Try to find a “leading line”—a road, a fence, or even a shadow—that pulls the viewer’s eye into the frame. This is one of those fundamental mobile photography composition rules that works every single time because it mimics how we actually see the world. If you’re getting close to a subject for some macro photography with smartphone, make sure you have a clear foreground and background. It creates a sense of scale that a flat, centered shot just can’t touch.
Stop chasing megapixels and start using these five basics
- Clean your lens. I’m serious. Most of your “blurry” or “dreamy” looking shots are just a layer of fingerprint grease on the glass. Give it a quick wipe with your shirt before you pull it out of your pocket. It’s the simplest fix in the book.
- Find the light, don’t fight it. If you’re indoors, get near a window. If you’re outside, avoid the midday sun that creates those harsh, ugly shadows on people’s faces. Aim for the “golden hour” near sunset, or just find some decent shade. Light is the raw material; if you don’t have good material, the sensor can’t do its job.
- Stop using digital zoom. When you pinch your screen to zoom in, you aren’t actually “seeing closer”—you’re just stretching the pixels and making the image grainy and digital. If you want a closer shot, use your feet and walk toward the subject. It’s an old photographer’s rule, and it still holds up on a smartphone.
- Use the volume button to snap the shot. Reaching for that tiny on-screen button often leads to shaky hands and accidental movement. Most phones let you use the physical volume rockers as a shutter. It feels more like a real camera, gives you a better grip, and keeps the shot steady.
- Edit with restraint. You don’t need a heavy-duty suite of filters to make a photo look “pro.” Most of the time, a slight tweak to the contrast or a tiny bump in the shadows is all you need. If the photo looks like it was taken in a fever dream, you’ve gone too far. Keep it looking like the real world.
The bottom line
Stop chasing complex software; focus on the basics like lens cleanliness, lighting, and steady hands.
Use manual focus and exposure locks to stop your phone from making bad decisions for you.
Build a better shot through simple composition rather than relying on heavy filters or post-processing.
Stop Overthinking and Start Shooting
Look, we’ve covered a lot of ground here, but it really boils down to a few fundamental principles. You don’t need a $2,000 DSLR or a degree in digital imaging to get a shot that doesn’t look like a blurry mess. Just remember to clean that lens, tap your subject to lock focus, and pay attention to where the light is coming from. If you can nail the exposure and keep your composition from feeling cluttered, you’re already ahead of 90% of the people scrolling through their feeds. It’s about mastering the basics rather than chasing every new software update or filter that hits the app store. Keep your settings simple, keep your eye on the subject, and stop fighting the hardware.
At the end of the day, your phone is just a tool—it’s no different from the multi-tool in my pocket or the soldering iron on my workbench. It’s meant to help you capture a moment, not become a source of frustration. Don’t let the pursuit of the “perfect” shot keep you from actually living the moment you’re trying to document. The best photos aren’t the ones with the highest resolution; they’re the ones that actually convey something real when you look back at them years from now. So, put the phone down once in a while, but when you pick it back up, just go out and shoot.
