
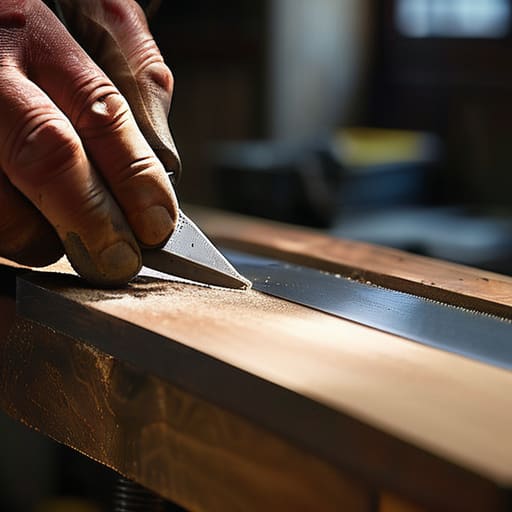
I was halfway through trying to prune a stubborn branch in my backyard last summer when my shears gave out with a pathetic, dull thud instead of a clean cut. It was one of those moments where you realize you’ve been fighting your equipment rather than using it. Most people think they need to go out and buy a $500 motorized grinder or some high-tech electric gadget to fix the problem, but that’s just more noise. The truth is, learning how to sharpen tools isn’t about expensive gear; it’s about understanding the basic physics of an edge and having the patience to do it right.
I’m not here to sell you on a complicated system that requires a degree in metallurgy. Instead, I’m going to show you the straightforward, manual methods that actually hold up when you’re out in the garage or the garden. We’re going to skip the gimmicks and focus on using whetstones, files, and a bit of elbow grease to get your blades biting again. By the end of this, you’ll know exactly how to sharpen tools so they work as hard as you do, without the unnecessary clutter.
Table of Contents
Guide Overview
Tools & Supplies
- Kitchen knife (standard stainless steel)
- Garden shears (bypass style)
- Dual-grit whetstone (1 x medium/fine stone)
- Honing rod (1 x steel rod)
- Sharpening oil or water (1 x small bottle)
- Microfiber cloth (1 x piece)
Step-by-Step Instructions
- 1. First, you need to ditch the electric grinders if you’re serious about this. Those things run too hot and will destroy the temper of your steel in seconds, leaving you with a piece of metal that won’t hold an edge no matter what you do. Grab a decent whetstone—a double-sided one with a coarse and a fine grit is perfect—and get a shallow tray of water or some honing oil nearby.
- 2. Before you even touch the stone, clean your tool. I’m talking about removing every bit of grease, rust, or old residue. A dirty blade will just slide around on the stone instead of biting into it, and that’s a waste of your time. Use a bit of degreaser or even just some soapy water and a stiff brush to make sure you’re working with a clean surface.
- 3. Now, find your angle. This is where most people mess up. If you’re sharpening a chisel or a knife, you aren’t just rubbing it randomly; you’re looking for a consistent slope. I usually use a piece of cardboard or a small wooden shim to gauge the angle if I’m feeling unsure, but once you find that sweet spot, you have to hold it steady.
- 4. Start with the coarse side of the stone. Apply light, even pressure and move the blade in a way that covers the entire surface of the stone. Don’t just go back and forth like you’re sawing wood; try to use sweeping strokes that follow the contour of the edge. You’re looking to feel a “burr” forming—a tiny, microscopic lip of metal curling over the opposite side of the edge. If you don’t feel that burr, you aren’t done yet.
- 5. Once you’ve established that burr, flip the tool over and repeat the process on the other side. You aren’t trying to grind away half the metal here; you’re just refining the edge and removing the burr you just created. Keep your movements controlled. If you start rushing, you’ll lose your angle, and you’ll end up with a wavy, useless edge.
- 6. Switch to the fine-grit side of your stone to polish everything out. This is the part that turns a “working” edge into a “sharp” edge. Use even lighter pressure here—think of it more like a finishing touch than a heavy grind. This step smooths out the microscopic scratches from the coarse stone and leaves the steel looking clean and professional.
- 7. Finally, do a quick test, but don’t go slicing your thumb open. The best way to check is to see if the tool can shave a tiny bit of paper or easily bite into a piece of leather. If it catches and slices cleanly, you’re good to go. Once you’re done, wipe it down with a light coat of machine oil to prevent any rust from creeping in while it sits in your toolbox.
Mastering Whetstone Sharpening Techniques Without the Fluff
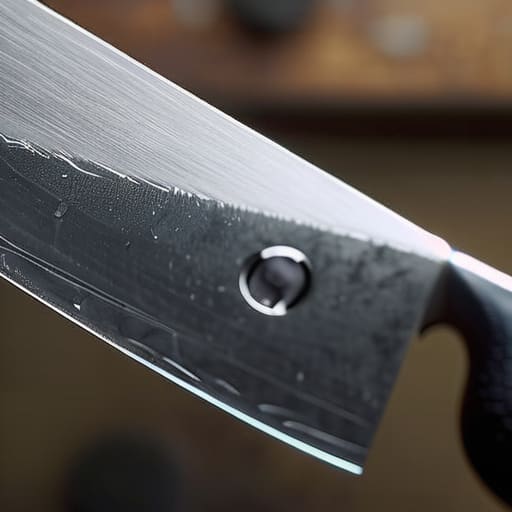
Look, once you’ve got the basic motion down, you need to stop treating the stone like a piece of granite and start treating it like a precision instrument. Most people fail here because they try to force the blade into the stone. If you’re feeling excessive pressure, you’re doing it wrong. You want to use the weight of the tool itself to do the heavy lifting. A common mistake is obsessing over a single fixed angle, but you have to realize that the sharpening angle for different blades matters more than you think. A kitchen knife needs a different approach than a heavy-duty chisel or a pocket knife. Find your rhythm, keep the grit wet, and let the physics do the work.
Another thing that trips people up is the difference between honing steel vs sharpening. A honing rod isn’t a magic wand that fixes a dull edge; it’s just there to realign a microscopic fold in the metal. If your edge is truly rolled or chipped, all the stropping in the world won’t save you—you need to go back to the stones. Once you’ve got that edge dialed in, don’t let it sit in a damp toolbox. Preventing rust on metal tools is just as important as the sharpening itself if you actually want these tools to last through the next decade.
Finding Your Sharpening Angle for Different Blades
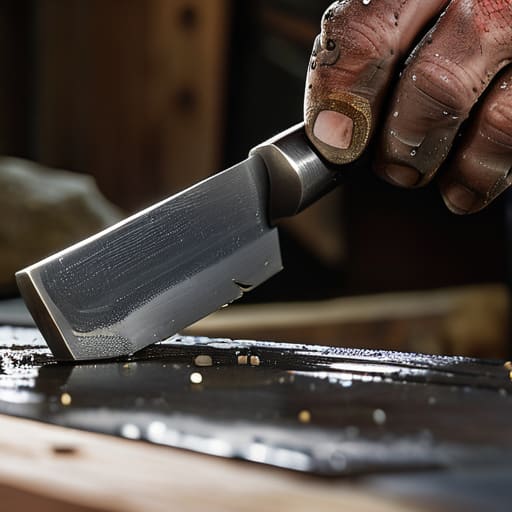
Here’s where most people trip up: they treat every blade like it’s the same. If you try to sharpen a delicate kitchen paring knife with the same heavy-handed angle you use for a wood chisel, you’re going to ruin that edge in seconds. A good rule of thumb is that a steeper angle creates a more rugged, durable edge—perfect for heavy-duty work—while a shallower angle is better for slicing through something soft. Understanding the sharpening angle for different blades is the difference between a tool that bites and one that just slides uselessly across the surface.
I usually tell my clients to start with a consistent 20-degree angle for most general-purpose tools. It’s a solid middle ground that balances toughness with cutting ability. However, if you’re working with high-end cutlery, you might want to drop down to 15 degrees to maximize that razor-thin precision. Don’t get caught up in the obsession with perfection right away; focus on maintaining edge retention by keeping your angle steady throughout the stroke. Once you find that sweet spot, the tool will start doing the work for you.
Five Pro-Tips to Keep Your Edge Without the Headache
- Stop using those cheap pull-through sharpeners. They’re basically sandpaper in a plastic box that chew up your steel and ruin the edge profile. Stick to a stone or a fine-grit file if you actually want your tools to last.
- Keep your stones wet. Whether you’re using water or oil, a dry stone is just a way to create friction and heat that ruins the temper of your blade. A little lubrication goes a long way in getting a smooth, clean edge.
- Consistency beats speed every single time. It doesn’t matter how sharp your stone is if your angle is wobbling like a loose table leg. Pick an angle, hold it, and commit to it for every single stroke.
- Learn to feel the “burr.” You aren’t done sharpening just because the blade looks shiny. You need to run your thumb (carefully) across the bevel to feel that tiny lip of metal folding over. That’s your signal that you’ve actually reached the edge.
- Don’t forget the strop. Think of stropping as the finishing touch on a piece of woodwork. A quick pass on a piece of leather will take off those microscopic imperfections and turn a decent edge into one that actually slices through things like butter.
The Bottom Line: Keep It Simple and Sharp
Don’t overthink the gear; a decent whetstone and a bit of patience beat a cheap electric sharpener every single time.
Consistency is everything—once you find that sweet spot for your angle, stick to it like glue to avoid ruining the edge.
Treat your tools like they matter, because when you’re halfway through a project and the blade fails, you’ll wish you’d spent the extra five minutes doing it right.
Stop Guessing and Start Cutting
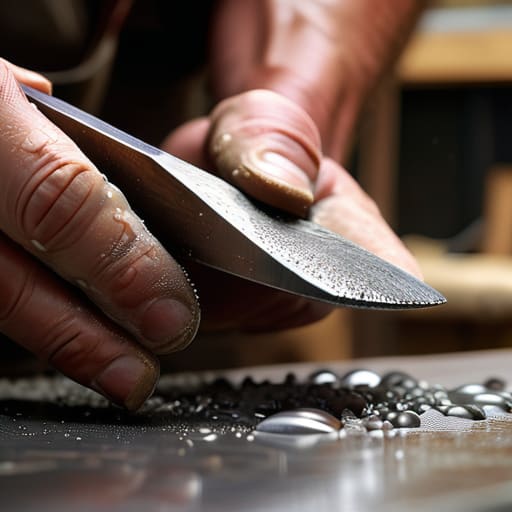
Look, sharpening isn’t about chasing some unattainable, mirror-polish perfection you see in fancy YouTube videos. It’s about utility. We’ve covered the essentials: finding a consistent angle, respecting the grit of your whetstone, and knowing when to stop pushing. If you’ve mastered the basic geometry and kept your edge clean, you’ve already done more than most people who just buy a new blade every time the old one gets sluggish. Remember, the goal is a tool that actually performs when you’re in the middle of a project, not a museum piece that sits on a shelf. Keep your stones organized, keep your angles steady, and don’t overthink the process.
At the end of the day, taking care of your tools is a way of taking care of yourself and the work you do. There’s a certain kind of satisfaction in feeling a blade bite into wood or steel without having to force it. It’s a small, tactile way to reclaim a bit of control in a world that feels increasingly digital and disconnected. When you invest ten minutes into a proper sharpening session, you aren’t just maintaining metal; you’re building a reliable system for your hands to work with. So, put the phone away, grab your kit, and get back to the real work. You’ll feel the difference immediately.
