
I was elbow-deep in the guts of a 1970s Moog synthesizer last weekend when I noticed a nasty, jagged gouge across the walnut casing. My first instinct wasn’t to run to the hardware store for a specialized kit; it was to realize that most of the “pro” advice you find online is just a way to sell you overpriced chemicals. People will tell you that you need a complete sanding and refinishing job for every minor blemish, but that’s a load of nonsense. If you want to know how to fix scratched wood without turning your living room into a sawdust-filled construction zone, you have to stop looking for the most expensive solution and start looking for the most efficient one.
I’m not here to give you a twenty-step process that requires a workshop and a prayer. Instead, I’m going to show you how to assess the damage and apply a few straightforward, tested methods that actually work. Whether it’s a light surface scuff or a deeper dent that’s bothering your eyes, we’re going to tackle it with tools you likely already have in your junk drawer. No fluff, no unnecessary complexity—just practical ways to get your furniture looking solid again.
Table of Contents
Guide Overview
Tools & Supplies
- Sandpaper (various grits for smoothing)
- Microfiber cloth (for cleaning dust)
- Wood filler spreader (for applying paste)
- Wood filler (one small container)
- Wood stain or touch-up marker (one unit)
- Furniture wax or polish (one small tin)
Step-by-Step Instructions
- 1. Start by cleaning the area. You can’t fix what you can’t see, and you definitely don’t want to be rubbing old wax or furniture polish into the scratch. Grab a lint-free cloth and a bit of mild soap or a dedicated wood cleaner. Wipe the spot down thoroughly and let it completely air dry before you do anything else.
- 2. Assess the damage to see which tool is actually worth your time. If it’s just a light surface scuff, you might not even need a kit; you can often just rub a walnut meat over the scratch. The natural oils in the nut do a surprisingly good job of masking the discoloration. If the scratch is deep enough that you can feel it with your fingernail, move on to the more heavy-duty options.
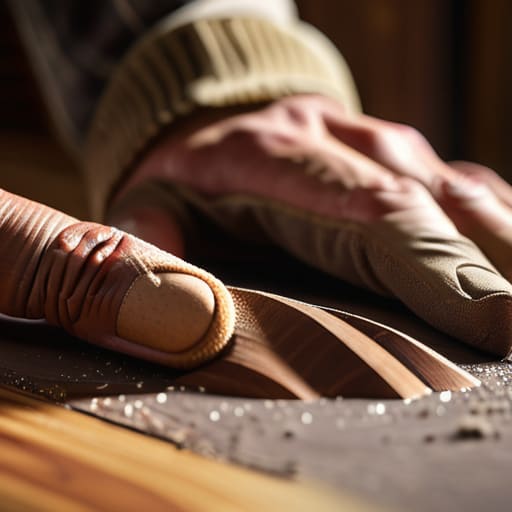
- 3. For those deeper gouges, grab some fine-grit sandpaper—I usually go with 320 or 400 grit. You aren’t trying to sand the whole table down here; you’re just leveling the edges of the scratch so they don’t catch the light. Sand lightly in the direction of the wood grain. If you sand across the grain, you’re just creating a new problem that’s harder to fix than the original one.
- 4. Once the surface is smooth, you need to address the color. If you have a wood stain marker that matches your piece, use it sparingly. Apply it to the scratch, let it sit for a few seconds, and then immediately wipe away the excess with a clean rag. My rule of thumb is to build the color slowly rather than trying to get it perfect on the first pass.
- 5. If the scratch is part of a finished surface, like a polyurethane coating, you’ll need to touch up the sheen. A little bit of wood wax or a specialized furniture repair balm can fill in the void and help the repaired area blend back into the rest of the piece. Just make sure you apply it evenly so you don’t end up with a shiny patch that looks like a thumbprint.
- 6. Finally, do a quick “stress test” by looking at the piece from different angles under a natural light source. If you can still see a glaring line, don’t panic and start sanding again. Just add another tiny layer of stain or wax. It’s much easier to add more material than it is to fix a spot where you’ve sanded too deep and stripped the finish entirely.
Removing Surface Scratches From Timber Without the Extra Effort
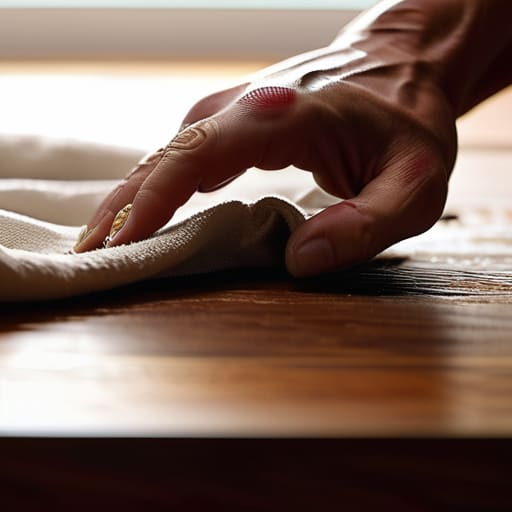
If you’re dealing with a shallow nick that hasn’t broken the finish, don’t go reaching for the heavy-duty sandpaper just yet. Most of the time, you can get away with much less. For those light scuffs, try a bit of walnut oil or even a simple furniture wax. Rub it into the groove, let it sit for a minute, and then wipe it clean. It’s a low-effort way of buffing out wood imperfections that works surprisingly well on hardwoods like oak or cherry without making a mess of your workspace.
Now, if the scratch is a bit deeper and you can actually feel it with your fingernail, you might need to step it up. This is where you start looking at restoring wood finish more seriously. Instead of diving into a full-blown sanding project, try a targeted approach with a high-quality wax stick. It’s a lot faster than traditional wood filler application techniques and keeps you from having to refinish the entire piece. Just match the color as closely as you can, press it in, and smooth it over. It’s about finding the balance between a quick fix and a permanent solution.
Mastering Wood Filler Application Techniques That Actually Stick
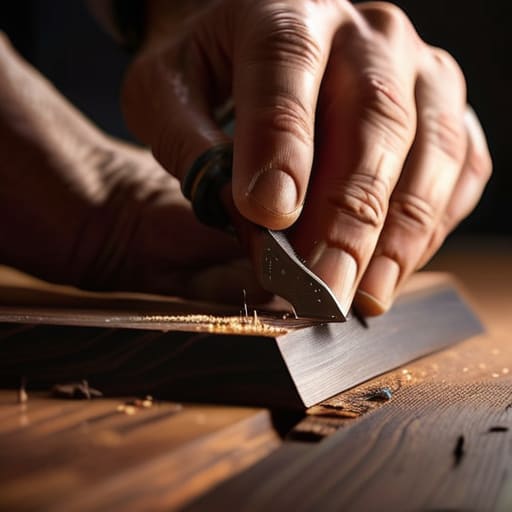
Look, if the scratches are too deep for a bit of oil to handle, you’re going to need filler. But don’t go out and buy a massive kit of specialized furniture refinishing tools just yet. Most people fail here because they try to pack the filler in like they’re patching a hole in drywall. That’s a mistake. You want to apply it in thin, slightly overfilled layers. If you try to do it all in one go, you’ll end up with a divot that looks even worse than the original scratch once it dries.
The real trick to mastering wood filler application techniques is in the sanding. Once the filler is bone-dry, sand it flush with the surrounding grain. If you’re working on something valuable, don’t just eyeball the color. Spend a little extra time matching wood stain colors by testing your tint on a scrap piece first. It’s much easier to darken a patch than it is to lighten it. Do the work right the first time, and you won’t have to touch it again.
Five Ways to Stop Making Your Wood Repairs Worse
- Don’t go buying a professional sander for a minor scratch; you’ll likely sand right through the finish and end up with a much bigger headache than you started with.
- Test every stain or touch-up marker on a hidden spot first, like the underside of a chair or the back of a table, to make sure the color actually matches once it dries.
- Clean the area with a bit of isopropyl alcohol before you start any work to get rid of the wax and oils that prevent fillers or stains from actually sticking.
- Stop trying to fix the whole piece at once; work in small, controlled sections so you don’t lose track of where you’ve already applied product.
- Resist the urge to over-apply wood filler; it’s better to apply two thin layers and sand them back than to dump a huge glob on there and hope for the best.
The Bottom Line: Keep It Simple
Don’t reach for the heavy-duty fillers if a bit of oil or a wax stick can do the job; the best fix is the one that requires the least amount of intervention.
Always test your solution on a hidden spot first—I’ve seen too many people ruin a perfectly good piece of furniture by trying to be “thorough” with a finish that didn’t match.
Focus on the depth of the scratch before you start; if it’s just a surface scuff, stop there and don’t turn a five-minute fix into a weekend-long sanding project.
Stop Overthinking the Finish
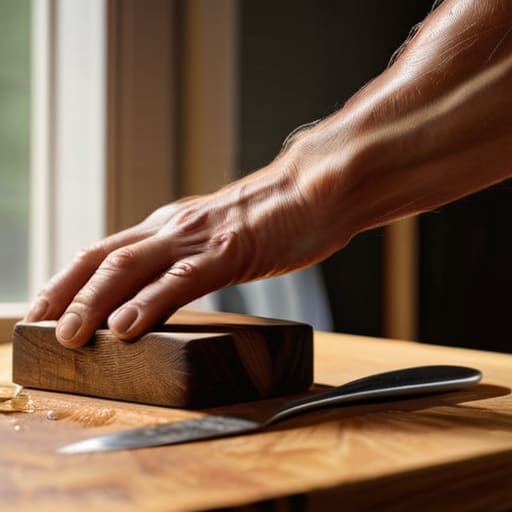
At the end of the day, fixing scratched wood isn’t about achieving museum-grade perfection; it’s about restoring function and stopping the damage from spreading. Whether you decided to go the easy route with some walnut oil for those light surface scuffs, or you bit the bullet and used wood filler to level out a deeper gouge, the goal was the same: efficiency over complexity. You don’t need a workshop full of specialized pneumatic tools or expensive chemical strippers to get a decent result. Just match your materials to the depth of the damage, sand it down until it feels right, and move on with your life. Remember, the most important part of any repair is ensuring that your solution doesn’t create more work than the original problem.
We live in a world that tries to sell us a new piece of furniture every time something gets a little nicked or dented. I’ve always found that there is more dignity in maintaining what you already own than in constantly chasing the next upgrade. Taking twenty minutes to fix a scratch on your dining table or a desk isn’t just about aesthetics; it’s about taking ownership of your environment. When you stop treating your belongings as disposable, you start building a life that is more stable and less cluttered. Grab your tools, do the work, and get back to enjoying the things that actually matter.
