
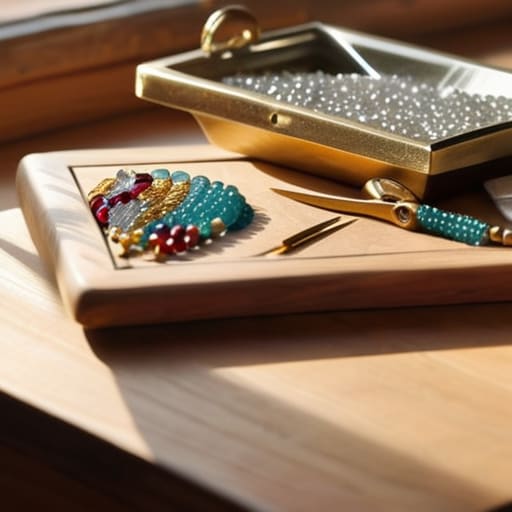
I was sitting at my workbench last Tuesday, staring at a pile of expensive sterling silver wire and a set of pliers that cost more than my first car, wondering why I felt so stuck. I’d spent three hours watching high-production videos of people making intricate, delicate pieces that looked more like art installations than something a normal person could actually wear. The truth is, most people make diy jewelry making way more complicated than it needs to be by chasing “aesthetic” perfection instead of focusing on structural integrity. If your clasp won’t hold or your wire kinks every time you touch it, you don’t have a talent problem—you have a system failure.
I’m not here to teach you how to make something that looks good only for an Instagram story. I want to show you how to build pieces that are actually durable and functional, using the same logic I apply to repairing vintage synths or troubleshooting a network. In this guide, I’m stripping away the fluff and the overpriced “starter kits” to give you the essential toolkit and the fundamental mechanics of assembly. We’re going to focus on the physics of the build so you can stop scrolling through tutorials and actually start making things that last.
Table of Contents
Guide Overview
Tools & Supplies
- Needle-nose pliers for gripping and bending wire
- Wire cutters for trimming metal and cord
- Beading mat to prevent rolling beads
- Assorted glass or stone beads (approx. 50-100 pieces)
- Jewelry wire or elastic cord (1-2 meters)
- Lobster clasps or crimp beads (5-10 pieces)
Step-by-Step Instructions
- 1. First, stop looking at those $500 professional jewelry kits online; they’re mostly filler. You only need the functional essentials: a pair of needle-nose pliers, wire cutters, and a decent set of round-nose pliers. If you can’t find them at a local hardware store, you’re overthinking it. Grab some decent quality jewelry wire—I prefer stainless steel or sterling silver because they actually last—and a handful of beads that don’t look like cheap plastic.
- 2. Clear a workspace that isn’t a cluttered kitchen table. I like to use a small piece of felt or a specialized bead mat to keep things from rolling away. There is nothing more frustrating than chasing a stray bead across a hardwood floor when you’re trying to focus. Lay out your components in the order you plan to use them so you aren’t hunting for parts mid-build.
- 3. Start by measuring your wire. If you’re making a necklace, don’t just guess; use a piece of string to find the length that feels right against your neck, then add about three extra inches to account for the loops and closures you’ll be making. Cut the wire cleanly with your cutters—don’t try to hack through it with dull scissors or you’ll just end up with jagged, uneven edges that catch on your skin.
- 4. Now, let’s talk about the loops. This is where most people mess up by making them look sloppy. Use your round-nose pliers to grip the wire and rotate it to create a smooth, even circle. The trick is to apply consistent tension; if you’re too loose, the loop will spring open, and if you’re too tight, you’ll kink the wire. It’s a mechanical skill, just like soldering a circuit—it’s all about the steady hand.
- 5. Thread your beads onto the wire, but do it in stages. Don’t just dump them all on at once. I like to build a “pattern prototype” on a piece of paper or a string first to make sure the visual weight of the piece is balanced. It’s much easier to rearrange a pattern on a desk than it is to unthread twenty beads because you realized the design looks lopsided.
- 6. Once your pattern is set, secure the ends. If you’re using a clasp, you’ll need to create a jump ring or a crimp bead to anchor everything. If you’re using crimps, make sure you use your pliers to squeeze them flat and tight against the wire. A loose connection is a failed system, and the last thing you want is your hard work ending up in a drainpipe because a connection failed.
- 7. Finally, do a stress test. Put the piece on, move around, and tug on the connections. If it feels flimsy or if a loop looks like it’s under too much strain, go back and reinforce it. A piece of jewelry shouldn’t just look good; it has to be built to endure the reality of daily wear. If it doesn’t pass the tug test, it’s not finished.
The No Fluff Guide to Essential Bead Supplies
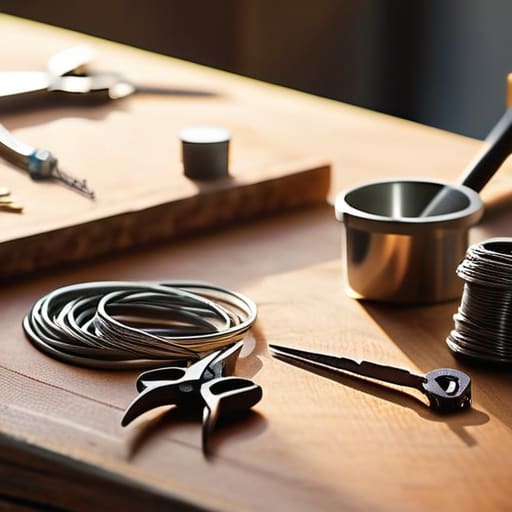
Look, you don’t need a warehouse full of specialized gear to get started. Most people trip at the starting line because they buy a massive, cheap kit from a big-box store that’s mostly plastic junk. If you want to actually build something that doesn’t fall apart the first time you put it on, focus on quality over quantity. Start with a solid set of jewelry making tools for beginners—specifically a pair of needle-nose pliers, wire cutters, and round-nose pliers. If these feel flimsy in your hand, they’re going to make the process a headache instead of a hobby.
When it comes to your essential bead supplies, stick to the basics first. Grab a handful of high-quality glass or stone beads and some decent 20-gauge wire. Don’t get distracted by every shiny thing you see on social media; you need materials that have structural integrity. I’ve spent enough time fixing broken projects to know that cheap components are a waste of your time. Once you master the tension and the flow of basic strands, then you can start experimenting with more complex wire wrapping techniques or custom patterns. Keep it simple, keep it sturdy.
Practical Jewelry Making Tools for Beginners
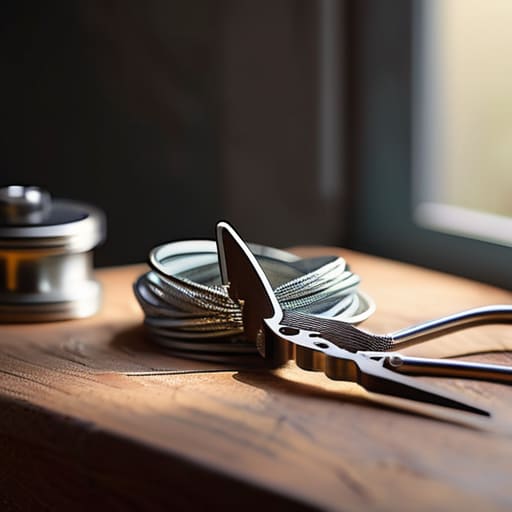
Look, you don’t need a professional studio or a bank loan to start crafting handmade accessories. I’ve seen people get paralyzed by choice, buying entire kits filled with specialized gadgets they’ll use exactly once. Forget that. If you want to actually build something that lasts, start with a solid trio of pliers: needle-nose, round-nose, and side cutters. These are the workhorses. If the pliers feel flimsy or the joints wobble, don’t bother; cheap tools are a waste of money because they’ll frustrate you and ruin your wire.
Once you have the basics, don’t go hunting for complex beading patterns and tutorials right out of the gate. Instead, focus on mastering a few fundamental movements. I always tell my clients to treat it like systems engineering: understand the tension, the connection points, and the structural integrity first. If you want to level up, spend some time practicing basic wire wrapping techniques to secure your stones or beads. It’s a mechanical skill that bridges the gap between a pile of loose parts and a piece of jewelry that actually feels substantial and intentional when you wear it.
Five Rules to Stop Wasting Money and Start Making Real Jewelry
- Don’t buy those massive “all-in-one” starter kits from big-box stores; they’re usually filled with cheap, brittle alloys that will snap the second you put them on. Buy your components separately so you actually know the quality of what you’re working with.
- Test your tension before you commit. I’ve seen too many people spend an hour on a design only to realize the wire is too stiff to loop or the thread is too thin to hold the weight. Check your mechanics first.
- Treat your workspace like a real workshop, not a craft corner. Get a decent tray or a piece of felt to lay your beads on; if you’re working on a bare table, you’re going to spend half your time hunting for rogue crystals in the carpet.
- Learn the physics of the clasp. A piece of jewelry is only as good as its weakest connection point. If the clasp doesn’t feel secure and the jump ring isn’t closed perfectly flush, the whole thing is just a future pile of lost beads.
- Keep a “mistake log” in your notebook. When a specific wire gauge fails or a certain knot slips, write it down. It’s a lot faster to check your own notes than to go back to YouTube to figure out why your last project fell apart.
The Bottom Line
Don’t get seduced by the “complete kits” sold in big-box stores; buy a few quality tools—pliers, cutters, and a decent bead mat—and skip the plastic junk that breaks on your first project.
Focus on the mechanics of the connection first. If your clasp or wire loop isn’t structurally sound, it doesn’t matter how pretty the beads look; the piece is useless if it falls apart.
Start small and stay simple. Pick one technique, like basic wire wrapping or stringing, and master it before you start trying to build complex, multi-layered pieces that require a workshop full of gear.
Stop Planning and Start Building
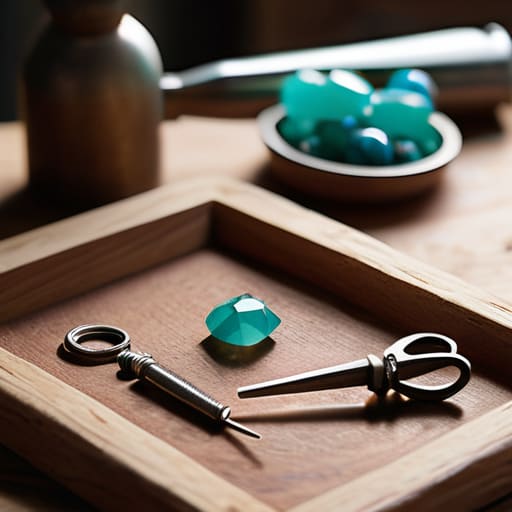
Look, we’ve covered the ground. You don’t need a professional studio or a mountain of expensive gemstones to get this moving. We talked about stripping away the fluff and focusing on the essential tools—the pliers, the cutters, and the basic bead supplies that actually do the heavy lifting. You’ve got the systems in place now to go from a pile of loose components to a finished piece that doesn’t fall apart the second you put it on. The goal isn’t to replicate a factory-made product; it’s to master the fundamental mechanics of assembly so you can build something durable and personal.
At the end of the day, the most important part of this process isn’t the precision of your wire loops or the quality of your beads—it’s the fact that you actually sat down and made something with your own two hands. In a world where everything is digital and fleeting, there is a profound, grounding satisfaction in holding a physical object that didn’t exist an hour ago. Don’t get paralyzed by the fear of making a mistake or wasting a few beads. Just grab your tools, clear off your workspace, and get to work. The best way to learn is to make something, break it, and then build it better the next time.
