

I was halfway through a deep-focus coding session last Tuesday when that high-pitched, rhythmic screech pierced through my noise-canceling headphones again. It’s the kind of sound that gets under your skin, making it impossible to ignore. Most people think they need to buy a specialized kit or even replace the entire hinge assembly to solve the problem, but that’s just more clutter you don’t need. Learning how to fix a squeaky door isn’t about spending fifty bucks at a big-box hardware store; it’s about understanding the basic mechanics of friction and applying the right lubricant to the right spot.
I’m not going to waste your time with twenty-step processes or expensive “life hacks” that require a workshop full of tools. In this guide, I’m stripping things back to the essentials. I’ll show you exactly which household items actually work, how to avoid making a greasy mess on your woodwork, and the one mistake most people make that actually makes the squeak worse. Let’s get this sorted so you can get back to what you were actually doing.
Table of Contents
Guide Overview
Tools & Supplies
- Screwdriver (to tighten loose hinge screws)
- Microfiber cloth (to wipe away excess lubricant)
- Lubricant (WD-40, silicone spray, or white lithium grease, 1 can)
- Paper towels (to catch drips, 2-3 sheets)
Step-by-Step Instructions
- 1. First, grab a screwdriver and a hammer—or a heavy wrench if you don’t have a hammer handy. You need to tap the hinge pin upward from the bottom of the door. Don’t go swinging wildly; just give it steady, controlled taps until the pin pops out of the top. If you’re worried about scratching the finish, wrap the hammer head in a rag first.
- 2. Once the pin is out, don’t just toss it on the floor. Take a clean rag and wipe away the old grime. Most squeaks are caused by a buildup of dust and oxidized metal that’s acting like sandpaper inside your hinge. If the pin looks pitted or heavily corroded, that’s your real culprit, and you might need to replace it entirely, but usually, a good cleaning does the trick.
- 3. Now, apply your lubricant. If you have a can of lithium grease or a silicone spray, use that—they stay put and don’t run as much. If you’re in a pinch and don’t want to run to the hardware store, a few drops of sewing machine oil or even a bit of petroleum jelly from the junk drawer will work. Just avoid using WD-40 as a permanent fix; it’s a great cleaner, but it evaporates too fast to keep a door quiet for long.
- 4. Coat the pin thoroughly. I like to spread the lubricant along the entire length of the metal so there are no dry spots. If you’re using a liquid oil, let it soak in for a minute before you try to put everything back together. This ensures the lubricant actually penetrates the tight tolerances of the hinge mechanism.
- 5. Slide the pin back into the hinge. This part can be a bit finicky if the door is heavy, so you might need to hold the door steady with your shoulder or a foot. Once the pin is seated, use your hammer to tap it back down into place until it’s flush with the hinge knuckles.
- 6. Swing the door open and shut a few times to distribute the oil. If you still hear a ghost of a squeak, you didn’t use enough lubricant or there’s a second hinge that’s also thirsty. Repeat the process for every hinge on the door. It takes five minutes, but it beats living with that constant, irritating sound every time you walk into a room.
The Real Truth About Wd 40 vs Silicone Spray for Doors
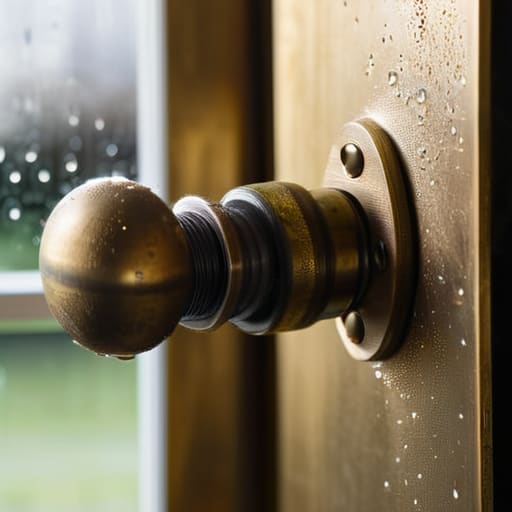
Look, I see people making this way more complicated than it needs to be. They spend twenty minutes in the hardware aisle debating the merits of every aerosol can on the shelf. Here’s the straight talk: most people reach for the classic blue-and-yellow can of WD-40 because it’s what’s in the junk drawer, but you need to understand what you’re actually doing. Standard WD-40 is a solvent, not a long-term lubricant. It’ll blast away the grit and stop that screeching immediately, but it evaporates fast. If you use it as your primary method for lubricating door hinges, you might find yourself back on a ladder in two weeks when the squeak returns.
If you want to do the job once and forget about it, go with a silicone spray. It creates a much more durable, non-greasy barrier that handles dust better. When it comes to the debate of WD-40 vs silicone spray for doors, the silicone is the winner for longevity. However, if you’re in a pinch and just need silence for a meeting or a sleeping kid, a quick blast of the standard stuff will get the job done. Just don’t expect it to be a permanent fix.
Essential Door Hinge Pin Maintenance for Long Term Silence
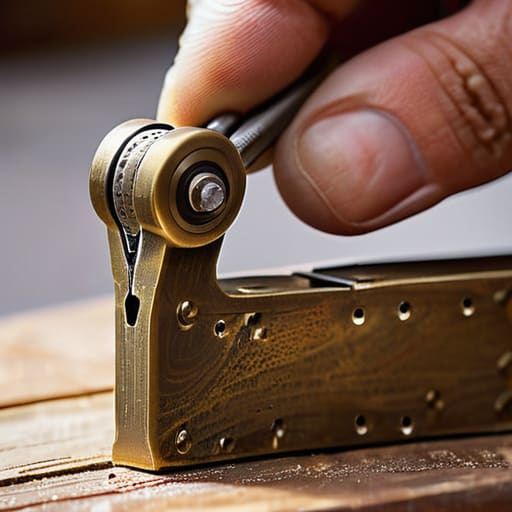
If you’ve applied spray to the outside of the hinge and the noise persists, you aren’t actually solving the problem; you’re just masking it. Most of the friction is happening deep inside the joint, where the pin meets the knuckle. To get a permanent fix, you need to commit to proper door hinge pin maintenance. I’ve learned the hard way that surface-level lubrication is a temporary band-aid. If you want that door to stay silent for the next decade, you have to pull the pin entirely.
Once the pin is out, take a piece of fine steel wool or a scouring pad to scrub off any old, crusty residue or rust. This is where most people skip a step. After cleaning it, apply a thin, even layer of grease or a high-quality lubricant before sliding it back in. It’s a bit more sweat than just spraying a can, but doing the job right once beats chasing a phantom squeak every three months. Think of it like maintaining a machine: if you don’t clear the grit, the new oil won’t matter.
Pro-Tips to Keep the Noise from Coming Back
- Don’t just spray and pray. If you use a lubricant, wipe away the excess immediately with a rag. If you leave a puddle of oil sitting on the hinge, it’ll just attract dust and pet hair, turning your fix into a sticky, grinding mess in a month.
- Check your door alignment while you’re at it. If the door is sagging and rubbing against the frame, no amount of oil is going to help. Tighten the hinge screws first; sometimes a loose screw is the real culprit behind that rhythmic creak.
- Keep a small tube of white lithium grease in your toolbox. It’s thicker than standard spray and stays exactly where you put it. It’s my go-to for doors that get heavy use, like the front door or a basement bulkhead.
- Listen to the pitch. A high-pitched squeak usually means you need more lubrication, but a low, grinding sound often means there’s physical debris or metal-on-metal wear inside the pin. If it’s grinding, you need to pull the pin and clean it, not just spray it.
- Stop using vegetable oil. I know, it’s what you have in the pantry, and it’ll work for about twenty minutes. But organic oils go rancid and turn into a gummy sludge that’s a nightmare to clean out later. Stick to actual machine lubricants.
The Bottom Line
Don’t overthink the lubricant choice—use silicone spray for a long-term fix, but if you just need the noise to stop right this second, a quick hit of WD-40 or even a drop of cooking oil will get the job done.
If a quick spray doesn’t work, the problem is likely grit or rust inside the hinge itself, meaning you need to pull the pin, clean it, and grease it properly rather than just layering more oil on top.
Maintenance is easier than repair; spending two minutes once a year checking your hinges saves you from the frustration of a door that sounds like a dying violin every time you walk into a room.
Cutting Through the Noise

At the end of the day, fixing a squeaky door isn’t about finding some magic, expensive solution; it’s about understanding the mechanics of what’s actually rubbing. Whether you decided to go with a quick hit of silicone spray or took the extra ten minutes to pull the hinge pins and clean out the grit, you’ve addressed the root cause rather than just masking the symptom. Remember, if you’re dealing with a heavy door, don’t just spray the surface—get that lubricant deep into the pivot points where the friction lives. If you keep your hinges clean and use the right tool for the job, you won’t be standing here staring at a repair guide again in six months.
I’ve spent enough time tinkering with everything from high-end servers to old analog synths to know that most problems in life are just small points of friction waiting to be smoothed out. We tend to let these tiny, annoying disruptions pile up until they feel like major headaches, but they don’t have to be. Take the five minutes to fix the small stuff, and you’ll find that your environment feels a lot more under control. Stop letting the little things grate on your nerves—grab your tools, fix the squeak, and get back to the things that actually matter.
