
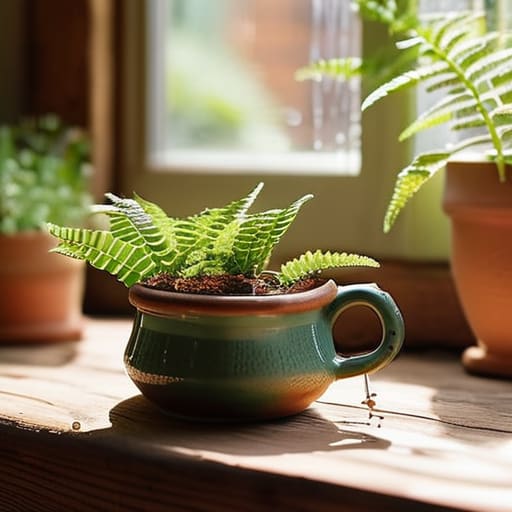
I was staring at a pile of expensive, hand-painted ceramic pots I’d bought for my workshop, watching as the cheap glaze started cracking and the drainage holes clogged with silt within a month. It’s a classic mistake: we think “decor” equals “function,” but most store-bought options are just overpriced clutter. When I started making my own diy planters, I realized that most people overcomplicate the process with Pinterest-worthy aesthetics that actually kill the plants they’re meant to hold. You don’t need a boutique budget or a degree in landscape design; you just need a system that respects the biology of the plant and the physics of water drainage.
In this guide, I’m going to show you how to build rugged, effective containers using materials you probably already have in your garage or at the local hardware store. We aren’t going to waste time on flimsy crafts that fall apart after one rainstorm; instead, I’ll walk you through tested, heavy-duty methods for constructing diy planters that actually last. My goal is to help you bridge that gap between a cluttered workspace and a functional green space using straightforward, no-nonsense builds that work when the sun hits them.
Table of Contents
Guide Overview
Tools & Supplies
- Drill and drill bits for creating drainage holes
- Measuring tape for accurate sizing
- Sandpaper to smooth rough edges
- Upcycled containers (tin cans, wooden crates, or plastic bottles) 2-4 units
- Potting soil 1 bag
- Small pebbles or gravel 1 small bag
- Decorative paint or spray paint 1 can
Step-by-Step Instructions
- 1. First, clear your workspace and grab what you actually need. Don’t go buying a specialized woodworking kit if you aren’t going to use it; a simple sturdy wooden crate or even some heavy-duty repurposed tin cans will do the trick. You’ll also need a drill with a spade bit, some well-draining potting soil, and a handful of small stones or gravel.
- 2. Drainage is where most people mess up. If you don’t let the water out, you’re just building a slow-motion drowning chamber for your plants. Take your drill and create three to four holes in the bottom of your container. If you’re using metal cans, you might need a hammer and a large nail to punch them through, but just make sure you don’t compromise the structural integrity of the sides.
- 3. Layer your base to prevent soil from clogging those new drainage holes. Toss an inch or two of small gravel or crushed stones at the bottom of the planter. This creates a reservoir that keeps the roots from sitting in stagnant water, which is the fastest way to kill a plant you’re trying to grow.
- 4. Now, fill it up with the right medium. Skip the cheap, heavy garden soil from the big-box stores; it’s too dense and will compact like concrete once it gets wet. Get a bag of high-quality potting mix instead. It’s designed to be light and airy, which mimics the natural environment your plants actually need to thrive.
- 5. Set your plants and settle them in. Dig a small hole in the soil, place your plant inside, and gently press the dirt around the base to remove any large air pockets. Don’t pack it down like you’re making a snowball; you want the soil to stay loose enough so the roots can actually breathe.
- 6. Give it a thorough watering right away. You want to see water running out of those drainage holes we made in step two. This isn’t just about hydration; it’s about settling the soil around the root ball to ensure there’s no gap between the plant and its new home.
- 7. Finally, place your planter where it makes sense. Don’t just stick it in a corner because it looks “minimalist” if that corner gets zero sunlight. Match the plant to the light levels of the room, and you’ll find you spend way less time troubleshooting dead leaves and more time actually enjoying the greenery.
Upcycled Container Gardening Without the Expensive Fluff
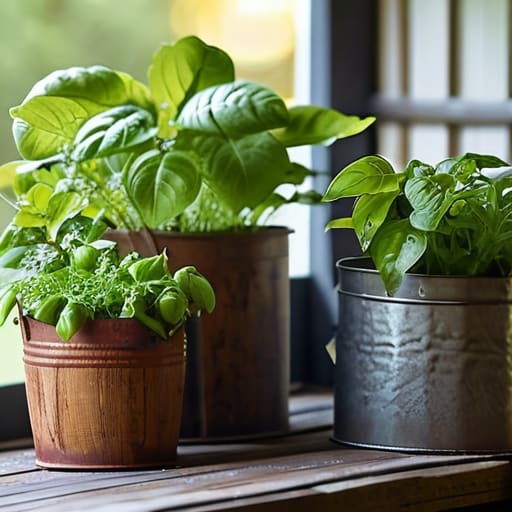
Look, you don’t need to head to a big-box garden center and drop fifty bucks on a ceramic pot just to grow some basil. Most of those “designer” containers are just overpriced clay with a fancy logo. If you want to get serious about upcycled container gardening, start looking at what you’re already throwing away. I’ve found that old wooden crates, rusted metal buckets, or even heavy-duty food tins make excellent vessels once you drill a few drainage holes in the bottom. It’s about finding a container that is structurally sound and fits the scale of your space, not how much it cost at the checkout.
When you’re hunting for repurposed household items for plants, keep a pragmatic eye on the material. Plastic bins work great for larger outdoor setups, but if you’re building indoor herb garden containers, stick to something that won’t leak or rot on your windowsill. My rule of thumb is simple: if it can hold weight and keep moisture contained, it’s a candidate. Don’t get distracted by the “aesthetic” junk you see on social media; focus on functional durability instead.
Repurposed Household Items for Plants That Actually Work
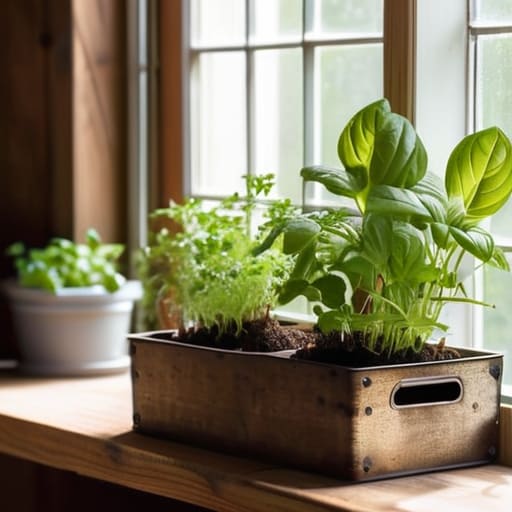
Look, you don’t need to head to a big-box retailer to find a fancy ceramic pot just to start an indoor herb garden containers setup. Most of the stuff sitting in your pantry or garage is already halfway to being a functional home for a plant. I’ve spent years tinkering with old hardware, and I’ve learned that the best tools are often the ones you already own. Take an old coffee tin or a sturdy wooden crate; once you drill a few drainage holes in the bottom, they become perfectly viable vessels. The trick isn’t making them look like a museum piece—it’s ensuring they don’t rot or rust out within a month.
When you’re looking into repurposed household items for plants, focus on material integrity. A plastic yogurt container is fine for a seedling, but if you want something that lasts, look for metal or heavy-duty wood. I usually keep a handful of old biscuit tins in my workshop for exactly this reason. They’re small, durable, and perfect for a desktop setup. Just remember: drainage is non-negotiable. If you skip the holes, you aren’t gardening; you’re just making a swamp.
Five Rules for Making Sure Your Planters Don't Become Expensive Graveyards
- Drainage isn’t optional. If you don’t drill holes in the bottom of whatever container you’re using, you’re just building a drowning chamber for your plants. Grab a drill or a heated metal skewer and make sure that water has a way out.
- Size matters more than aesthetics. Don’t get cute with tiny, decorative tins if you’re planting something with a real root system. If the container is too small, the plant will outgrow it in a month and you’ll be right back where you started.
- Check your material compatibility. If you’re using a metal container, keep in mind it’ll heat up fast in the sun and cook your roots. If you’re using unglazed terracotta, it’s going to wick moisture away faster than a dry sponge. Match the pot to the plant’s thirst level.
- Don’t skip the barrier. If you’re repurposing something that might leach chemicals—like an old treated wood box or a certain type of plastic—line it with a heavy-duty pond liner or even just a thick layer of landscape fabric to keep the soil and roots safe.
- Keep it functional, not just “pretty.” I’ve seen too many people spend three hours painting a vintage tin only to realize it’s too heavy to move or too awkward to water. Build for the maintenance you’re actually willing to do, not the version of yourself you wish you were.
The Bottom Line on Building Better Planters
Stop looking for the “perfect” container in a store; if it can hold soil and drain water, it’s a viable candidate for your garden.
Prioritize drainage over aesthetics every single time, because a pretty pot that drowns your plants is just a high-maintenance paperweight.
Keep your setup modular and simple so you can scale up or move things around without needing a specialized toolkit or a weekend of manual labor.
Getting Your Hands Dirty
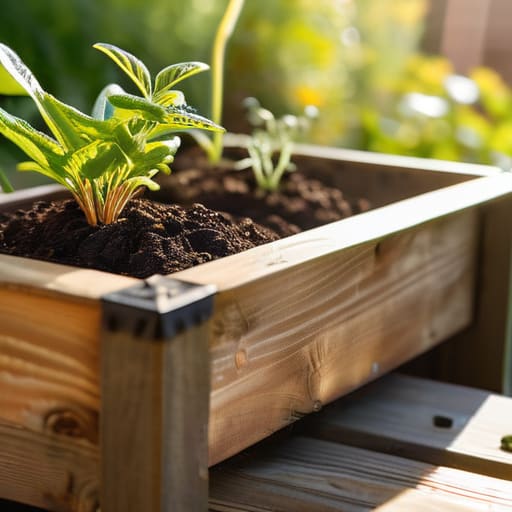
At the end of the day, building your own planters isn’t about achieving some perfect, Instagram-ready aesthetic. It’s about understanding that a container’s primary job is to provide drainage, stability, and a decent environment for roots to do their thing. Whether you’re repurposing an old wooden crate or drilling holes into a heavy-duty plastic bin, the goal is to stop overthinking the design and start focusing on the function. If it holds soil, manages water, and doesn’t fall apart after the first rain, you’ve succeeded. You don’t need a specialized toolkit or a massive budget to create a system that works; you just need to look at your existing gear with a bit more intention.
I’ve spent enough time troubleshooting complex systems to know that the most elegant solutions are usually the simplest ones. Gardening shouldn’t feel like a chore or a high-maintenance hobby that requires a spreadsheet to manage. By using what you already have, you’re removing the friction between you and the actual act of growing something. So, grab that multi-tool, find a container that makes sense, and just get started. The most important part of any project isn’t the perfection of the build—it’s the fact that you actually built something that serves a purpose in your real, physical world.
