
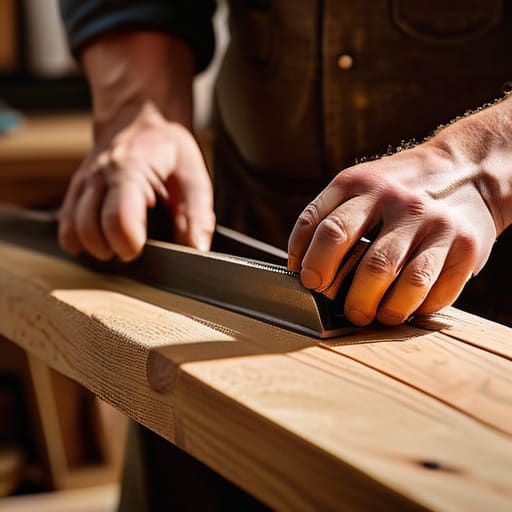
I was staring at a pile of particle board and a set of instructions that looked more like a geometry final than a weekend project when I realized something: most people make learning how to build a bookshelf way more complicated than it needs to be. You don’t need a $5,000 workshop or a degree in fine woodworking to get a sturdy piece of furniture into your living room. I’ve spent enough time fixing broken gear and managing complex systems to know that complexity is usually just a mask for inefficiency. If you follow those overly precious “designer” guides, you’ll end up with a wobbly mess that can’t hold a single hardcover without bowing.
In this guide, I’m stripping away the fluff and the expensive, specialized tools you’ll never use again. I’m going to show you how to approach this project with a systems-engineering mindset—focusing on structural integrity, smart material choices, and a workflow that actually makes sense. We’re going to focus on functional, solid construction that bridges the gap between a sketch in my notebook and a finished product on your wall. Let’s get the right tools on the table and get this thing built.
Table of Contents
Guide Overview
Tools & Supplies
- Drill/Driver for assembly and pilot holes
- Circular Saw or Miter Saw for cutting wood
- Sandpaper for smoothing edges
- Tape Measure for precise dimensions
- Level to ensure stability
- 1×4 or 2×4 lumber (approx. 4-5 boards)
- Wood Screws (1.5 to 2 inches)
- Wood Glue for extra stability
- Sandpaper (various grits)
- Wood Stain or Paint for finishing
Step-by-Step Instructions
- 1. First things first, stop scrolling through Pinterest and get your materials together. You aren’t going to find success with flimsy particle board that bows the moment you put a hardcover on it. Head to the lumber yard and grab some solid pine or birch plywood—at least 3/4 inch thick. You’ll also need a drill, a set of wood screws, some wood glue, and a level. If you don’t have a reliable level, borrow one; a crooked shelf is just a very expensive way to watch your books slide onto the floor.
- 2. Once you’re back at the workbench, it’s time to measure twice and cut once. I know, it’s a cliché, but in systems engineering, we call it error reduction. Mark out your side panels, your top, your bottom, and your shelves. If you don’t have a table saw, most big-box hardware stores will make the primary cuts for you—use that service. It saves you the headache of trying to get a perfectly straight line with a handheld saw when you’re just starting out.
- 3. Now, let’s talk about the skeleton of the piece. You need to mark where your shelves will sit. Don’t just eyeball it. Use a square to draw straight lines across your side panels so your shelves don’t end up at a slight, annoying angle. I like to leave a little extra breathing room at the bottom for a kickplate, which gives the whole unit a more professional, grounded look rather than just having it sit flat on the carpet.
- 4. Before you drive a single screw, apply a thin bead of wood glue to the edges. Glue is what actually provides the structural integrity; the screws are mostly there to act as clamps while the bond sets. It’s the difference between a piece of furniture that lasts five years and one that lasts fifty. Just don’t go overboard—wipe away the excess with a damp rag immediately so you don’t end up with a sticky, blotchy mess once you stain it.
- 5. Start pre-drilling your holes. This is a non-negotiable step. If you try to drive a screw directly into hardwood without a pilot hole, you’re going to split the wood, and you’ll have wasted a perfectly good board. Use a drill bit that’s slightly thinner than your screw. Once the holes are prepped, align your shelves with your marks and drive the screws home. Take your time to ensure everything stays square and flush.
- 6. If you’re building a taller unit, don’t skip the backing. A thin sheet of 1/4 inch plywood nailed into the back of the frame might seem like overkill, but it prevents “racking”—that nasty wobbling where the whole thing leans to one side. It’s the most effective way to stabilize the entire system with minimal effort. Once that back is on, your bookshelf will feel solid, heavy, and dependable.
- 7. Finally, give the whole thing a quick sand. Start with a coarser grit to knock down any rough edges or glue drips, then move to a finer grit until the surface feels smooth to the touch. You don’t need a fancy power sander; a simple sanding block and some elbow grease will do the trick. Once it’s smooth, you’re ready to apply a simple oil or wax finish. Keep it simple—don’t overcomplicate the finish and ruin the natural grain of the wood.
Essential Woodworking Tools for Beginners and Real World Prep
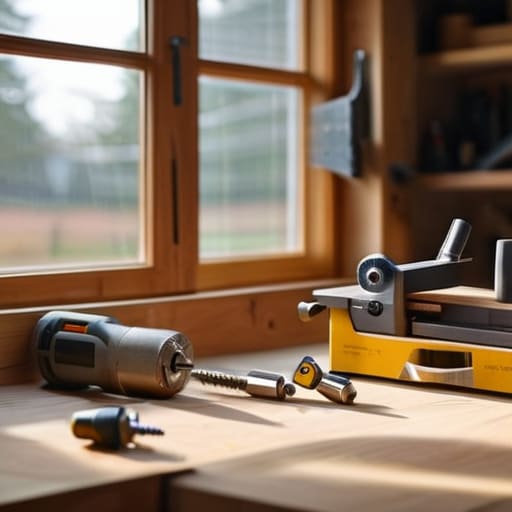
Before you even touch a piece of lumber, you need to clear the workspace. I’ve seen too many projects stall out because someone realized halfway through that they didn’t have a decent square or a sharp blade. When you’re looking into woodworking tools for beginners, don’t fall into the trap of buying a massive, expensive kit. You really only need the essentials: a reliable circular saw, a drill/driver combo, a cordless impact driver, and a decent tape measure. If you can’t measure twice and cut once, no amount of fancy gear is going to save your sanity.
Once you have the basics, focus on the precision of measuring and cutting wood. If your cuts are off by even a fraction of an inch, the whole structure will wobble, and you’ll be fighting it during the assembly phase. I always tell my clients that shelf stability and support start with the quality of your initial joints. Take your time with the layout. A little extra effort in the prep stage prevents a massive headache when you’re trying to screw everything together at the end of the day.
Smart Custom Shelving Unit Plans Without the Fluff
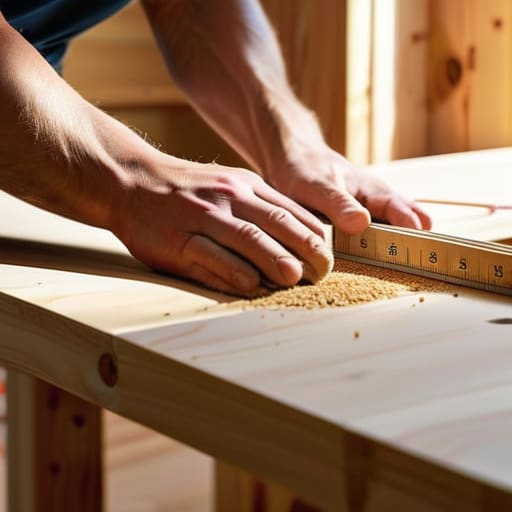
Look, you don’t need a 50-page blueprint to make something that looks good and stays upright. Most of those complex custom shelving unit plans you find online are designed to sell you more specialized equipment you don’t actually need. I prefer a modular approach. Think of your shelf as a series of interconnected systems rather than one monolithic object. If you design your dimensions around standard lumber sizes, you’ll spend less time sweating over the saw and more time actually getting the job done.
The real secret to a piece that doesn’t wobble after a month is focusing on shelf stability and support. Don’t just rely on a few nails and hope for the best. If you’re planning for heavy books, ensure your vertical supports are robust enough to handle the load without bowing. I always tell people: measure twice, cut once, and then check that measurement a third time before you even touch the trigger on your saw. It’s about precision in the prep work so the actual assembly goes smoothly. Keep your design clean, keep your joints tight, and you’ll end up with something that lasts.
Five Hard Truths to Keep Your Shelf from Becoming a Pile of Junk
- Measure twice, cut once, then measure again. I’ve seen too many guys rush the layout only to realize their boards are a fraction of an inch off, turning a simple build into a frustrating game of shim and glue.
- Don’t skimp on the fasteners. If you’re using cheap, flimsy screws that snap under tension, your books are going to end up on the floor. Buy decent hardware; it’s cheaper than rebuilding the whole unit next month.
- Sanding is where the real work happens. You can have the straightest cuts in the world, but if you don’t take the time to smooth out the grain, that finish is going to look like sandpaper and feel like it.
- Account for the weight. A bookshelf isn’t just a decorative box; it’s a structural load-bearing system. If you’re planning on stacking heavy hardcovers, make sure your shelf thickness and support points can actually handle the gravity.
- Level it before you commit. Houses aren’t perfect, and floors are rarely flat. If you don’t use a level and potentially shim the base, your bookshelf will look crooked from day one, no matter how good your joinery is.
The Bottom Line
Don’t overbuy gear; a solid saw, a reliable drill, and a level are more important than a garage full of expensive gadgets you’ll only use once.
Measure twice, cut once, and then measure a third time—it’s a cliché for a reason, and it saves you from wasting good lumber on a mistake.
Build for the load you actually have, not the load you think you’ll have in five years; a shelf that wobbles under your current books is a failed system.
Getting It Off the Workbench

At the end of the day, building this shelf isn’t about achieving some impossible level of carpenter perfection. It’s about having the right tools, a solid plan that doesn’t waste your time, and the discipline to measure twice so you don’t have to cut a third time. We’ve covered the essential gear, stripped away the unnecessary complexity of the plans, and focused on a build that actually stands the test of time. If you followed the steps, you now have something more than just a collection of boards and screws; you have a functional piece of furniture that was built with purpose and precision.
My advice? Don’t let the fear of a slightly crooked joint keep you from starting. Perfection is the enemy of progress, and in my experience, a shelf with a little character usually tells a better story than something mass-produced in a factory. Take a step back, look at what you’ve created with your own two hands, and realize that you’ve just bridged the gap between a digital idea and a physical reality. Now, get those books loaded up, clear the sawdust off your workbench, and start thinking about what you’re going to build next.
