

I was staring at a pile of expensive, pre-cut cedar kits last weekend, thinking about how much money people waste trying to make a simple project look “Pinterest-perfect.” Most of those online tutorials make it seem like you need a workshop full of high-end power tools just to figure out how to build a birdhouse that won’t rot in a month. Honestly, it’s a scam. You don’t need a complex blueprint or a degree in carpentry; you just need a few solid pieces of wood, a hammer, and the sense to not overcomplicate the design. I’ve spent half my life fixing broken systems, and I can tell you that the simplest design is almost always the one that actually works.
In this guide, I’m stripping away the fluff and the fancy decorative nonsense. I’m going to show you a straightforward, systematic approach to building a functional nesting box using basic tools you probably already have in your garage. We’re focusing on durability, proper ventilation, and actual bird safety rather than aesthetics. By the time we’re done, you’ll have a sturdy little structure that stands up to the elements and provides a real home for your local wildlife.
Table of Contents
- Step-by-Step Instructions
- Picking the Best Wood for Birdhouses and Essential Woodworking Tools
- Mastering Birdhouse Dimensions for Specific Species and Attaching the Roof
- Five ways to make sure your birdhouse doesn't become a death trap
- The Bottom Line: Keep It Simple and Built to Last
- Getting It Done and Getting Out of the Way
Guide Overview
Tools & Supplies
- Handsaw or miter saw to cut the wood pieces
- Hammer to drive the nails
- Drill with a spade bit to create the entrance hole
- Measuring tape to ensure accurate dimensions
- 1×6 Cedar or pine board (approx. 4-5 feet long)
- 1.5-inch galvanized finishing nails (small box)
- Waterproof wood glue for extra durability
- Sandpaper to smooth rough edges
Step-by-Step Instructions
- 1. First, get your materials together without overthinking it. You don’t need exotic hardwoods or expensive specialized kits; just grab a single 6-foot cedar board (1×6 is standard) and a box of 1-1/2 inch galvanized finish nails. I prefer cedar because it handles the weather without needing a coat of toxic paint, which keeps the birds safe and saves you a maintenance headache later.
- 2. Measure and mark your cuts using that notebook of mine to keep the math straight. You’ll need a floor (5″ x 5″), two sides (9″ tall), a front and back (each about 11″ tall), and a roof (at least 7″ long to provide an overhang). Don’t worry about being a master carpenter; as long as your lines are straight and your cuts are relatively square, the birds won’t care about a millimeter of error.
- 3. Once you’ve got your pieces cut, it’s time to tackle the entrance hole. This is the most critical part of the “system” because the size of the hole dictates who moves in. For a standard bluebird or wren, use a spade bit to drill a 1.5-inch hole about 6 inches up from the bottom of the front panel. If you make it too big, you’re just inviting predators or starlings to ruin the neighborhood.
- 4. Now, start the assembly by nailing the sides to the back, then attach the floor. I always recommend drilling a few small drainage holes in the floor piece first—nothing kills a nest faster than a puddle of rainwater sitting at the bottom. Use your hammer with a steady hand, and if you’re worried about splitting the wood, pre-drill your holes just like you would with any precision project.
- 5. Attach the front panel, but here is my little trick for making this a functional tool rather than a static object: only put one nail at the top of each side of the front panel. This creates a pivot point, allowing you to swing the front piece up like a door. It makes cleaning out the old nesting material at the end of the season a breeze instead of a total nightmare.
- 6. Finally, nail the roof on top, making sure it has a decent overhang in the front to keep the rain out of the entrance. Don’t bother with fancy shingles or decorative trim; a functional roof is a sloped one that sheds water effectively. Once that’s secure, find a sturdy post or a tree, mount it about 5 to 10 feet up, and get out of the way to let nature take over.
Picking the Best Wood for Birdhouses and Essential Woodworking Tools
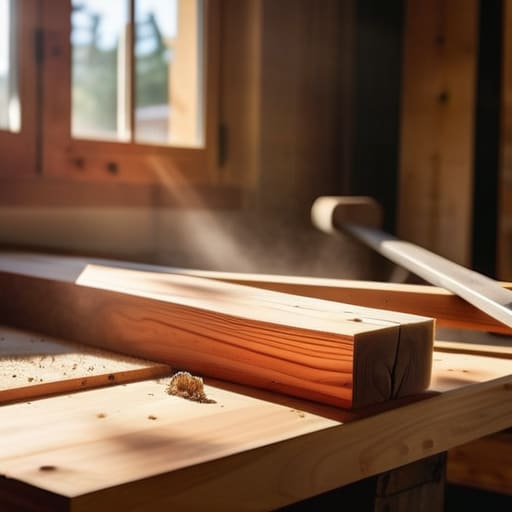
Look, don’t go wandering into the hardware store and grabbing some treated pine just because it’s cheap. Most pressure-treated lumber is loaded with chemicals that you definitely don’t want near a nesting family. When it comes to the best wood for birdhouses, you want something that can take a beating from the rain and sun without rotting out in a single season. Cedar or redwood are my go-to’s; they have natural oils that resist decay, meaning you won’t be rebuilding this thing every spring. If you’re on a tighter budget, untreated pine works fine, but you’ll need to keep a closer eye on it.
As for your gear, don’t feel like you need a professional workshop to get this done. You really only need a few solid woodworking tools for birdhouses: a reliable handsaw, a hammer, and a drill with a bit that matches your entrance hole size. If you’re worried about aesthetics, skip the glossy stains. I always recommend sticking to natural finishes or leaving the wood raw. If you must paint it, ensure you’re using only safe birdhouse paint and finishes on the exterior only—never the inside. Keep it simple, keep it functional, and let the birds do the rest.
Mastering Birdhouse Dimensions for Specific Species and Attaching the Roof
Here’s the thing: a birdhouse isn’t a one-size-fits-all project. If you build a massive box, you might end up inviting unwanted guests like starlings or even predators, while a tiny hole won’t do much for a bluebird. You need to get your birdhouse dimensions for specific species right before you start making permanent cuts. A quick search for your local target bird will tell you exactly what diameter entrance hole they need. Get it wrong, and you’ve just built an expensive piece of yard art instead of a functional home.
Once the walls are up, it’s time for attaching the birdhouse roof. Don’t just nail it shut and call it a day. I always recommend using screws or a slightly offset hinge on one side. Why? Because birds are messy, and eventually, you’ll need to clean out the old nesting material to keep the space sanitary for the next brood. If you make the roof removable, you’re building a system that actually lasts, rather than a disposable trinket that ends up in a landfill after one season.
Five ways to make sure your birdhouse doesn't become a death trap
- Skip the toxic finishes. I’ve seen people go overboard with high-gloss stains, but birds don’t need a showroom floor. Keep the inside raw wood; they need that natural texture to grip when they’re trying to climb out of the nest.
- Drill drainage holes in the floor. It sounds minor, but if rain gets in and there’s nowhere for it to go, you’ve just built a swamp. A few small holes in the bottom corners keep the nest dry and the chicks alive.
- Forget the perch. Most people think a little wooden peg makes it look “classic,” but it actually just gives predators a perfect place to sit while they raid the nest. Leave it plain; birds don’t need a landing strip to find the entrance.
- Give it some ventilation. You don’t want your feathered tenants baking in the sun. Drill a couple of small holes near the top of the side walls to let the hot air escape. It’s basic thermodynamics, and it’ll save lives in July.
- Make cleaning part of the system. Don’t glue everything shut like it’s a permanent monument. Use a couple of screws on one side or the roof so you can actually open it up and clear out the old nesting material once the season is done.
The Bottom Line: Keep It Simple and Built to Last
Don’t overthink the design; birds aren’t looking for architecture, they’re looking for a sturdy, weather-proof shelter that won’t rot in a season.
Stick to natural materials like cedar or pine and avoid treated lumber or toxic paints that’ll end up hurting the very birds you’re trying to help.
Focus on the fundamentals—proper drainage, ventilation, and the right hole size—because a birdhouse that actually works is better than one that just looks good on a shelf.
Getting It Done and Getting Out of the Way
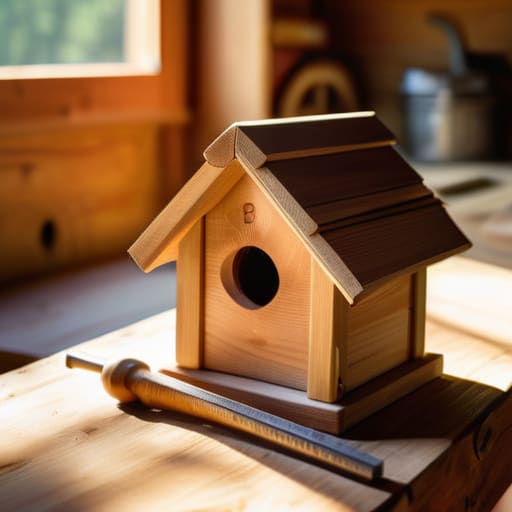
At the end of the day, building a birdhouse isn’t about achieving architectural perfection or having a workshop full of expensive, specialized machinery. It’s about the fundamentals: picking a durable wood like cedar that can actually stand up to the weather, getting your dimensions right so you aren’t accidentally building a trap, and ensuring your assembly is solid enough to last more than one season. You’ve got the right materials, you’ve mastered the measurements, and you’ve put the roof on. Now, the most important part of the system is knowing when to stop tinkering and let the hardware do its job.
There is something deeply satisfying about stepping back from a project and seeing a functional object sitting in your yard, ready to serve a purpose. In a world where we spend most of our time managing digital ghosts and endless notifications, creating something tangible provides a much-needed sense of real-world grounding. Don’t worry if your edges aren’t laser-straight or if the finish isn’t flawless. The birds don’t care about your craftsmanship; they care about a safe place to nest. So, hang it up, put your tools back in the chest, and go enjoy the view.
