
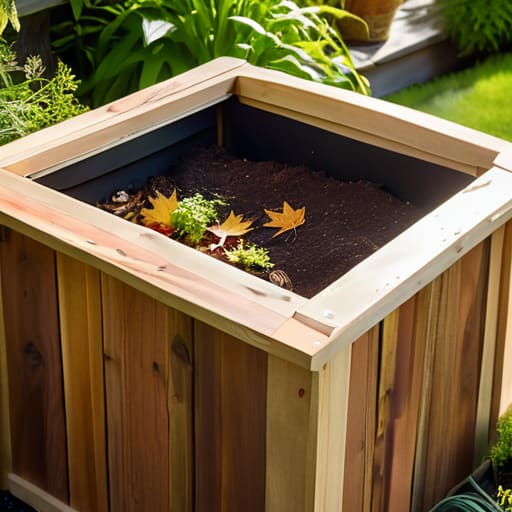
I spent three hours last Saturday watching a YouTube tutorial on “advanced aeration techniques” for a composting system that cost more than my first car. I sat there in my garage, surrounded by half-disassembled synths and a pile of scrap wood, feeling like an idiot because I was overcomplicating something that nature has been doing for millions of years without a single piece of software. The truth is, most people make learning how to make a compost bin way harder than it needs to be by chasing expensive, plastic, “smart” gadgets that just end up cluttering the yard. You don’t need a high-tech ecosystem; you just need a way to manage heat, air, and moisture.
I’m not here to sell you on a boutique gardening lifestyle or a complicated multi-step ritual. In this guide, I’m going to show you how to build a functional, rugged bin using basic materials you likely already have in your shed or can grab for a few bucks at the hardware store. We’re going to skip the fluff and focus on the actual physics of decay so you can get back to your life. By the time we’re done, you’ll have a reliable system that turns your kitchen scraps into black gold without turning your backyard into a science experiment.
Table of Contents
Guide Overview
Tools & Supplies
- Power drill with bits for making holes
- Handsaw or utility knife for cutting materials
- Plastic storage bin (approx. 18-30 gallons)
- Drill bit (1/2 inch or similar)
- Hardware cloth or mesh (optional for drainage)
Step-by-Step Instructions
- 1. First, you need to decide on your setup based on how much space you actually have. If you’ve got a decent backyard, I recommend building a simple three-bin system using heat-treated cedar or even old shipping pallets you can find for free. If you’re working with a tiny patio, skip the carpentry entirely and just grab a heavy-duty plastic bin with a lid. The goal isn’t to build a masterpiece; it’s to create a contained environment where biology can do its thing without making a mess of your yard.
- 2. Once you have your container, pick a spot that’s convenient but smart. You want somewhere with a bit of shade to keep things from drying out too fast, but it needs to be on bare earth if possible. This isn’t just about convenience; letting the bin sit directly on the ground allows worms and beneficial microbes to crawl right in and start the breakdown process from the bottom up.
- 3. Now, let’s talk about the foundation. Don’t just dump your kitchen scraps into an empty box; you need to build a base layer of “browns.” Grab some coarse materials like small twigs, dried stalks, or even ripped-up cardboard. This creates the essential airflow needed at the bottom so your pile doesn’t turn into a stinking, anaerobic sludge heap.
- 4. Time to start layering. Think of it like a recipe: you need a balance of “greens” (nitrogen-rich stuff like coffee grounds and vegetable scraps) and “browns” (carbon-rich stuff like dried leaves or shredded paper). A good rule of thumb I use is to aim for roughly two parts brown to one part green. If it starts smelling like a landfill, you’ve got too many greens; if nothing is happening, you’re lacking nitrogen.
- 5. Don’t get caught up in the “perfect temperature” obsession you see in gardening magazines. Just grab a sturdy garden fork or a shovel and give the pile a turn once every week or two. This simple act of aerating the mix introduces fresh oxygen, which is the fuel that keeps the decomposition process moving at a steady pace.
- 6. Finally, manage your moisture levels like you would a houseplant. The pile should feel like a wrung-out sponge—damp to the touch, but not dripping wet. If it looks bone-dry, give it a quick spray with the hose; if it’s soggy, toss in some more dry leaves or cardboard to soak up the excess. Keep it simple, keep it moving, and let nature handle the heavy lifting.
Choosing the Best Materials for Backyard Compost Bins
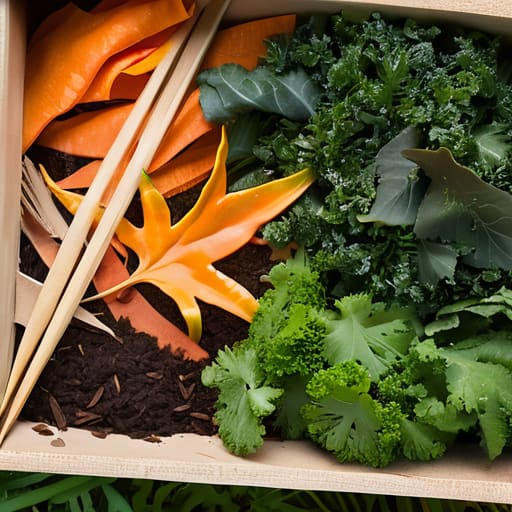
Look, you don’t need a degree in soil science to get this right, but you do need to understand what you’re putting into the mix. When I’m looking at the best materials for backyard compost bins, I always tell people to think in terms of balance: browns and greens. You need your carbon-heavy “browns”—dried leaves, shredded cardboard, or straw—to provide structure, and your nitrogen-rich “greens”—kitchen scraps and fresh grass clippings—to act as the fuel. If you lean too hard on one side, you’ll either end up with a stinky, slimy mess or a pile that just sits there doing nothing.
The physical build of the bin matters just as much as the ingredients. If you’re building something from scratch, pay attention to your compost bin dimensions for efficiency. I usually recommend something around 3x3x3 feet; it’s large enough to hold sufficient heat to break everything down, but small enough that you can actually turn it without throwing your back out. Whatever you build, make sure it’s got enough airflow. If you don’t build in some way for oxygen to move through the pile, you’re just asking for a bad smell.
Finding the Right Compost Bin Dimensions for Efficiency
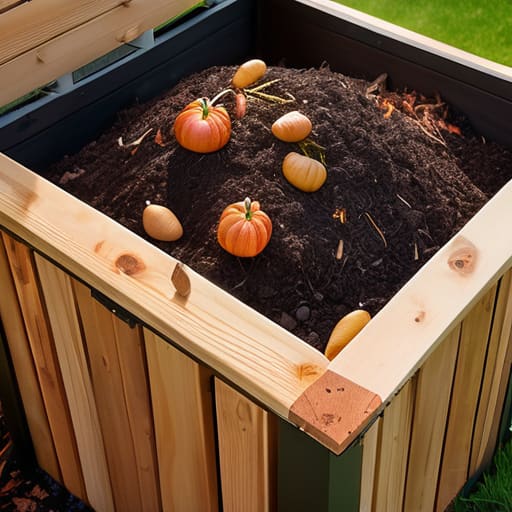
Look, I’ve seen plenty of people build these massive, sprawling compost structures only to realize they’ve created a logistical nightmare. If you go too big, you’ll never be able to turn the pile effectively, and if you go too small, the core temperature never gets high enough to actually break things down. For most folks, I recommend aiming for a bin that is at least three feet wide, deep, and high. This “cubic yard” rule is the sweet spot for thermal mass; it holds enough heat to do the heavy lifting for you without becoming an unmanageable mountain of rot.
If you’re working with a tiny urban lot, you might be tempted to shrink it down, but don’t sacrifice function for footprint. Smaller piles lose heat too fast, which means you’ll spend way more time worrying about how to maintain a compost pile that just won’t cooperate. If you can’t hit those dimensions, you might be better off looking into vermicomposting vs traditional composting. But if you’ve got the space, stick to the golden rule: size matters for heat retention. Get the dimensions right from the start, and the biology will do the rest.
Five Real-World Rules to Keep Your Bin from Becoming a Mess
- Don’t get fancy with the airflow. If you don’t have enough gaps for oxygen to move through the pile, you aren’t composting—you’re just making a stinky, anaerobic sludge pile. Keep it breathable.
- Watch your moisture levels like you’re checking a cooling system. It should feel like a wrung-out sponge. Too dry and the microbes go dormant; too wet and the whole thing starts smelling like a swamp.
- Balance your “greens” and “browns” without using a spreadsheet. Think of it as a ratio: a handful of nitrogen-rich kitchen scraps (greens) needs a decent mountain of carbon-heavy dried leaves or cardboard (browns) to keep the chemistry stable.
- Avoid the “mystery meat” trap. Never toss meat, dairy, or oily scraps into your backyard bin. It’s a shortcut to attracting rodents and pests, and frankly, it’s more trouble than it’s worth.
- Give it a stir once a week. You don’t need a specialized aerator; just grab a pitchfork and turn the pile. It breaks up the clumps and moves the fresh oxygen to the center where the real work happens.
The Bottom Line
Don’t let the gear stop you; a sturdy bin and some basic scraps are all you really need to get the engine running.
Size matters for airflow, so build it big enough to actually hold heat, but small enough that you can actually turn it without breaking your back.
Focus on the balance of greens and browns—it’s the simplest system there is, and once you get the ratio right, the biology does the heavy lifting for you.
Get Out of Your Head and Into the Dirt
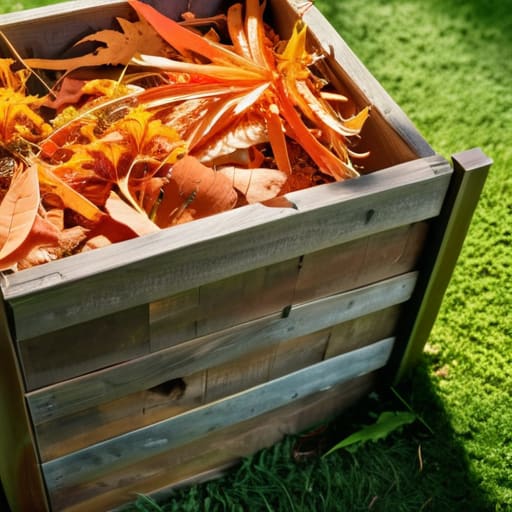
At the end of the day, building a compost bin isn’t about achieving engineering perfection or buying the most expensive cedar planks on the market. It’s about the fundamentals: getting the right dimensions to hold heat, choosing materials that won’t rot under your feet, and setting it up in a spot that actually makes sense for your workflow. You’ve got the blueprint now, whether you’re building a simple wire mesh bin or a more robust wooden crate. The goal isn’t to create a masterpiece; it’s to create a functional system that turns your kitchen waste into something useful. Stop worrying about the aesthetics and just focus on getting the airflow and moisture levels right so the biology can do its job.
Once that bin is built and the first layer of scraps goes in, you’ve already won half the battle. Most people get stuck in the “research phase” for months, paralyzed by the fear of doing it wrong, but the reality is that nature is incredibly forgiving. You’re going to make mistakes, and that’s fine. You’ll probably get the ratio of greens to browns slightly off at first, but that’s just part of the iterative process. My advice? Just start building. The most effective tool you have isn’t a specialized piece of garden equipment; it’s the willingness to get your hands dirty and actually apply what you know. Get it done, let it sit, and let the results speak for themselves.
