
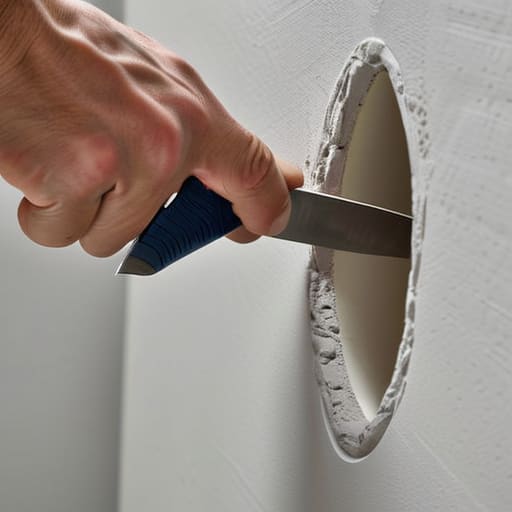
I was halfway through a deep-dive into a vintage Moog circuit last Tuesday when I caught it—that dark, jagged eye staring at me from the hallway. A stray heavy tool had slipped, leaving a gaping wound in the drywall that looked way more intimidating than it actually was. Most people see a hole like that and immediately think they need to rent a heavy-duty sander or call in a professional to avoid a total disaster. But here’s the truth: if you’re looking for how to patch a hole in the wall, you don’t need a massive renovation budget or a degree in construction. You just need the right sequence of moves and a bit of patience.
I’m not going to waste your time with those overly complicated “pro-level” kits that end up sitting in your garage for five years. Instead, I’m going to show you a straightforward, systematic approach to getting that surface smooth again without turning your living room into a dust bowl. We’re going to talk about the exact tools you actually need, how to avoid that dreaded sanding fatigue, and the simple trick to making the repair virtually invisible. Let’s get to work and fix this right the first time.
Table of Contents
Guide Overview
Tools & Supplies
- Putty knife for spreading compound
- Sanding block for smoothing surfaces
- Utility knife for trimming edges
- Spackling compound (1 small tub)
- Mesh patch or adhesive patch (1 unit)
- Sandpaper (medium and fine grit)
- Wall paint (small sample size)
Step-by-Step Instructions
- 1. First, figure out how much damage we’re actually dealing with. If it’s just a small nail hole, you can probably skip the heavy lifting, but if you’ve got a crater from a doorknob or a stray hammer, you need to clean up the edges. Take a utility knife and trim away any loose, crumbling bits of drywall that are sticking out. If the edges are jagged, the patch will never sit flush, and you’ll end up fighting the wall more than fixing it.
- 2. Grab a piece of scrap drywall that’s at least an inch larger than the hole on all sides. You aren’t going to use a fancy measuring tool here; just eye it and cut it with a drywall saw or a sharp utility knife. The goal is to create a solid backing for your patch. If the hole is large, I usually screw a small piece of wood—like a scrap of 1×2—behind the hole to act as a bridge. This gives you something to nail or screw your patch into so it doesn’t just fall into the wall cavity.
- 3. Now, get your patch in place. If you’re using a mesh self-adhesive patch, just center it over the hole and press it down. If you’re doing it the old-fashioned way with a piece of drywall, screw it into that wooden backing you installed in the last step. Make sure it’s tight and secure. You don’t want to be trying to sand down a patch that’s wiggling every time you apply pressure.
- 4. It’s time to apply the joint compound, or “spackle” if it’s a smaller job. Don’t go overboard and try to fill the whole thing in one massive glob. Instead, use a wide putty knife to spread a thin layer over the patch. Aim to feather the edges out several inches beyond the patch itself. You want the compound to taper off so gradually that when you look at it from the side, you can’t tell where the wall ends and the repair begins.
- 5. Let it dry completely. This is the part where most people rush and end up with a mess. Depending on the humidity in your house, this could take anywhere from an hour to a full day. If the compound shrinks or cracks as it dries—which it often does—don’t panic. Just apply a second, wider coat to smooth out those depressions. It’s better to do two thin layers than one thick, messy one.
- 6. Once it’s bone dry, grab a sanding sponge. Avoid the heavy-duty electric sanders unless you want your entire house covered in fine white dust; a simple hand sponge is much more controllable and precise. Sand the area in a circular motion until the patch feels perfectly smooth to the touch. Run your hand over it—if you can feel a bump or a ridge, keep sanding.
- 7. Before you even think about grabbing a paintbrush, wipe the area down with a damp cloth to get rid of the dust. If you paint over drywall dust, the paint will peel off like a bad sunburn. Prime the spot first to seal the compound, then hit it with your wall paint. If you match the texture correctly, you’ll realize that fixing this wasn’t nearly as hard as the hardware store commercials made it out to be.
Choosing a Drywall Patch Kit for Small Holes
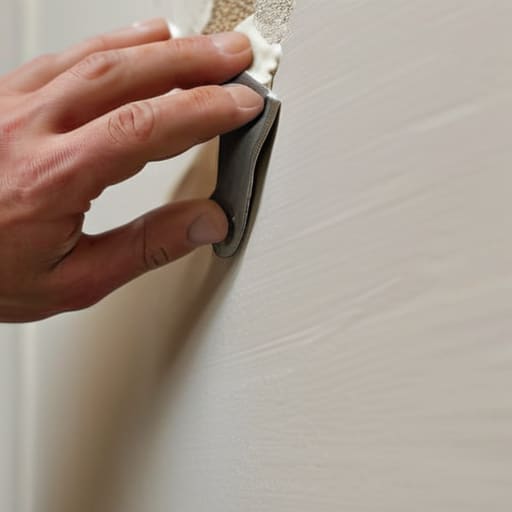
Look, you can walk into any hardware store and be met with a wall of options that look like they were designed by a committee of people who have never actually held a putty knife. If you’re just dealing with a nail hole or a scuff from moving furniture, don’t let the marketing fool you into buying a massive bucket of joint compound. You just need a decent drywall patch kit for small holes. These kits usually come with a small amount of lightweight spackle and a patch that’s already sized for the job. It’s about efficiency—getting the job done without turning your garage into a construction zone.
If the damage is a bit more significant, like a puncture from a door handle, skip the flimsy stickers. You’ll want something with a bit more structural integrity, like a self-adhesive wall repair mesh tape to bridge the gap. It provides a solid foundation so your patch doesn’t just sag or crack the moment you look at it. My rule of thumb is simple: buy the tool that matches the scale of the mess. If it feels like overkill, it probably is.
The Right Way to Use Wall Repair Mesh Tape
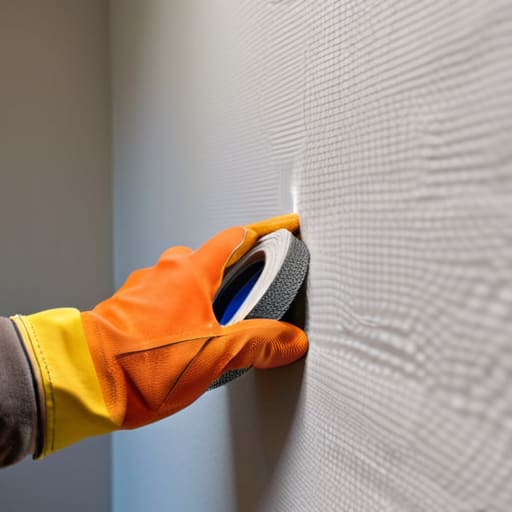
If you’re dealing with a hole that’s a bit larger than a nail puncture, skip the pre-made kits and grab some wall repair mesh tape instead. It’s a cheap, high-strength solution that acts like a bridge across the gap. The trick isn’t just slapping it on; you have to ensure the tape is centered and flat against the edges of the damage. If the mesh is bunching up or peeling at the corners, your patch is going to fail, and you’ll end up redoing the whole job next week.
Once the tape is secure, your focus shifts to the spackling compound application. Don’t try to fill the entire depth in one massive, thick glob. That’s a rookie mistake that leads to cracking and massive amounts of extra sanding later. Instead, apply thin, even layers, working from the center outward to feather the edges. You want the compound to blend seamlessly into the surrounding wall. If you take the time to do it in stages, you won’t have to spend hours trying to sand drywall smooth later on.
Pro Tips to Keep You From Making a Mess
- Don’t get greedy with the spackle. It’s tempting to try and fill the whole crater at once, but you’ll end up with a mountain of sludge that takes forever to dry. Do thin, manageable layers instead.
- Sanding is where most people screw up. If you go too heavy with the sandpaper, you’ll end up gouging the surrounding drywall and creating a bigger problem than the one you started with. Keep it light and even.
- Clean the dust before you paint. I’ve seen too many guys finish a patch, grab the brush, and wonder why the paint is peeling off a week later. Wipe that area down with a damp cloth first.
- Check your lighting. Grab a work light or a flashlight and hold it sideways against the wall. If you see shadows, the patch isn’t flush yet. You want it to look like the hole never existed, not like a bumpy scar.
- Match your texture, don’t just ignore it. If your walls have a slight orange peel or knockdown texture, a perfectly smooth patch will stand out like a sore thumb. Use a sponge or a specialized roller to mimic the surrounding pattern.
The Bottom Line: Don't Make It Harder Than It Needs To Be
Pick the right tool for the job—use a pre-made patch for small nail holes, but don’t be afraid of mesh tape if the damage is a bit more substantial.
Patience is your best tool; it’s much faster to apply two thin, smooth layers of spackle than to try and fix one massive, messy mound that won’t dry.
Focus on the prep work. If you don’t clear out the loose debris and sand the edges first, your repair is going to look like a bump on the wall no matter how much effort you put in.
Get It Done and Move On
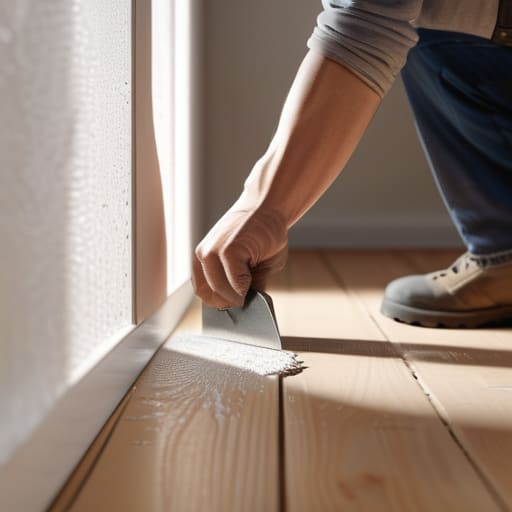
At the end of the day, patching a hole isn’t about achieving architectural perfection; it’s about restoring the integrity of your space without losing your mind in the process. Whether you went with a quick patch kit for those minor dings or took the extra time to properly apply mesh tape for a larger gap, the principle remains the same: do the prep work right so you aren’t sanding for three hours later. Grab your spackle, smooth it out, and don’t get caught up in the minutiae. If the surface is level and the structural gap is filled, you’ve already won the battle against the clutter and the chaos.
We spend so much of our lives managing digital systems and complex workflows that we often forget the satisfaction of fixing something tangible with our own two hands. There is a unique kind of mental clarity that comes from taking a broken part of your environment and making it whole again using nothing but a bit of grit and the right tools. Don’t let a small hole in the drywall become a mounting source of stress in your mental backlog. Fix it, close the loop, and get back to focusing on the things that actually matter.
