
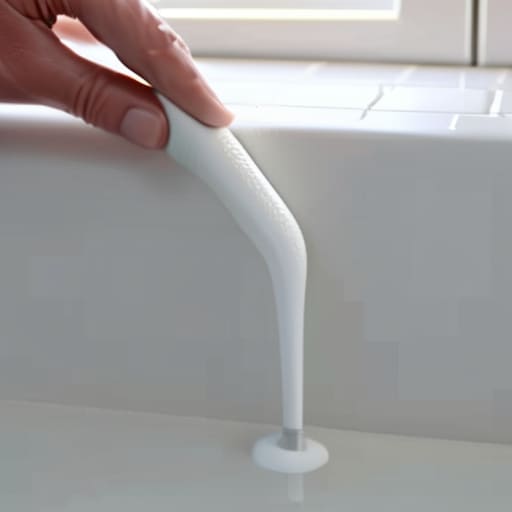
I remember staring at a half-finished bathroom remodel three years ago, surrounded by empty tubes of silicone and a pile of ruined paper towels, wondering why the hell a simple task felt like a high-stakes engineering project. Most people think you need a steady hand like a surgeon or a dozen expensive specialized tools to get a clean finish, but that’s a total myth. The truth is, learning how to caulk isn’t about perfectionism; it’s about understanding the physics of the bead and knowing when to stop overthinking the prep. If you treat it like a science rather than a delicate art form, you’ll stop making a mess and start actually finishing your projects.
In this guide, I’m skipping the fluff and the “pro-level” nonsense that requires a degree in masonry. I’m going to show you the exact, streamlined system I use to get smooth, water-tight seams without the constant cleanup headache. We’ll cover everything from picking the right material to the one specific movement that makes a cleaner bead every single time. My goal is to get you through this task efficiently so you can put the tools away and get back to your actual life.
Table of Contents
Guide Overview
Tools & Supplies
- Caulking gun for applying sealant
- Caulk removal tool or utility knife for cleaning old residue
- Microfiber cloth or paper towels for cleanup
- Caulk tube (silicone or acrylic depending on surface)
- Painter's tape for clean lines
Step-by-Step Instructions
- 1. First, you need to clear the deck. If there’s old, crusty caulk sitting in the gap, don’t even bother trying to layer new stuff on top of it; it won’t stick and you’ll be back here in a month fixing it. Grab a utility knife or a dedicated caulk removal tool and scrape that old junk out until the surface is clean and bare.
- 2. Once the gap is empty, clean it like you mean it. Dust, grease, or soap scum are the enemies of a good seal. Take a damp rag or a bit of rubbing alcohol to wipe down the area and then let it dry completely. If you trap moisture behind the bead, you’re just asking for mold to move in later.
- 3. Pick your tool and your material. Don’t just grab the cheapest tube on the shelf; if you’re doing a bathroom, get silicone, and if it’s a window frame, get something that handles expansion. Load your caulk gun, and before you touch the actual project, practice a few beads on a piece of scrap cardboard to get a feel for the pressure you need to apply.
- 4. This is where most people mess up: they move too fast. Hold the gun at a 45-degree angle and pull it toward you in one steady, continuous motion. You want to push the caulk into the gap, not just lay it on top like frosting. If you hesitate or stop mid-stream, you’ll end up with bumps that look amateur.
- 5. Now, you have to smooth it out before it skins over. I usually keep a small bucket of water with a drop of dish soap nearby. Dip your finger in the soapy water and lightly run it along the bead to press it into the joint. Don’t overwork it—if you go back and forth too much, you’ll just pull the material out of the crack and make a mess.
- 6. Wipe up the excess immediately. Don’t wait for it to dry, or you’ll be fighting a losing battle with a sponge. Use a damp cloth to clean the surrounding surfaces so the only thing left is that clean, professional-looking line. Once that’s done, step away and let it cure according to the tube’s instructions; don’t go testing it with a wet finger five minutes later.
Ditch the Mess Choosing Silicone vs Acrylic Caulk
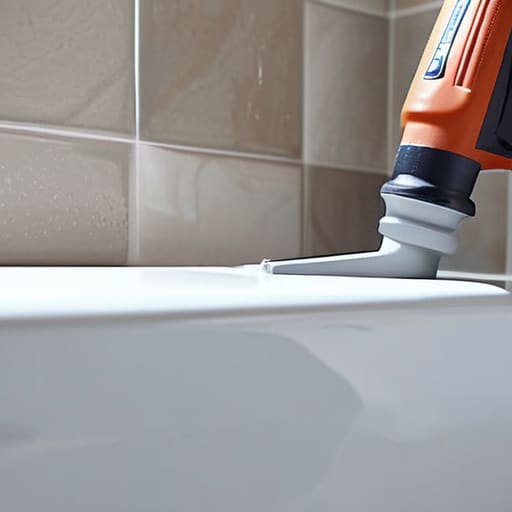
Before you even squeeze the trigger on that caulk gun, you need to stop and look at what you’re actually trying to fix. I’ve seen too many people grab the first tube they see at the hardware store, only to realize three hours later that they’ve used the wrong material for the job. If you’re caulking bathroom fixtures or anything that’s going to be constantly hit with water, don’t even bother with acrylic. You need silicone. It’s waterproof, flexible, and handles the expansion and contraction of your plumbing without cracking.
Acrylic is fine for sealing window gaps or interior trim where moisture isn’t an issue, mainly because it’s easier to paint over. Silicone, on the other hand, is a nightmare to paint. If you choose the wrong one, you’ll end up spending your entire weekend removing old caulk just to fix your own mistake. My rule of thumb is simple: if it gets wet, go silicone; if it needs to match your wall color, go acrylic. Pick the right tool for the environment the first time, and you won’t have to do the job twice.
The Clean Finish Perfecting Your Smooth Caulk Bead Technique
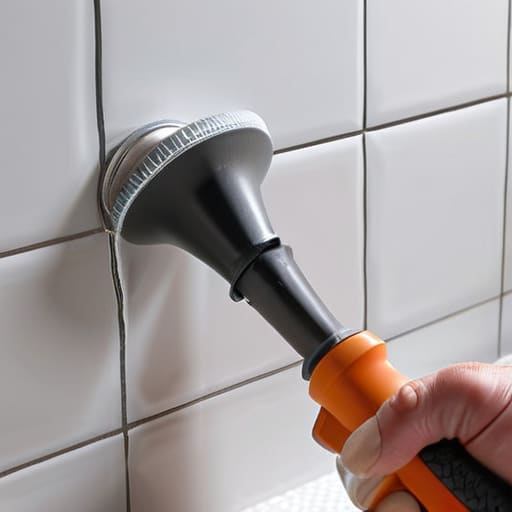
Look, you can have the best materials in the world, but if your hand is shaking or you’re pumping the trigger like you’re trying to win a race, the result is going to look amateur. The secret to a smooth caulk bead technique isn’t about brute strength; it’s about steady pressure and consistent flow. When you’re working on something like caulking bathroom fixtures, don’t try to do the whole length in one go. Work in small, manageable sections. If you find yourself fighting the gun, stop. Adjust your grip, take a breath, and remember that the goal is a continuous line, not a series of disconnected blobs.
Once the bead is down, the real magic happens in the smoothing phase. I always keep a small spray bottle of soapy water nearby. A light mist over the bead helps prevent the material from sticking to your finger or the surrounding surface. Use a single, fluid motion to wipe the excess away. Don’t overwork it. If you keep dragging your finger back and forth, you’ll just pull the caulk out of the gap you just filled. One pass, steady hand, and you’re done.
Five Pro Moves to Save You from a Massive Cleanup
- Don’t skimp on the prep. If there’s old, crusty caulk stuck in the gap, your new layer will peel off in a week. Scrape it out completely, hit it with a bit of rubbing alcohol to kill any residue, and let it dry. A clean surface is the difference between a seal that lasts years and one that looks like a joke by next month.
- Cut your nozzle with intention. Don’t just hack away at the plastic. Measure the width of the gap first, then cut the tip at a 45-degree angle to match that size. If the hole is too big, you’re just wasting product and making a bigger mess to clean up later.
- Use the right tool for the job—and no, I don’t mean your finger. While the “wet finger” trick is a classic, it’s messy and inconsistent. Grab a cheap caulk finishing tool or a small spatula. It gives you a professional, uniform bead every single time without turning your hand into a sticky disaster.
- Keep the pressure steady. Most people struggle because they pump the caulk gun like they’re trying to win a race. It’s about rhythm. Apply consistent, even pressure to the trigger and move at a steady pace. If you hesitate or jerk the gun, you’ll end up with lumps that look terrible.
- Work in small sections. Don’t try to bead the entire length of a bathtub in one go. If you do, the caulk will start to skin over before you can smooth it out, leaving you with a jagged, uneven mess. Do a few inches, smooth it, and move on. It keeps the material workable and the finish clean.
The Bottom Line: Don't Overthink It, Just Do It Right
Prep is 90% of the job; if the surface isn’t clean and dry, you’re just wasting money on a bead that’s going to peel off in a month.
Pick the right tool for the task—use silicone for anything involving water and acrylic for trim—so you aren’t fighting the material halfway through the project.
Focus on steady movement rather than perfection; a consistent, slow bead is much easier to smooth out than trying to fix a jagged mess after it’s already started to skin over.
Get It Done and Move On
At the end of the day, successful caulking isn’t about having a professional-grade setup; it’s about the prep and the patience. You’ve learned to pick the right material—silicone for the wet zones and acrylic for the dry ones—and you know that a clean, dry surface is the only way to ensure that bead actually sticks. Remember, the secret isn’t in some fancy tool you saw on an infomercial; it’s in steadying your hand and not rushing the smoothing process. If you take the time to do the prep work right, you won’t be peeling up dried, messy strips six months from now. Just follow the system, keep your workspace organized, and trust the process.
There is a specific kind of satisfaction that comes from looking at a seam you finished yourself and seeing a clean, professional line. It’s more than just sealing a gap in a tub or a window frame; it’s about taking control of your environment and maintaining the things you own. We spend so much time managing digital chaos that we often forget the quiet victory of a well-maintained home. Don’t let a small DIY task intimidate you into procrastination. Grab your caulk gun, get your hands a little dirty, and reclaim your space one seam at a time. Once it’s done, you can finally close the toolbox and get back to your real life.
