
I was standing in my backyard last Saturday, staring at a pile of expensive, pressure-treated lumber and a half-finished blueprint that looked more like a NASA schematic than a garden plan. I realized I was falling into the same trap I see in my IT consulting work: over-engineering a solution for a problem that just needs a little grit and some basic physics. Most people think you need a master carpenter’s kit or a massive budget to get started, but learning how to build a raised garden bed shouldn’t feel like a weekend-long engineering crisis. If you spend more time watching “aesthetic” gardening tutorials than actually digging in the dirt, you’re doing it wrong.
I’m not here to sell you on some complicated, high-tech hydroponic system that breaks the moment the power flickers. My goal is to show you how to build something sturdy, functional, and simple that will actually survive a season of rain and heat. We’re going to skip the fluff and focus on the essential mechanics: choosing the right wood, securing the corners so they don’t bow, and getting the soil right. Let’s cut through the gardening noise and get your hands dirty with a method that actually works.
Table of Contents
Guide Overview
Tools & Supplies
- Drill and bits for fastening wood
- Measuring tape for accurate cuts
- Level to ensure even ground
- Hand saw or miter saw for sizing lumber
- Untreated cedar or redwood boards (approx. 3-4 pieces)
- Wood screws (1 box of 2.5-inch exterior grade)
- Garden soil and compost (enough to fill volume)
- Hardware cloth or landscape fabric (to prevent pests/weeds)
Step-by-Step Instructions
- 1. First, you need to pick your materials, and for the love of everything practical, avoid pressure-treated wood from the old-school era that’s loaded with arsenic. I always go with cedar or redwood because they have natural rot resistance and won’t leach chemicals into your tomatoes. If you’re on a tighter budget, untreated Douglas fir works fine, just be prepared to replace it sooner than the expensive stuff.
- 2. Once you have your lumber, grab your tape measure and a pencil to mark your cuts. I like to keep my beds at about 4 feet wide; that’s the magic number because it allows you to reach the center from either side without stepping into the bed and compacting the soil. Measure twice, cut once, and keep your lines straight and true so the frame doesn’t look like a crooked mess when it’s standing up.
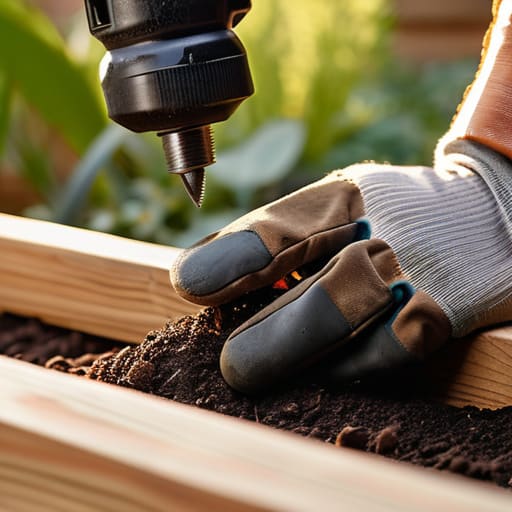
- 3. Now, let’s get the frame together. You’ll need some heavy-duty exterior screws—not the cheap indoor stuff that’ll snap or rust in a month. I prefer using a cordless drill to drive them through the side boards into the corner posts. Make sure your corners are perfectly square by measuring diagonally from corner to corner; if the two numbers match, you’re golden.
- 4. Before you even think about adding dirt, find a spot in your yard that gets at least six hours of sun and clear the area of any tall weeds or large rocks. I usually just mow the grass down as short as possible in that patch. If you’re dealing with heavy clay or a lot of grass, lay down a thick layer of uncoated cardboard at the bottom of the frame. It’ll smother the weeds and eventually rot away, turning into organic matter for your soil.
- 5. This is where most people mess up: don’t just buy a bunch of cheap, bagged topsoil and call it a day. You need a proper mix that drains well but holds moisture, so I recommend a blend of roughly one-third compost, one-third peat moss (or coconut coir), and one-third vermiculite. It’s a bit more heavy lifting upfront, but it’s the difference between a garden that struggles and one that actually thrives.
- 6. Fill the bed with your mix, give it a good soak with the hose to settle everything, and then you’re done. Don’t go buying fancy irrigation timers or complex sensor kits right out of the gate. Just get the bed in the ground, plant your seeds, and see how the system performs in your specific microclimate before you start overcomplicating things.
The Real Truth About Cedar vs Pressure Treated Lumber
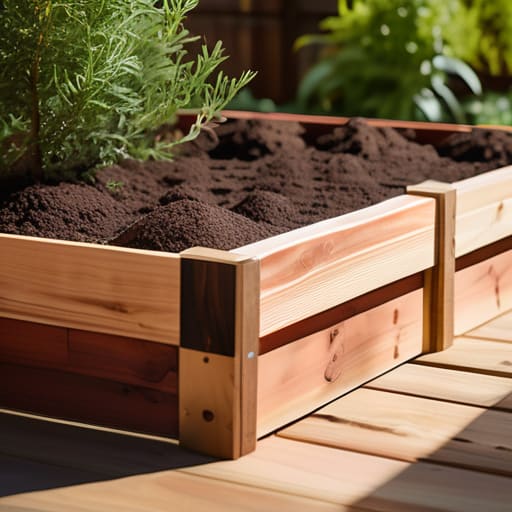
Look, you’re going to see a dozen different opinions online about whether you should use cedar or pressure-treated wood, and most of them are just noise. If you want the long-term play, cedar is the gold standard. It’s naturally resistant to rot and insects without needing a bunch of chemical additives. It’ll hold up against the elements for years, which means you won’t be rebuilding your setup every two seasons. It’s more expensive upfront, sure, but I’ve always believed in buying things once and buying them right.
That said, if you’re on a tight budget, you can use pressure-treated lumber, but you need to be smart about it. Modern treated wood uses much safer chemicals than the stuff they sold back in the day, but if you’re still worried about leaching, don’t skip the raised bed liner options. Lining the inside with a heavy-duty plastic barrier can create that extra layer of protection between the wood and your soil. At the end of the day, it’s a trade-off between initial cost and long-term durability. Pick the one that fits your actual budget, not your ideal one.
Choosing Garden Bed Dimensions for Vegetables That Actually Work
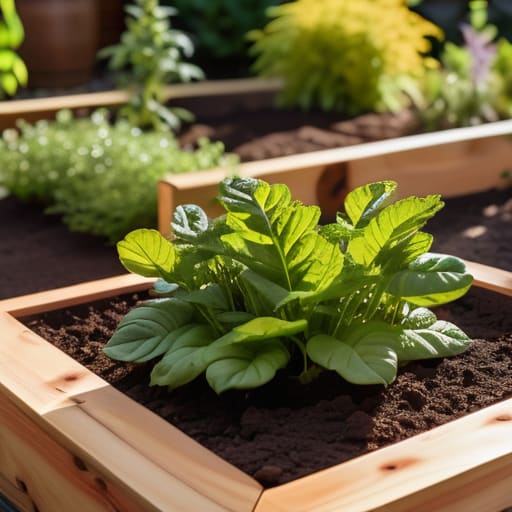
Look, I’ve seen too many people build these massive, beautiful wooden structures only to realize they’ve created a logistical nightmare. The biggest mistake you can make is building a bed that’s too wide to reach into. If you can’t reach the center without stepping into the frame, you’re going to compact your soil, kill your root systems, and end up with a mess. For most people, I recommend keeping your garden bed dimensions for vegetables to a maximum of four feet in width. If you have access from both sides, four feet is your limit; if it’s against a fence, stick to two feet.
Depth is the other thing people overlook. You don’t need a three-foot-deep pit to grow a decent tomato, but you do need enough room for a healthy raised garden bed soil mix to do its job. For leafy greens and herbs, twelve inches is plenty. If you’re planning on heavy hitters like carrots or deep-rooted perennials, aim for eighteen inches. Keep it functional, keep it reachable, and don’t build something that requires a gym membership just to weed it.
Five Pro-Tips to Save You From Your Own Mistakes
- Don’t skimp on the hardware. If you use cheap, thin screws, they’ll snap or rust out within two seasons, leaving your garden frame sagging and useless. Get some high-quality, exterior-grade structural screws and call it a day.
- Level the ground before you commit. It’s tempting to just drop the frame on top of the grass, but if your base isn’t even, the weight of the wet soil will warp the wood and pull your corners apart. A little bit of digging now saves a massive headache later.
- Line the bottom with cardboard, not plastic. If you’re building over grass, throw down a thick layer of plain brown cardboard. It smothers the weeds and eventually rots away, allowing worms and beneficial microbes to move into your new soil without creating a drainage barrier.
- Build for your reach, not just for looks. I’ve seen plenty of guys build massive 4×8 beds only to realize they can’t reach the middle without stepping into the dirt and compacting it. Keep it narrow enough that you can work the whole space from the perimeter.
- Think about drainage from the jump. Soil needs to breathe and water needs to move. If you’re building on a slope or in a low spot, make sure your design allows for runoff so you don’t end up accidentally building a bathtub for your vegetables.
The Bottom Line
Don’t get paralyzed by the perfect material choice; pick cedar if you have the budget for longevity, or go with pressure-treated if you just want to get growing without breaking the bank.
Build for your reach, not just your yard—if you can’t easily touch the center of the bed without stepping into it, you’ve built a system that’s destined to fail.
Focus on the foundation and the frame first; a solid, level structure saves you from a mountain of wasted soil and dead plants six months down the road.
Get Your Hands Dirty
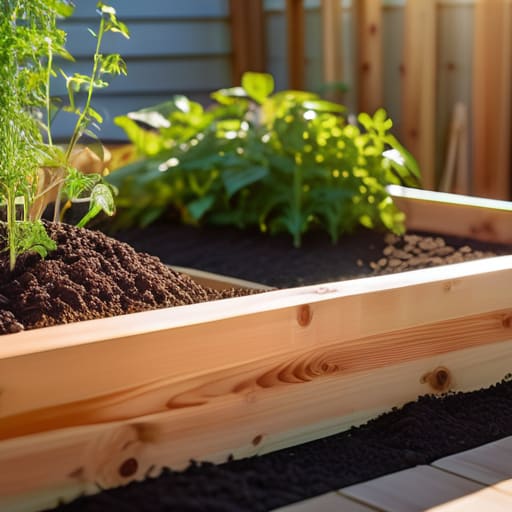
Look, we’ve covered the heavy lifting: choosing the right wood, sizing your beds so you aren’t stretching your back to reach the middle, and getting the frame level. If you followed the steps, you aren’t just looking at a pile of lumber anymore; you’ve built a functional system designed to grow food. Don’t get caught up in the trap of needing the perfect soil mix or the most expensive irrigation setup right out of the gate. The goal was to build a sturdy, reliable structure that manages your space efficiently, and if you’ve done that, you’ve already won half the battle. Just keep it simple and maintainable.
At the end of the day, a garden isn’t a tech project where you’re chasing a perfect software update; it’s a living, breathing thing that requires a bit of grit. There will be pests, there will be dry spells, and there will be moments where you wish you’d just bought a bag of pre-grown greens from the store. But there is something deeply grounding about stepping away from the screen and working with something tangible and real. Stop waiting for the perfect moment or the perfect weather. Grab your shovel, get that dirt in the bed, and start growing.
