
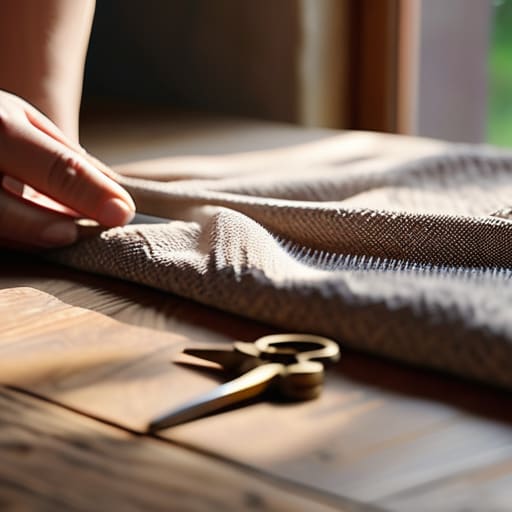
I was standing on a rickety stepladder last Saturday, staring at a pile of expensive linen fabric and a sewing machine that felt more like a weapon than a tool, wondering why I’d ever thought I could tackle diy curtains on a whim. I had spent three hours watching “aesthetic” tutorials that made it look like a breeze, only to end up with uneven hems and a literal headache. The truth is, most of the advice out there makes these projects look like a high-end craft session, but in the real world, you just want something that actually hangs straight without requiring a degree in textile engineering.
I’m not here to show you how to make a Pinterest-perfect masterpiece that takes forty hours of your life; I’m here to show you how to get the job done. In this guide, I’m breaking down a few streamlined methods for creating diy curtains that focus on structural integrity and minimalist functionality. We’ll skip the fluff and focus on the essential hardware, the right measurements, and the shortcuts that ensure your windows look finished without turning your living room into a disaster zone.
Table of Contents
Guide Overview
Tools & Supplies
- Fabric scissors for clean cutting
- Sewing machine for stitching seams
- Measuring tape for accurate sizing
- Pins or clips to hold fabric in place
- Iron for pressing hems
- Fabric (2-3 yards depending on window size)
- Thread (1 spool matching fabric color)
- Curtain tape or header tape (optional for professional look)
Step-by-Step Instructions
- 1. First, grab a measuring tape and stop guessing. You need to measure the width of your window frame and add at least six to ten inches on each side to ensure you actually get privacy when the lights are on. For the length, decide if you want them to just skim the sill or hit the floor; I usually prefer them hitting the floor because it hides the clunky hardware better.
- 2. Pick your fabric, but don’t get distracted by high-maintenance silks or linens that require professional dry cleaning. Stick to a sturdy cotton or a heavy polyester blend that holds its shape and can handle a standard wash cycle. If you’re looking for that high-end look without the designer price tag, look for something with a bit of weight to it—it helps the curtain hang straight instead of looking like a bedsheet.
- 3. Now, let’s talk about the “sewing” part, which is where most people quit. If you actually have a sewing machine, great, but if you don’t, don’t sweat it. Buy some heavy-duty fusible web tape (iron-on hem tape) from the craft store. This allows you to create clean, professional-looking hems by simply using an iron, effectively eliminating the need for a needle and thread if you don’t have the patience for it.
- 4. Lay your fabric out flat on a large table or a clean floor. Fold the edges over to your desired width and length, using your iron to press a sharp crease into the fabric. This isn’t just about aesthetics; a crisp crease acts as your guide and ensures your lines stay straight throughout the entire process.
- 5. Apply your hem tape or sew your straight lines along those pressed creases. If you’re using the iron-on method, place the tape between the folds and press firmly with a hot iron according to the package instructions. You want to make sure the bond is completely secure so you aren’t dealing with sagging fabric halfway through the first week.
- 6. Choose your hanging method based on the hardware you already have. If you’ve got a standard rod, a simple “rod pocket” (where you fold the top of the fabric over the rod) is the easiest path to success. If you want something a bit sharper, buy some clip rings; they allow you to hang the curtains instantly without having to sew a specialized header.
- 7. Once they’re up, give them a good shake and a steam. Most DIY projects look “homemade” because of the wrinkles from being folded in a package. A little steam will help the fabric settle into place, making your handiwork look less like a weekend experiment and more like a deliberate part of the room.
Smart Fabric Selection for Curtains Without the Fluff
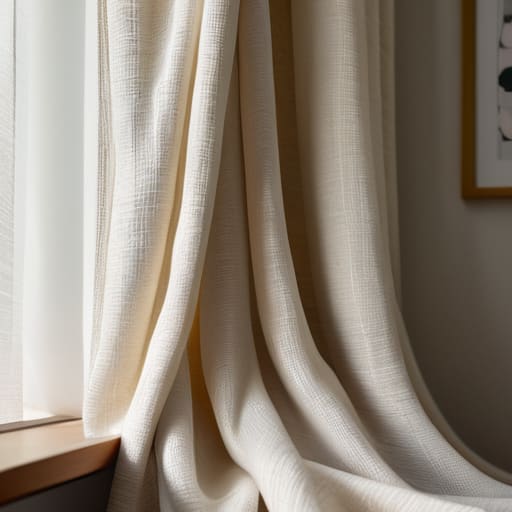
Look, the biggest mistake I see people make is getting blinded by a pretty pattern before they even consider the physics of the room. You can find the most beautiful textile on earth, but if it’s a thin, cheap polyester that lets every bit of streetlamp glare through your bedroom at 2 AM, you’ve failed the system. When you’re handling fabric selection for curtains, you need to think about weight and light opacity first. If you want privacy and temperature control, go for a heavy linen blend or a thick cotton duck. If you’re just trying to soften the edges of a room, a lighter weave works fine, but don’t expect it to do the heavy lifting for your privacy.
Don’t go overboard trying to mimic high-end designer showrooms if you’re working on room decor on a budget. You don’t need custom-made silk to make a space look intentional. I always tell my clients to prioritize durability and function over complex prints. A solid, neutral color in a high-quality weave will always look more professional and last longer than a trendy pattern that’ll look dated by next season. Keep it simple, keep it heavy, and it’ll do its job.
Measuring Windows for Curtains Before You Waste Money
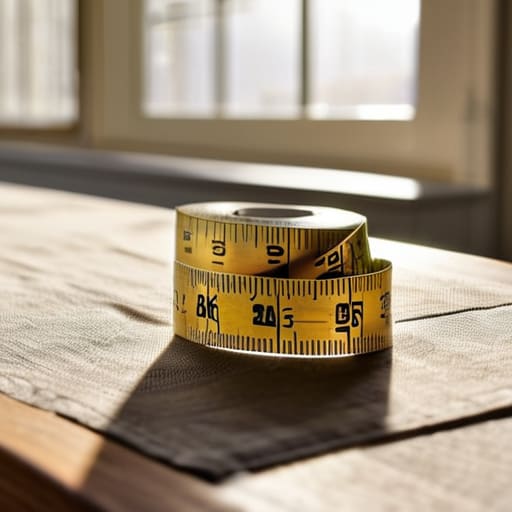
Look, I’ve seen enough botched projects to know that most people fail before they even buy the fabric. They rush into the store, grab a few yards of something that looks decent, and realize too late that their window is three inches wider than they thought. When it comes to measuring windows for curtains, you need to stop eyeballing it. Grab a metal tape measure—not a soft tailor’s tape, which can stretch and give you a false reading—and measure twice. If you’re aiming for that high-end look without the custom window treatments price tag, you need to account for the “stack back.” That’s the space the fabric occupies when it’s pulled open. If you don’t account for that, your beautiful new curtains will block your light and make your windows look tiny.
Don’t just measure the glass; measure the entire wall space if you want to make a room feel larger. I always recommend measuring at least six inches above the window frame and extending the width several inches past the sides. This creates a more intentional, architectural feel. Also, keep your measurements consistent by checking the height at three different points—top, middle, and bottom—to ensure your floors aren’t uneven. It’s a small step, but it’s the difference between a professional finish and a DIY disaster.
Five Ways to Avoid a DIY Disaster
- Don’t skimp on the hardware; a cheap tension rod will sag the moment you add real fabric, so invest in a solid steel rod that actually holds its weight.
- Skip the complex hem tape if you aren’t confident with a sewing machine; a heavy-duty fusible web is a faster, cleaner way to get a straight edge without the headache.
- Account for “fullness” or you’ll end up with curtains that look like a flat sheet stretched across a window; always buy at least 1.5 to 2 times the width of your actual window.
- Test your fabric weight against your rod before you start cutting; if the material is too heavy for the bracket you bought, you’re just setting yourself up for a midnight repair job.
- Use a level every single time; “eye-balling it” is how you end up with crooked lines that drive you crazy every time you walk into the room.
The Bottom Line: Don't Overthink It
Focus on function over aesthetics; a curtain that blocks light and hangs straight is a win, even if it isn’t a Pinterest masterpiece.
Measure twice and buy once—most DIY headaches come from being an inch off, so don’t rush the math.
Keep your tools simple; you don’t need a workshop full of gear, just the right fabric and a solid plan to get the job done.
Getting It Done
At the end of the day, making your own curtains isn’t about achieving some flawless, magazine-ready perfection; it’s about building a system that works for your space and your budget. We’ve covered the essentials: picking a fabric that actually serves a purpose, measuring twice so you aren’t left with awkward gaps, and following a process that doesn’t require a degree in textile engineering. If you stick to these fundamentals and avoid the trap of over-engineering every single stitch, you’ll end up with functional window treatments that look intentional rather than amateur. Just remember to keep your tools organized and your measurements precise, and you’ll avoid the most common headaches that turn a simple project into a weekend-long disaster.
I’ve spent a lot of my career fixing complex systems, and I’ve learned that the most sustainable solutions are usually the simplest ones. Don’t let the fear of a crooked seam or a slightly uneven hem stop you from starting. The goal here is to bridge the gap between a house that just looks okay and a home that feels like it was actually built by someone who lives in it. Once those curtains are up, you’ll realize that the most rewarding part isn’t the finished product itself, but the fact that you took control of your environment without making it harder than it needed to be. Now, put down the phone, grab your measuring tape, and get to work.
