

I spent three hours last Saturday staring at a sticky, clouded mess on my workbench, wondering why my “easy” DIY project looked more like a spilled chemical accident than art. Most of the tutorials you see online make resin look like magic—just stir, pour, and watch the perfection happen. But here’s the truth: most of that advice is fluff that ignores the actual physics of the stuff. If you’re looking into resin crafts for beginners, you don’t need a studio full of expensive gadgets or a degree in chemistry; you just need to understand how to manage the variables that actually matter.
I’m not here to sell you on a lifestyle or show you a filtered version of a hobby. I want to give you a system that works so you can stop wasting money on ruined batches and start making things you’re actually proud to hold. In this guide, I’m breaking down the essential gear, the exact mixing ratios you can’t afford to mess up, and the common pitfalls that turn a clean pour into a disaster. Let’s skip the fluff and get your hands dirty the right way.
Table of Contents
Guide Overview
Tools & Supplies
- Silicone molds for shaping the resin
- Measuring cups for accurate mixing ratios
- Wooden stir sticks for blending components
- Heat gun or lighter to remove surface bubbles
- Protective gloves to prevent skin contact
- Epoxy resin kit (2-part resin and hardener)
- Liquid pigments or mica powders for color
- Decorative inclusions (glitter, dried flowers, or shells)
- Sandpaper for smoothing edges
Step-by-Step Instructions
- 1. First things first, clear a workspace and set up your safety zone. Resin isn’t something you want to breathe in or get on your skin, so don’t be a hero—wear nitrile gloves and work in a room with a window cracked open. I’ve seen too many people try to wing it without a respirator or proper ventilation, and trust me, that’s a mistake you only make once.
- 2. Get your supplies laid out before you even touch the bottles; I’m talking about your silicone molds, mixing cups, stir sticks, and whatever you’re embedding. I always keep a roll of paper towels and some isopropyl alcohol nearby because mess happens fast when you’re working with a liquid that turns into permanent plastic.
- 3. Now, grab your resin and hardener and start the measuring process with extreme precision. Most beginner kits are a 1:1 ratio by volume, but if you’re even a hair off, you’ll end up with a sticky, gummy mess that won’t cure no matter how long you wait. Follow the measurements exactly as the label dictates; don’t try to eyeball it just to save time.
- 4. Start mixing slowly and deliberately, scraping the sides and the bottom of the cup as you go. If you stir too fast, you’ll whip air bubbles into the mixture like you’re beating eggs, and you’ll spend the next three hours trying to pop them out. You want a consistent, clear liquid, not a cloudy foam.
- 5. Once the mix looks good, pour it into your mold in thin, steady layers. If you’re adding things like dried flowers or glitter, don’t dump them all in at once or they’ll sink straight to the bottom and ruin the aesthetic. Layering helps you control the placement and keeps the final piece looking professional rather than cluttered.
- 6. Give the mold a gentle tap on the table or use a heat gun (on low!) to help those stubborn bubbles rise to the surface. It’s a bit of a waiting game from here, so find something else to do while it cures. Resist the urge to poke at it or move it every ten minutes; let the chemistry do its job in a stable environment.
- 7. Once the resin feels hard and isn’t tacky to the touch, carefully pop it out of the mold. If the edges feel a little sharp or uneven, grab some fine-grit sandpaper to smooth them down. It’s a simple, mechanical fix that makes the difference between a cheap-looking trinket and something you’d actually be proud to display.
The Essential Resin Art Supplies You Actually Need
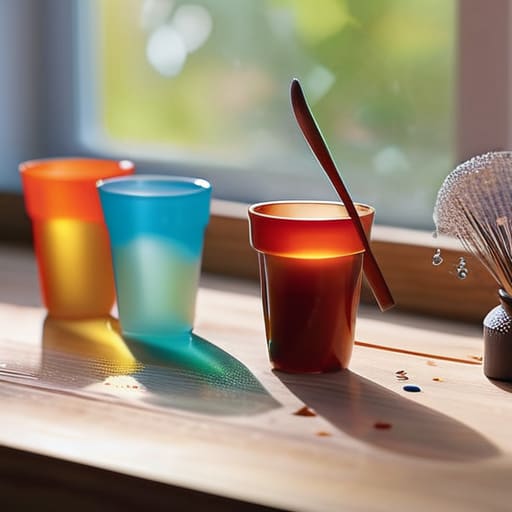
Look, I’ve seen enough people blow their weekend budget on fancy glitter kits and specialized tools they’ll never touch again. You don’t need a professional studio to get started; you just need the right foundation. Start with a decent quality two-part epoxy. The most common mistake I see is people ignoring the mixing ratio for epoxy resin printed on the bottle. If you’re off by even a few milliliters, you’ll end up with a sticky, half-cured mess that’s impossible to work with. Get a set of cheap silicone mixing cups and a couple of sturdy stir sticks. It’s better to use disposables than to spend an hour scrubbing hardened goo out of a reusable bowl.
Safety isn’t optional here, either. Treat this stuff like the chemical it is. I always keep a dedicated workspace near a window, and I won’t touch a pour without a respirator and nitrile gloves. Beyond the basics, invest in a small butane torch or a heat gun; it’s the most effective way for preventing resin bubbles from ruining your hard work. Keep it simple, keep it safe, and don’t buy anything just because it looks pretty on a shelf.
Mastering the Mixing Ratio for Epoxy Resin Without the Stress
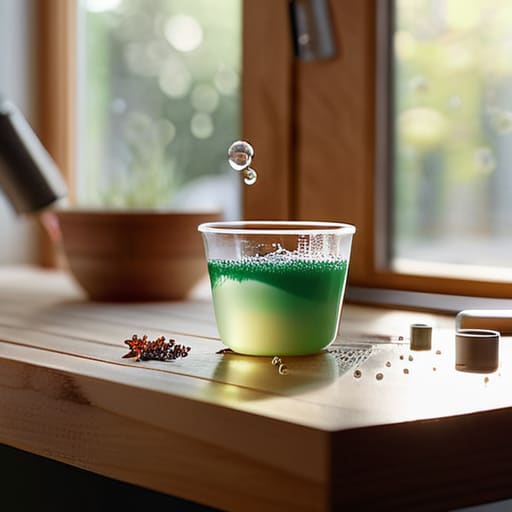
Look, if there’s one thing I’ve learned from systems engineering, it’s that a process is only as good as its input. In resin work, your input is your ratio. Most people treat the mixing ratio for epoxy resin like a suggestion, but that’s a fast track to a sticky, half-cured mess that ruins your project and wastes your money. Don’t eyeball it. Whether your resin is a 1:1 or a 2:1 ratio by volume, you need to be precise. I always tell people to grab a digital scale or use graduated mixing cups. If you’re off by even a few milliliters, you aren’t just making a mistake; you’re sabotaging the chemical reaction.
Once you’ve got the math right, focus on the technique. Stir slowly and steadily. If you whip it like you’re making a cocktail, you’ll end up preventing resin bubbles from ever leaving the mix, leaving you with a cloudy, ruined piece. I prefer a slow, sweeping motion to ensure the hardener and resin are fully integrated. Think of it like blending oil and water—you have to work at it to get them to play nice. If you stay disciplined here, the rest of the process actually becomes surprisingly predictable.
Five Hard-Learned Lessons to Save Your Sanity (and Your Workspace)
- Stop trying to save money on cheap resin. I’ve seen too many beginners buy the bargain-bin stuff only to end up with a sticky, half-cured mess that ruins their entire project. Buy quality, follow the instructions, and you won’t spend your weekend scrubbing goo off your workbench.
- Ventilation isn’t optional; it’s a requirement. I don’t care if the bottle says “low odor”—those fumes are no joke. Open a window, crack a door, or get a small fan running. Your lungs will thank you long after the project is finished.
- Treat your workspace like a clean room. Even a tiny speck of dust or a stray hair becomes a permanent part of your art once that resin sets. Keep your area wiped down and, if you can, cover your work with a simple plastic lid while it cures to keep the debris away.
- Don’t rush the cure time. I get it, you want to see the finished product, but pulling your mold out too early is a recipe for warping and fingerprints. Set a timer on your phone, walk away, and let the chemistry do its job without interference.
- Wear gloves, every single time. Resin is a sensitizer, meaning you can develop an allergy to it if you keep getting it on your skin. It’s a small, annoying step that prevents a much bigger, much more permanent problem.
The Bottom Line: Don't Overthink It
Stop chasing every fancy additive on the market; master the basic mix and a few reliable pigments before you spend a dime on the bells and whistles.
Precision beats speed every single time—if your mixing ratio is off by even a hair, you’re just making a sticky, expensive mess that won’t cure.
Respect the environment you’re working in; a clean, dust-free workspace is just as important as the resin itself if you want a professional finish.
Stop Planning and Start Pouring
Look, if you’ve followed along this far, you already have the fundamentals down. You know you can’t skimp on the quality of your supplies, you understand that a precise mixing ratio is the difference between a crystal-clear finish and a sticky, ruined mess, and you’ve got your workspace prepped. There’s no need to go out and buy every single pigment, mold, and glitter shaker on the market before you even make your first pour. The goal isn’t to build a professional studio overnight; it’s to master the basics so you can actually produce something tangible. Stick to the process, respect the cure times, and don’t let a little bit of bubble trouble derail your momentum.
At the end of the day, resin is just a medium, much like the old analog circuits I tinker with in my spare time. Sometimes the timing is off, or a connection fails, but you don’t throw the whole machine away—you just recalibrate and try again. Don’t get paralyzed by the fear of wasting a batch of epoxy or making a “beginner mistake.” Those mistakes are just the unintentional lessons that eventually turn you into someone who knows what they’re doing. Put the phone down, clear your workbench, and go make something real. I’ll see you in the next one.
