
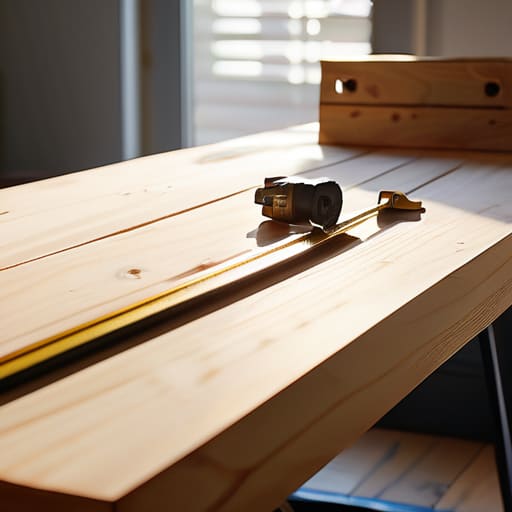
I was staring at a pile of particle board and a set of instructions that looked more like a geometry exam than a weekend project, wondering why I’d ever thought buying a “flat-pack” was a good idea. Most people think that learning how to build a desk requires a workshop full of expensive, high-end power tools and a degree in carpentry, but that’s just a lie designed to sell you more gear. The truth is, most of those big-box furniture pieces are built to fail, wobbling the second you lean on them to reach for your coffee. You don’t need a masterclass; you just need a solid plan and the right basic tools to do it right the first time.
In this guide, I’m stripping away the fluff and the over-engineered nonsense. I’ll show you how to select materials that actually last and how to assemble a workspace that bridges the gap between your digital grind and a stable, physical foundation. We aren’t chasing perfection or Pinterest-worthy aesthetics here; we are focusing on functional durability. By the time we’re done, you’ll have a workspace that won’t shake when you’re typing and a method that actually works without wasting your entire Saturday.
Table of Contents
Guide Overview
Tools & Supplies
- Drill/Driver for fastening screws
- Measuring tape for precise cuts
- Sandpaper for smoothing edges
- Level to ensure a flat surface
- Wood desktop (1 piece)
- Wooden legs or trestles (4 pieces)
- Wood screws (1 box)
- Wood glue (1 bottle)
Step-by-Step Instructions
- 1. First, quit staring at Pinterest and pick your materials. You don’t need exotic hardwoods that cost a month’s rent; a solid butcher block from a hardware store or even a thick piece of sanded plywood will do the job just fine. I always tell people to measure twice and buy once, because nothing kills the momentum of a project like realizing your tabletop is two inches too short for your space.
- 2. Next, get your workspace organized and prep the surface. If you went with a butcher block, it’s likely smooth, but if you’re using plywood, you’re going to spend some quality time with a random orbital sander. Start with a coarse grit to get the imperfections out, then move to a finer grit until the wood feels smooth as glass under your hand. Don’t skip this part—your forearms will thank you later when you’re actually working at the desk.
- 3. Now, let’s talk about the legs. You can spend hours welding custom steel frames if you’re feeling ambitious, but for a functional, no-nonsense build, I recommend buying heavy-duty steel legs online or from a local metal shop. They screw right into the underside, which eliminates the need for complex joinery. Just make sure the legs are rated for the weight of your tabletop and your gear; stability is everything when you’re leaning into a heavy typing session.
- 4. Before you drive a single screw, lay everything out on the floor. Flip your tabletop upside down and position your legs where you want them. I like to leave a bit of a buffer from the edges so the legs don’t look crowded, but you need to ensure they are perfectly aligned. Grab my notebook and sketch the placement if you have to, but don’t just wing it—symmetry matters more than you think.
- 5. Time to actually assemble. Use a drill to pre-drill your pilot holes; if you try to drive screws directly into the wood without a pilot hole, you’re asking for a split. I use a simple bit that’s slightly smaller than the screw itself. Once the holes are set, drive your screws in firmly but don’t over-torque them—you don’t want to strip the wood or the screw head halfway through.
- 6. Finally, give the whole thing a protective finish. I’m a big fan of hardwax oils because they’re easy to apply with a rag and they don’t leave that plastic-y feel that polyurethane does. It keeps the wood looking natural and makes it much easier to spot-repair scratches down the road. Once it’s dry, flip it over, clear off the sawdust, and you’ve got a real piece of furniture that actually works.
Choosing the Best Wood for Office Desks Without Overspending
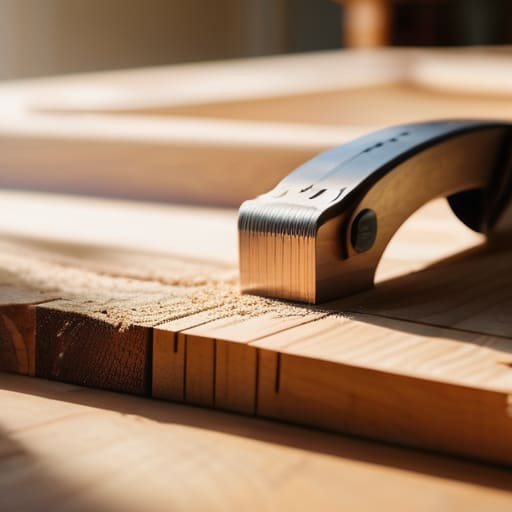
Look, you don’t need a slab of rare mahogany to make a workspace that feels professional. I’ve spent enough time in workshops to know that people often overspend on materials they don’t actually need. If you’re building a workspace on a budget, your best friends are pine or birch plywood. They’re forgiving, easy to sand, and won’t break the bank. If you want something that feels a bit more substantial without the boutique price tag, look for construction-grade Douglas fir. It’s sturdy, has a great grain, and holds up well to the daily grind of a heavy monitor setup.
The real trick is knowing where to compromise. You can spend a fortune on exotic hardwoods, but if you’re going for a minimalist desk design ideas approach, a clean, well-finished piece of butcher block or even a high-quality plywood with a nice edge bander will look better than a poorly executed piece of walnut. Don’t get distracted by the flashy stuff at the specialty lumber yard. Focus on stability and surface flatness instead. If the wood is warped or uneven, no amount of expensive stain is going to save your setup.
Minimalist Desk Design Ideas That Actually Serve Your Work
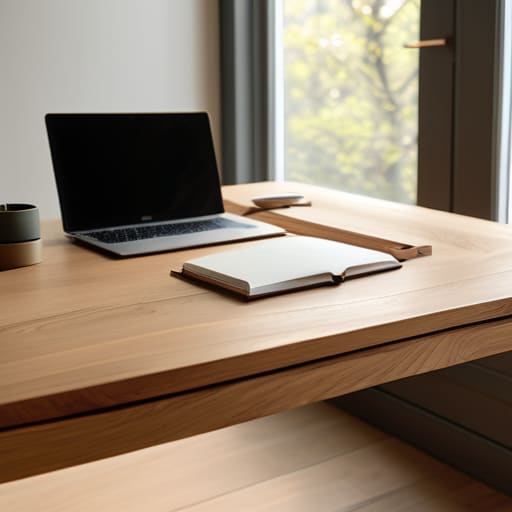
When you’re sitting at a desk for eight hours a day, every unnecessary inch of surface area is just another thing to clutter up. I’ve seen too many people try to build these massive, sprawling workstations that look great in a catalog but end up becoming graveyard for coffee mugs and loose cables. My philosophy is simpler: focus on minimalist desk design ideas that prioritize your reach and your line of sight. If you don’t touch it every day, it doesn’t belong on the desktop. Keep the footprint tight to the space you actually occupy, and you’ll find your focus follows suit.
Don’t get caught up in the aesthetics of “over-designing.” You don’t need intricate carvings or complex joinery to have a professional setup. Instead, spend your energy on a custom desk dimensions guide tailored to your specific gear—measure your monitor arms, your keyboard, and even your chair’s armrests before you even touch a saw. A desk that fits your body and your tech perfectly is infinitely more valuable than one that just looks pretty in a photo. Build for utility, and the style will take care of itself.
Five Hard Truths to Keep Your Desk from Becoming a Headache
- Don’t over-engineer the legs. You don’t need custom-milled steel if a solid set of heavy-duty steel legs from a hardware store does the job. Save your energy for the tabletop where it actually matters.
- Measure twice, cut once, then measure a third time. I’ve seen too many guys rush the dimensions only to realize their monitor setup won’t even fit. Check your clearance before you ever touch a saw.
- Prioritize cable management from day one. If you don’t drill a few holes or mount a tray under the surface now, you’ll end up with a “spaghetti monster” of wires that’ll drive you crazy in a month.
- Sanding is where the real work happens. You can buy the most expensive walnut in the world, but if you don’t sand it smooth through the grits, it’s going to feel like garbage every time you rest your arms on it.
- Keep the depth practical. A desk that’s too shallow is a recipe for eye strain and cramped wrists. Aim for at least 30 inches of depth so you actually have room for your keyboard, mouse, and a cup of coffee without feeling like you’re in a cockpit.
The Bottom Line
Don’t get paralyzed by choice; pick a solid, affordable wood like pine or birch and focus on a sturdy build rather than a fancy finish.
Build for your actual workflow, not an Instagram aesthetic—if you don’t need a cable management tray or a built-in drawer, don’t waste the time or money building one.
Prioritize stability over everything else; a desk that wobbles while you’re typing is just a piece of expensive firewood that’ll drive you crazy.
Get to Work and Stop Overthinking It
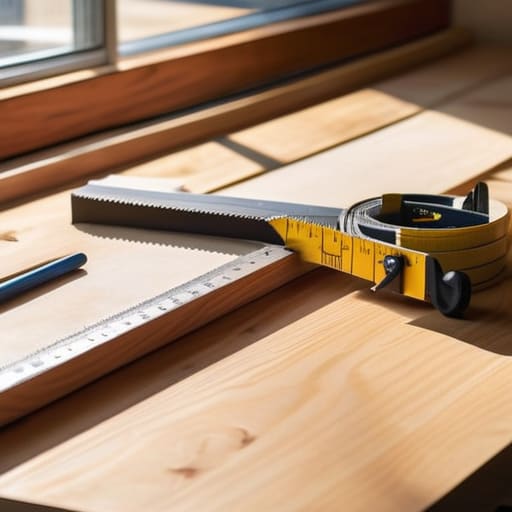
At the end of the day, building your own desk isn’t about achieving some Pinterest-perfect aesthetic or mastering complex joinery. It’s about making a smart, calculated decision: picking a wood that won’t break the bank, keeping your design focused on function over fluff, and assembling something that actually supports your workflow. You don’t need a workshop full of specialized machinery to get this right; you just need a solid plan, the right basic tools, and the discipline to avoid unnecessary complications. If you stick to the principles of stability and simplicity, you’ll end up with a piece of furniture that serves you for years instead of a pile of expensive scrap wood.
Once that last screw is tightened and the dust has settled, take a second to look at what you’ve actually done. You’ve bridged the gap between a digital idea and a physical reality, and that’s something a store-bought slab of particle board can never offer. Don’t let the fear of a slightly crooked edge or a missed measurement stop you from starting. Perfection is the enemy of progress, and in my experience, the most useful tools are the ones you actually use to solve problems. Now, clear off the sawdust, set up your gear, and start doing the work that matters.
