
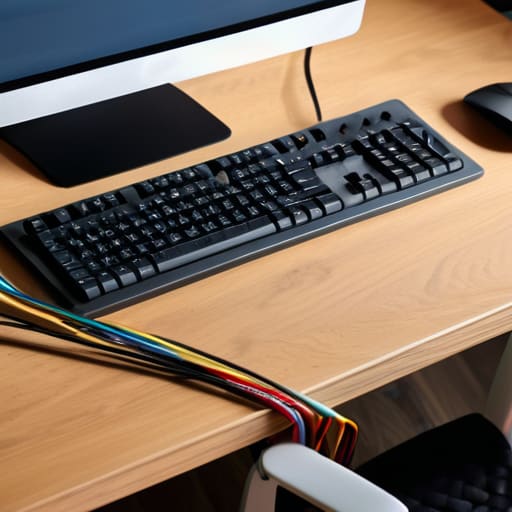
I was elbow-deep in the guts of a 1970s Moog synthesizer last Tuesday when I realized my own workstation looked like a bird’s nest of copper and plastic. I’d spent forty bucks on those expensive, rigid plastic channels you see in every “aesthetic” setup video, only to realize they were a total nightmare to actually install. Most people think cable management diy requires a massive budget and a degree in interior design, but that’s a lie. In reality, the more complicated the “solution” looks, the more likely it is to fail the moment you need to plug in a new piece of gear.
I’m not here to sell you on some overpriced, proprietary cable tray that takes three hours to mount. Instead, I’m going to show you how to use simple, low-cost tools—think Velcro ties, basic zip ties, and a few clever routing tricks—to get your workspace under control. We’re going to focus on systems that are actually functional and easy to maintain, so when you need to swap out a monitor or a hard drive, you aren’t fighting a war against a tangled mess of wires. Let’s get to work.
Table of Contents
Guide Overview
Tools & Supplies
- Scissors or wire cutters for trimming ties
- Label maker or masking tape for identifying cables
- Velcro cable ties (1 pack)
- Cable management sleeves or raceways (1-2 units)
- Adhesive cable clips (1 pack)
- Power strip/Surge protector (1 unit)
Step-by-Step Instructions
- 1. First things first, you need to unplug everything. I know, it sounds like a massive headache, but you can’t organize a mess while you’re still trying to use it. Pull every single cord out of the wall and the back of your desk. Once everything is disconnected, take a moment to look at the pile of spaghetti you’ve been living with. It’s easier to build a system from scratch than it is to try and untangle a knot while you’re staring at a blank monitor.
- 2. Grab a handful of masking tape and a permanent marker. Before you plug a single thing back in, go down your list of devices and label both ends of every cable. Use the tape to wrap a little flag around the cord near the plug and another near the device itself. There is nothing more frustrating than being under a desk in the dark, trying to guess which black cord belongs to your printer and which one is your lamp. Labeling is the foundation of a system that actually lasts.
- 3. Now, let’s talk about the power situation. If your desk is floating, you’re going to have a nightmare of a time. Get a heavy-duty power strip and, instead of letting it sit on the floor collecting dust and cat hair, mount it to the underside of your desk. You can use industrial-strength mounting tape or even just a few simple screws if you don’t mind the holes. Getting that power source off the floor is the single biggest way to reduce visual clutter immediately.
- 4. Once the power is secured, start plugging your devices back in, but don’t just toss the excess cord into a heap. This is where most people fail. You need to bundle the slack. I’m not talking about those expensive, plastic-molded cable sleeves that cost a fortune; just grab some Velcro ties. Unlike zip ties, Velcro actually lets you make changes later without having to go find a pair of snips. Group your cables by how they travel—keep the monitor cables together and the peripheral cables in their own dedicated lane.
- 5. For the cables that have to travel from your desk to the wall, don’t let them hang like limp noodles. Use some simple cable clips or even just a bit of adhesive routing to guide them along the desk legs. If you can tuck the wires behind a leg or inside a slim channel, you’ve won half the battle. The goal is to make the connection between your tech and the outlet look intentional, not accidental.
- 6. Finally, do a quick “stress test” of your new setup. Sit in your chair, move your mouse, and adjust your monitor. If you see a cable tugging or a bundle shifting out of place, it means your system isn’t robust enough. Tighten up those Velcro wraps and make sure there’s enough “service loop”—that’s just a bit of extra slack—so that when you move your gear, you aren’t putting tension on the ports. A system that’s too tight is a system that’s bound to fail.
Smart Under Desk Cable Management Solutions That Stick
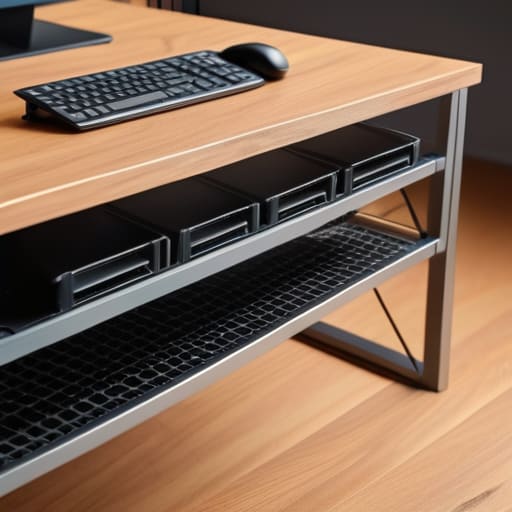
Look, I’ve seen too many people spend a fortune on proprietary “smart” desk kits that fall apart the moment you move your chair. If you want real results, you need to focus on hiding power strips and adapters where they can’t collect dust or trip you up. I usually grab a heavy-duty mesh tray or even a simple wire basket and screw it directly to the underside of the desk frame. This creates a dedicated “dead zone” for all that bulky hardware. Once the power strip is tucked away, the rest of the job becomes a lot less intimidating.
When it comes to the actual lines running between your devices, stop relying on those cheap plastic clips that lose their stickiness in a month. Instead, I swear by using some decent quality Velcro straps. They are far superior to managing tangled wires with zip ties because you can actually adjust things when you inevitably add a new piece of gear. If you’re working on specialized cable routing for gaming setups, keep your high-bandwidth lines separate from your power cables to avoid interference. It’s not about being perfect; it’s about building a system that stays organized even when you’re in a rush.
Effective Cord Concealment Techniques Without the Fluff
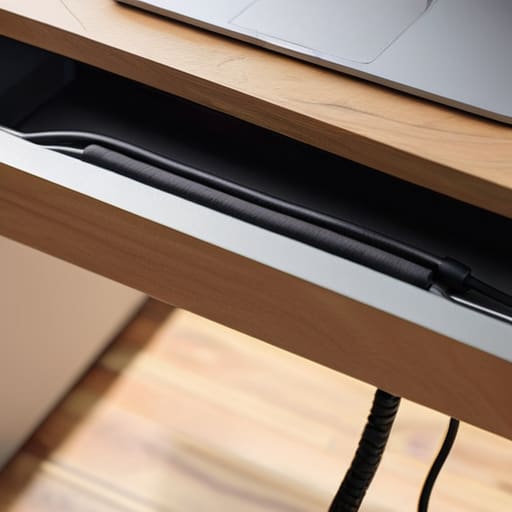
Look, if you want your workspace to actually look clean, you can’t just hide the mess behind a monitor and call it a day. You need real cord concealment techniques that don’t involve buying a $200 designer desk. I’ve found that the most effective way to deal with the visual noise is to focus on the “clutter magnets”—those bulky power strips and oversized wall adapters. Instead of letting them dangle like tech-heavy vines, mount them directly to the underside of your desk or tuck them into a simple J-channel. If you’re working on a more complex rig, like cable routing for gaming setups, the goal isn’t just to hide the wires, but to create a logical path that prevents them from sagging or pulling on your ports.
Don’t get caught up in the “aesthetic” trap of buying specialized, expensive organizers. Most of the time, a simple piece of mounting tape or a few well-placed clips will do more heavy lifting than any high-end gadget. If you find yourself staring at a bird’s nest of black cords, stop trying to untangle them one by one. Group them together using reusable Velcro straps—not those cheap plastic zip ties that you have to cut off every time you want to move a monitor—and run them along the legs of your desk. It’s about building a system that’s easy to maintain, not a temporary fix that you’ll have to redo next month.
Five Practical Rules to Keep the Chaos Under Control
- Stop buying those expensive, proprietary plastic channels; just grab a bulk roll of Velcro ties. They’re reusable, they don’t bite into your cables, and they actually let you add or swap gear without a screwdriver and a prayer.
- Label both ends of every cord. I don’t care if it seems overkill—when you’re reaching behind a dark desk to troubleshoot a flickering monitor, you don’t want to be playing a guessing game with a tangled nest of black wires.
- Group your cables by function, not just by length. Keep your power strips and heavy-duty AC cords in one “lane” and your sensitive data cables like HDMI or USB in another to minimize interference and make the whole system easier to map out.
- Use adhesive cable clips sparingly. If you’re going to stick something to your desk or wall, make sure it’s actually rated for the weight. There’s nothing more frustrating than a “solution” that ends up peeling your paint off or dropping a heavy power brick on your foot.
- Leave some slack. I see people pulling cables tight like they’re tuning a guitar string, but the moment you move your monitor or slide your chair, something’s going to snap or pull out of a port. Build in a little loop so the system can breathe.
The Bottom Line on a Clean Setup
Don’t go overboard with expensive, proprietary organizers; a few rolls of Velcro ties and some basic mounting hardware will solve 90% of your clutter problems.
Focus on accessibility, not just aesthetics—if you can’t reach a plug when you need it without tearing the whole system apart, you’ve built a bad system.
Keep it simple and maintain it; a clean desk isn’t a one-time project, it’s about setting up a workflow that’s easy enough to keep tidy every single week.
The Bottom Line
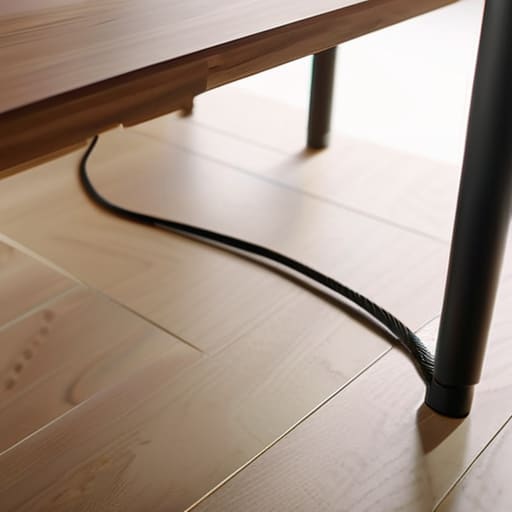
At the end of the day, cable management isn’t about achieving some sterile, Pinterest-perfect aesthetic that you can’t maintain. It’s about creating a workspace that doesn’t actively fight you every time you need to swap out a monitor or move a lamp. We’ve covered everything from using basic Velcro ties to keep things modular, to tucking the heavy lifting into under-desk trays and using simple concealment tricks to hide the mess. The goal was never to spend a fortune on proprietary plastic channels; it was to use functional, low-maintenance tools that solve the problem without adding a new layer of complexity to your life. If you can look down and see floor space instead of a “spaghetti monster” of wires, you’ve already won the battle.
Don’t let the sheer volume of cords intimidate you into doing nothing. Most people overthink this because they treat it like a massive engineering project, but it’s really just a series of small, logical steps. Start with one corner, grab a roll of ties, and just get moving. Once you clear that initial visual clutter, you’ll find that your focus improves and your stress levels drop. A clean desk isn’t a luxury; it’s a foundational part of a better system. Stop letting the wires dictate how you work and take control of your environment, one connection at a time.
