
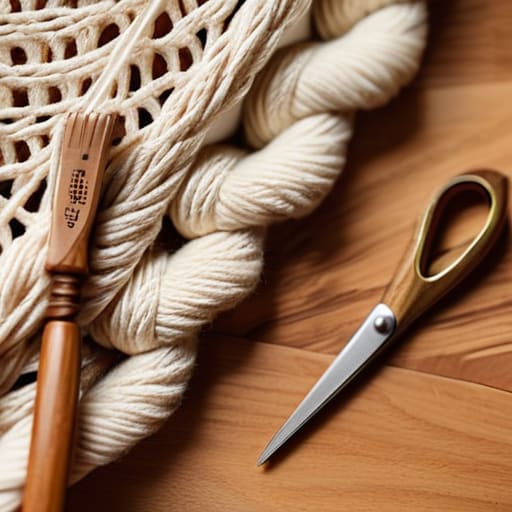
I was sitting at my workbench last Tuesday, surrounded by disassembled circuit boards and half-repaired analog synths, when I realized my hands were shaking from too much caffeine and not enough actual tactile work. I decided to clear some space, grabbed a spool of jute cord, and tried my hand at some macrame for beginners just to reset my brain. Most people think you need a studio full of expensive wooden dowels and a mountain of curated aesthetic supplies to get started, but that’s total nonsense. In reality, if you can tie a basic knot, you already have the foundation for something functional.
I’m not here to sell you on a lifestyle or show you how to make a thousand tiny, useless trinkets that just collect dust. This guide is about the mechanics of the craft. I’m going to strip away the fluff and show you the three essential knots that actually matter, how to select cord that won’t fray the second you touch it, and how to build something useful for your home. We’re going to focus on the logic of the patterns so you can stop following instructions like a robot and start understanding how the tension works.
Table of Contents
Guide Overview
Tools & Supplies
- Scissors for cutting cord
- Measuring tape for length accuracy
- S-hooks or wooden dowel for hanging
- Macrame cord (cotton, 3mm-5mm) 1-2 rolls
- Wooden dowel or ring 1 piece
Step-by-Step Instructions
- 1. First things first, stop browsing for “professional kits” that come with a hundred useless accessories. You only need three things to get moving: a decent length of 3mm or 4mm cotton cord, a sturdy piece of driftwood or a metal ring, and a pair of sharp scissors. I’ve learned the hard way that cheap, fraying twine is a waste of your time and will just leave you frustrated before you even tie your first knot.
- 2. Once you have your gear, find a way to hang your base. You can use a command hook or even just tape your dowel to a table edge so it stays steady. Cut your cord into manageable lengths—I usually start with pieces about four to five times the length of the finished project you’re aiming for. This gives you enough slack to work without constantly fighting the tension.
- 3. Now, let’s get into the “Lark’s Head Knot,” which is basically just the way you attach your cords to your base. Fold your cord in half to create a loop, place that loop over your dowel, and pull the two loose ends through the loop. It’s a simple mechanical connection, but if you don’t pull it tight, the whole structure will be wonky from the start.
- 4. The bread and butter of macrame is the Square Knot. Take four strands of cord: two in the middle (the “core”) and two on the outside. Take the left cord, cross it over the core strands to form a shape like a “4,” then take the right cord, pass it over the left tail, under the core, and up through the loop on the left. Do the same thing starting from the right side to “lock” it. It’s a repetitive, rhythmic process that once you master, you can do without even looking.
- 5. If you want to add some texture and break up the pattern, try the Half Hitch knot. This is how you create those diagonal lines or borders you see in the professional stuff. You hold one cord tight as an anchor and wrap the other cord around both the anchor and the working cord multiple times. It’s all about consistent tension; if you pull too hard on one and go loose on the next, your lines will look like a jagged mountain range instead of a clean edge.
- 6. As you work your way down, don’t get obsessed with perfection. In my line of work, we call this “tolerance”—things aren’t going to be mathematically perfect, and that’s fine. If a knot looks a little off, just adjust the tension slightly on the next one to compensate. The goal is a functional, cohesive piece, not a museum exhibit.
- 7. Finally, once you’ve reached the bottom of your design, it’s time to trim. Don’t just hack at the ends with whatever is in your junk drawer. Lay the piece flat, use a ruler to mark a straight line, and make one clean, decisive cut with sharp shears. If you want a fringed look, you can brush out the ends with a fine-tooth comb, but keep it simple. A clean finish is what separates a project that looks like trash from one you’re actually proud to hang on the wall.
The Essential Macrame Tools List You Actually Need
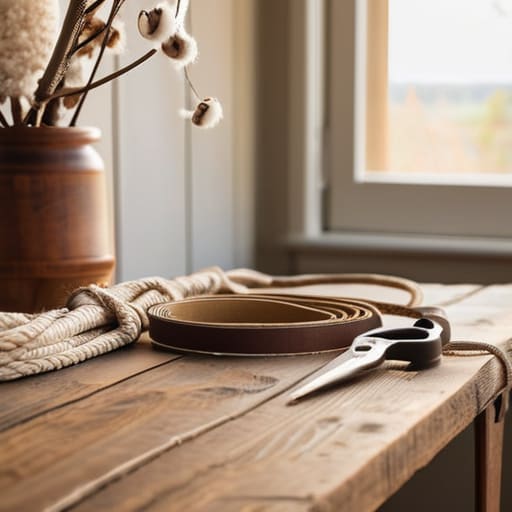
Look, you don’t need a specialized studio or a massive kit to get started. Most of the “starter kits” you see online are just overpriced junk designed to drain your wallet. If you want to keep things functional, start with the basics: a sturdy pair of sharp shears, some masking tape to secure your work to a table, and a wooden dowel or even a fallen branch from your backyard to act as your base. I’ve always believed in using what’s at hand rather than buying into the hype.
The real heavy lifting comes down to your materials. When you’re looking at macrame cord types for beginners, don’t get bogged down in the endless options. Stick to a single-strand or 3-ply cotton cord; it’s forgiving, easy to knot, and doesn’t fray like cheap synthetic stuff. If you’re unsure about sizing, a quick cotton cord weight guide will tell you that a 3mm or 4mm cord is the sweet spot for most projects. It’s thick enough to feel substantial but thin enough to manage without hand cramps. Keep it simple, keep it tactile, and just start tying.
Picking Your First Cotton Cord Weight Guide Without the Fluff
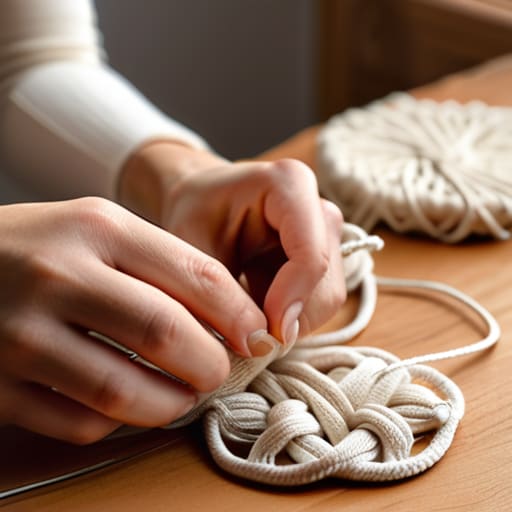
Look, I’ve seen too many people walk into a craft store, get overwhelmed by a wall of string, and walk out empty-handed because they couldn’t decide between a 3mm or a 5mm cord. Here’s the reality: if you pick something too thin, you’ll spend three hours fighting tension just to finish a tiny coaster. If you go too thick, your knots will look like bloated sausages and lose all definition. For your first few attempts at basic macrame knot patterns, I suggest sticking to a 3mm or 4mm single-strand cotton cord. It’s the “Goldilocks” zone—thick enough to handle easily, but fine enough to show off the detail in your work.
Don’t get distracted by fancy synthetic blends or high-end hemp right out of the gate. You want something forgiving. A soft, twisted cotton is much more reliable when you’re still figuring out your hand strength. Think of it like choosing the right gauge of wire for a circuit; you want the most stable foundation possible so you can focus on the mechanics of the knot rather than fighting your materials. This cotton cord weight guide is simple: start mid-range, keep it natural, and stop overthinking it.
Five ways to avoid making a massive mess of your first project
- Don’t go overboard with the patterns. Pick one simple knot—like the square knot—and master it before you even look at a complex diagram. If you try to learn ten different techniques at once, you’ll just end up with a tangled heap of string and a headache.
- Secure your workspace properly. I’ve seen too many people trying to knot cord while it’s just draped over a chair. Get a heavy-duty dowel or a dedicated stand. If your work isn’t stable, your tension will be all over the place, and your final piece will look lopsided.
- Stop obsessing over perfection. Your first few knots are going to look uneven, and that’s fine. It’s a tactile skill, not a digital render. The goal is to get the rhythm down; the finesse comes with repetition, not by staring at a YouTube video for three hours.
- Watch your tension like a hawk. This is where most beginners trip up. If you pull one knot tight and the next one loose, the whole project loses its structural integrity. Try to find a consistent “feel” in your hands and stick to it.
- Keep your workspace clean of scraps. It sounds basic, but cotton cord bits get everywhere. If you’re working on a desk, keep a small bin nearby for the offcuts. It keeps your mind clear and prevents you from accidentally knotting a piece of trash into your actual project.
The Bottom Line
Don’t get paralyzed by choice; grab a decent cotton cord and learn three basic knots, then start building.
Avoid the “gear trap”—you don’t need a studio full of specialized tools, just the essentials that actually let you work.
Focus on the physical rhythm of the craft rather than perfection; the goal is to make something real, not to follow a tutorial to the letter.
Stop Planning and Start Tying
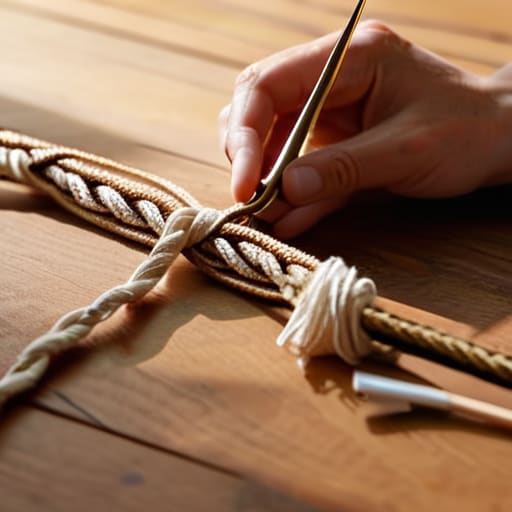
Look, we’ve covered the ground. You know which cord to grab, you’ve got your basic tools laid out, and you understand the fundamental knots that actually matter. There is no point in spending another week researching the “perfect” setup or scrolling through endless Pinterest boards of things you aren’t actually making. The goal here wasn’t to turn you into a professional fiber artist overnight; it was to get you past the barrier of entry. All you really need is a piece of cord, a dowel, and the willingness to make a few mistakes while you find your rhythm. Once you stop overthinking the geometry and just start working the tension, the system starts to make sense.
At the end of the day, macrame is just another way to bridge the gap between a digital idea and something you can actually hold in your hands. In a world where everything is increasingly intangible and stuck behind a glass screen, there is something incredibly grounding about the tactile resistance of cotton cord. Don’t worry about making a masterpiece on your first try. Just focus on the process of building something from scratch. Once you finish that first hanging, you’ll realize that the most important tool isn’t in your kit—it’s the realization that you can actually create something real without needing a manual for every single move.
