
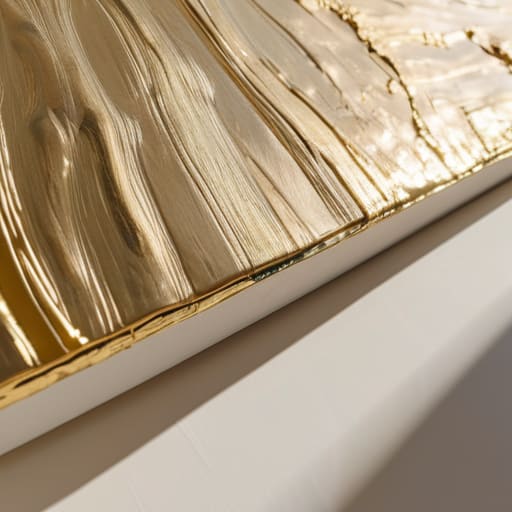
I was staring at a blank, eggshell-white wall in my home office last Tuesday, feeling that familiar itch of frustration. I’d spent forty minutes scrolling through Pinterest, drowning in “aesthetic” DIY tutorials that required three different types of specialized resin, a temperature-controlled studio, and more money than I cared to admit. It’s a ridiculous cycle: we spend more time researching the “perfect” way to decorate than actually doing the work. If you’re looking for a way to learn how to make wall art that involves buying a dozen expensive gadgets you’ll never use again, you’re in the wrong place. I’m not interested in overcomplicating a simple task; I just want something that looks actually intentional on the wall.
In this guide, I’m stripping away the fluff and the high-priced supplies. I’ll show you a few straightforward, systems-based approaches to creating pieces that bridge the gap between a bare room and a lived-in home. We’re going to focus on tangible, low-friction methods that use basic materials you probably already have in your garage or junk drawer. No hype, no wasted movement—just practical ways to get something decent up on your walls by the time the sun goes down.
Table of Contents
Guide Overview
Tools & Supplies
- Paintbrushes (various sizes for application)
- Painter's tape (for creating clean geometric lines)
- Sandpaper (to smooth surface before starting)
- Canvas or wooden panel (1 piece)
- Acrylic paint (set of 5-10 colors)
- Gesso or primer (1 small jar)
- Palette knife (1 piece for texture)
Step-by-Step Instructions
- 1. First, clear your workspace. I’m serious—don’t try to do this on a cluttered dining table where you’re tripping over mail and half-empty coffee mugs. Find a flat, stable surface, lay down some old newspapers or a drop cloth, and gather your tools. You want to minimize friction before you even start, otherwise, you’ll lose interest before the first piece of art is even finished.
- 2. Pick a medium that doesn’t require a degree in fine arts. If you’re staring at a blank canvas, you’re going to overthink it. Instead, grab some high-quality cardstock, old architectural blueprints, or even some reclaimed wood scraps from a hardware store. The goal is to choose a material that is forgiving and tactile, something that feels substantial in your hands rather than something digital and ephemeral.
- 3. Map out your layout using a pencil. I’ve spent enough time in systems engineering to know that a little bit of pre-planning saves a massive amount of troubleshooting later. Don’t just start slapping paint or glue around. Lightly sketch where your main elements will go so you can see the visual balance before you commit to anything permanent.
- 4. Execute your design with a focus on texture over complexity. If you’re going the minimalist route, maybe it’s just three strips of black electrical tape on a white board, or some textured plaster applied with a putty knife. Don’t get bogged down in tiny, intricate details that require a magnifying glass; focus on large-scale impact that catches the eye from across the room.
- 5. Secure your pieces properly. This is where most people fail—they make something beautiful but then hang it with cheap tape that falls off in a week. If you’re mounting something to a frame, use a reliable adhesive or a proper mounting strip. You want your work to stay exactly where you put it, because reliability is everything when it comes to home maintenance.
- 6. Step back and evaluate the result. Walk to the other side of the room and look at it from different angles. If it looks too busy, take something away. If it looks empty, add a bit of depth. The most important part of this process is learning when to stop tinkering and just call it finished.
Minimalist Wall Art Diy Using Simple Abstract Art Supplies for Beginners
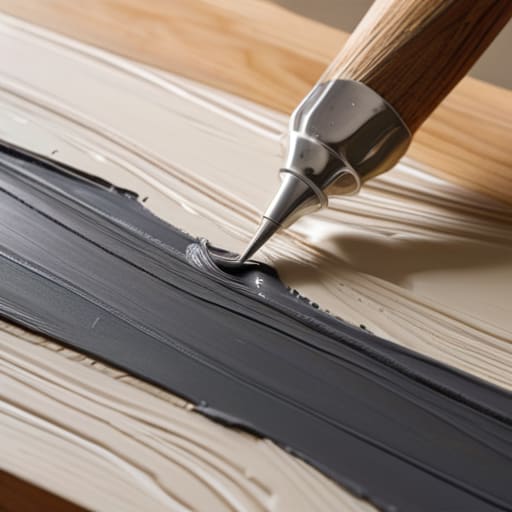
If you’re staring at a blank canvas and feeling paralyzed by the idea of “fine art,” stop. You don’t need a degree or a studio full of expensive oils to get something decent on your walls. For me, the best way to approach minimalist wall art diy is to treat it like a systems engineering problem: strip away the variables until you’re left with just the essentials. Grab a palette knife, some heavy-body acrylics, and a couple of neutral tones. Instead of trying to paint a landscape, focus on the physical sensation of moving the paint. This is one of those budget friendly home decor projects where the goal isn’t perfection, but rather intentionality and texture.
I’ve found that the most successful pieces usually come from using a limited color palette. If you use too many colors, it just looks like a mess. Stick to three shades—maybe a deep charcoal, a warm sand, and a crisp white. Use a sponge or even a piece of scrap cardboard to layer the paint. These simple textured wall art methods add depth that makes a piece look expensive without the high-end price tag. Just keep it simple; if it starts looking too busy, step back and simplify.
Textured Wall Art Methods and Easy Canvas Painting Techniques That Work
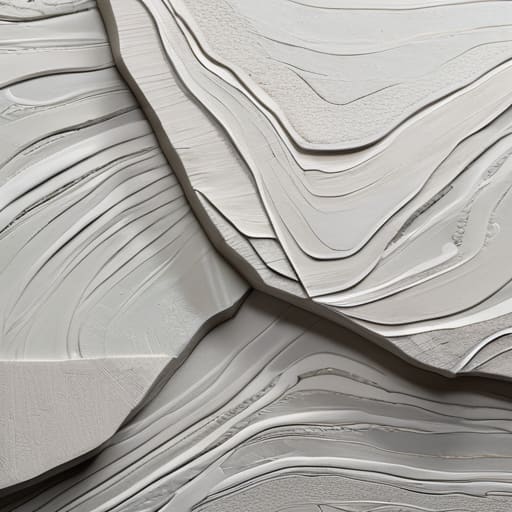
If you want to move past flat colors and actually give your space some depth, you need to look into textured wall art methods. I’ve spent enough time tinkering with old gear to know that tactile feedback matters, and the same applies to your walls. You don’t need a studio full of expensive mediums; grab some joint compound from the hardware store and a cheap putty knife. Smear it onto a canvas in uneven, sweeping motions before you even touch a paintbrush. It creates a rugged, organic look that makes even the simplest color palette feel intentional and high-end.
When it comes to the actual application, don’t overthink it. Some of the best easy canvas painting techniques involve letting the tools do the heavy lifting. Instead of trying to paint a perfect landscape, use a sponge or a crumpled rag to dab pigment over your dried texture. It’s one of those budget friendly home decor projects that delivers a massive impact without requiring a degree in fine arts. The goal isn’t perfection; it’s about creating something with enough character to hold its own in your living room.
Five Rules to Keep Your DIY Projects from Looking Like Junk
- Stop overthinking the composition. Most people get paralyzed trying to plan a masterpiece, but in reality, a few well-placed lines or a single splash of color often look better than a cluttered mess. Keep it simple so you actually finish it.
- Respect your scale. I’ve seen too many people spend a weekend on a tiny canvas only to hang it on a massive living room wall where it looks like a postage stamp. Measure your wall space before you even buy the supplies.
- Invest in the foundation, not the fluff. Don’t waste money on expensive, high-end paints if you’re using cheap, flimsy canvases that warp the second they get wet. A solid substrate is the difference between art that lasts and art that curls up in a corner.
- Embrace the tactile. Since we spend all day staring at flat glass screens, our brains crave texture. Don’t be afraid to mix in some sand, plaster, or even wood scraps to give the piece some actual physical presence.
- Curate your color palette early. Don’t just grab every tube of paint in the aisle. Pick three or four colors that actually talk to each other, and stick to them. It’s the easiest way to make something look intentional rather than accidental.
Cut the Noise and Get It Done
Stop looking for the “perfect” setup; the best art comes from using the tools you already have in your garage or junk drawer.
Focus on the physical texture and the scale of the piece rather than getting bogged down in fine details that no one will notice from across the room.
If a technique feels like it’s becoming a chore, scrap it—the goal is a finished product on your wall, not a new complicated hobby that drains your time.
Stop Overthinking and Start Hanging
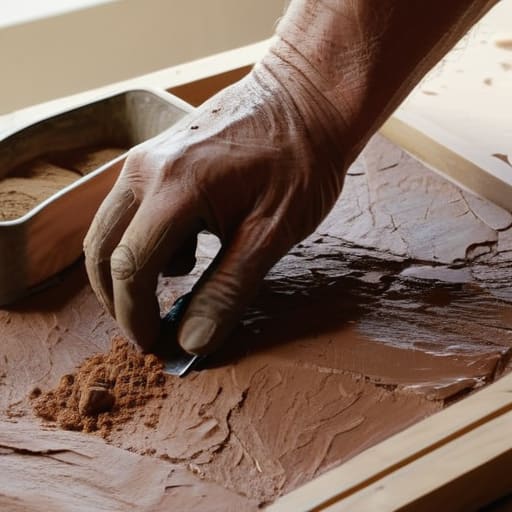
Look, we’ve covered a lot of ground, from stripping things back to minimalist abstract shapes to getting your hands dirty with heavy textures and canvas work. Whether you’re using a few high-quality pigments or just playing around with some joint compound to create depth, the goal remains the same: stop looking for the “perfect” technique and just start building something. You don’t need a studio full of expensive gear or a degree in fine arts to fix a blank, sterile wall. You just need a solid plan, a few basic tools, and the willingness to make a bit of a mess while you figure out the system.
At the end of the day, your home shouldn’t look like a showroom catalog; it should look like it belongs to a person who actually lives in it. The best piece of art in your house won’t be the one that cost a month’s rent, but the one that you actually put your own hands on. Don’t let the fear of a ruined canvas or a messy living room stop you from creating something tangible. Put the phone down, grab your supplies, and go make something that makes your space feel like yours.
