
I was sitting at my workbench last Tuesday, mid-way through recalibrating an old Moog synthesizer, when that damn, rhythmic hiss started coming from the hallway bathroom. It’s a sound that drives me crazy—it’s inefficient, it’s wasteful, and it’s a constant reminder of a system that’s failing. Most people think that hearing that sound means you need to call a plumber and drop a hundred bucks on a service fee, but that’s a total myth. Learning how to fix a running toilet isn’t some complex engineering feat; it’s usually just a matter of identifying which cheap, plastic part has lost its integrity and swapping it out.
I’m not going to give you a twenty-step manual filled with fluff or suggest you buy a specialized toolkit you’ll never use again. Instead, I’m going to show you how to strip the problem down to its basics. We’re going to look at the flapper, the fill valve, and the float, and I’ll show you exactly how to diagnose the culprit in under ten minutes. By the time we’re done, you’ll have a silent, efficient bathroom and a few extra dollars back in your pocket. Let’s get to work.
Table of Contents
Guide Overview
Tools & Supplies
- Adjustable wrench for tightening bolts
- Sponge or towel for absorbing excess water
- Replacement flapper (1 unit)
- Replacement fill valve (1 unit)
Step-by-Step Instructions
- 1. First things first, grab a pair of gloves and shut off the water supply. You’ll find a small valve on the wall right behind the toilet; turn it clockwise until it stops. Once that’s closed, flush the toilet and hold the handle down to drain as much water as possible from the tank. You don’t want to be working in a pool of water, and it makes everything a lot cleaner.
- 2. Pop the lid off the tank and set it somewhere safe—usually on a towel so you don’t crack it. Take a good look at what’s happening inside. Most of the time, the culprit is either the flapper (that rubber plug at the bottom) or the float (the part that tells the water when to stop). I like to sketch a quick diagram in my notebook if the setup looks weird, but usually, you’ll see the problem immediately.
- 3. Check the flapper first because it’s the most common failure point. If the rubber looks warped, slimy, or brittle, it’s not creating a watertight seal. Reach in and feel the chain connecting the handle to the flapper; if there’s too much slack, it won’t close properly, and if it’s too tight, it’ll pull the plug up prematurely. Adjust the clip on the chain so there’s just a tiny bit of play in the line.
- 4. If the flapper is fine, look at the water level. If the tank is constantly refilling and overflowing into the open tube in the middle (the overflow tube), your float is set too high. You need to adjust the float mechanism to stop the water earlier. Most modern fill valves have a plastic screw you can turn to lower the float level; just give it a few turns until the water sits about an inch below the top of that overflow tube.
- 5. If the flapper and the float aren’t the issue, you’re likely looking at a faulty fill valve. These are the tall assemblies that bring water into the tank. If they’re leaking or won’t shut off, don’t bother trying to patch them up with tape or glue—that’s just wasted effort. Just head to the hardware store, grab a universal replacement kit, and swap the whole unit out. It’s a ten-minute job that saves you a headache later.
- 6. Once you’ve made your repairs, turn the water valve back on slowly. Let the tank fill up completely and watch it closely for a few minutes. If you don’t hear that telltale hiss of water running or see the water level creeping up the overflow tube, you’ve successfully closed the loop. If it still leaks, you might have a cracked tank or a faulty flush valve assembly, but let’s not get ahead of ourselves—90% of the time, one of these steps will do the trick.
Toilet Tank Components Explained Knowing What Actually Matters
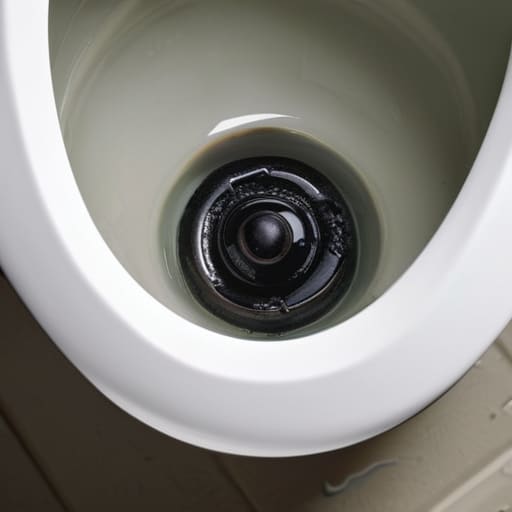
Look, you don’t need to be a plumber to get this, but you do need to know what you’re looking at once you lift that lid. Most people see a chaotic mess of plastic and metal, but I see a simple system. The most common culprit is usually the flapper—that rubber plug at the bottom. If it’s warped or covered in mineral buildup, it won’t seal, and you’re essentially flushing money down the drain. When you’re doing a toilet flapper replacement, don’t just grab the cheapest piece of rubber you find at the big-box store; get one that actually fits your specific model.
The other side of the equation is the fill valve. This is the tall tower that brings the water back in after a flush. If your water level in toilet tank is too high, it’ll constantly spill into the overflow tube, making it sound like the toilet is running even when it isn’t. A quick toilet fill valve adjustment using the screw on top can usually solve this in seconds. Once you understand how these parts interact, you’ll stop guessing and start fixing.
Flush Valve Troubleshooting Cutting Through the Constant Drip
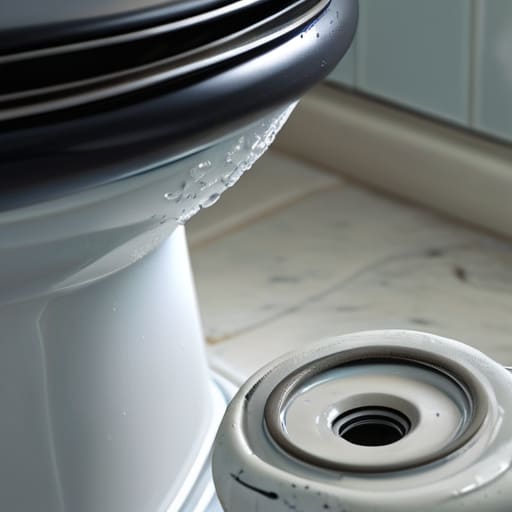
If you’ve already checked the water level in the toilet tank and everything looks normal, the culprit is almost certainly the flush valve. This is the part where most people lose the battle against a phantom leak. When I’m looking at a faulty setup, I don’t just look for a broken part; I look for improper seating. If that rubber flapper isn’t making a perfect, airtight seal against the flush valve seat, water is going to seep through. Even a tiny bit of mineral buildup or a slight misalignment from a stretched chain can turn a quiet bathroom into a constant source of wasted money.
When it comes to flush valve troubleshooting, don’t overthink it. If the rubber feels slimy, brittle, or warped, stop trying to “adjust” it and just move on to a toilet flapper replacement. It’s a five-dollar part that saves you a fifty-dollar plumbing call. While you have the tank empty, take a quick look at the rim of the valve itself. If it’s pitted or rough, even a brand-new flapper won’t stay sealed. Clean it off with a bit of non-abrasive sponge, and you’ll likely have a solid, silent seal once and for all.
Five Pro Tips to Keep Your Toilet Quiet and Your Water Bill Low
- Don’t just tighten things blindly. If you’re adjusting the float, do it in small increments. Over-tightening or cranking a plastic nut too hard is a quick way to crack a component and turn a minor leak into a flooded bathroom.
- Stop buying the most expensive kits at the big-box stores. Most of the time, you don’t need a “complete overhaul.” Identify the specific part—whether it’s the flapper or the fill valve—and replace just that. It saves money and keeps less junk in your tank.
- Keep a clean tank. If you see sediment or grit at the bottom, it’s likely what’s preventing your flapper from seating properly. Give it a quick wipe down; sometimes the “fix” is just a bit of manual cleaning.
- Check your water pressure. If your toilet is constantly cycling or the fill valve is struggling to shut off, you might have high pressure throughout the house. A running toilet is often just a symptom of a larger plumbing system issue.
- Use the “dye test” to save yourself the guesswork. Drop a few drops of food coloring into the tank and wait twenty minutes without flushing. If the color seeps into the bowl, you know for a fact your flapper is the culprit before you even pick up a wrench.
The Bottom Line: Stop the Drip and Save Your Money
Don’t go buying a whole new toilet just because it won’t stop running; 90% of the time, it’s a five-dollar rubber part or a simple adjustment that’ll solve the problem.
Always check your water level before you start tearing things apart—sometimes the “leak” is just a float arm set too high, and you can fix it without even getting your hands dirty.
When you’re replacing parts, skip the cheap, generic knock-offs at the big-box stores and get the ones that actually fit your specific model; it’ll save you from having to do this entire job a second time next month.
Getting Back to Quiet
At the end of the day, fixing a running toilet isn’t about mastering complex plumbing; it’s about identifying which specific part has failed and swapping it out. Whether it was a worn-out flapper that wouldn’t seal or a float valve that refused to shut off the water, you’ve now moved from being frustrated by a constant drip to actually understanding the system. Most of these issues boil down to a few inexpensive components that simply reached the end of their lifespan. Don’t let a small mechanical failure turn into a massive water bill. Once you’ve replaced the faulty part and verified the seal, you can finally stop the waste and get back to your day without that annoying, rhythmic sound echoing through the house.
There is a certain kind of satisfaction that comes from taking a broken piece of hardware and making it functional again with nothing more than a few basic tools and a bit of patience. We live in a world that constantly tells us to throw things away and buy something new the moment a glitch appears, but I’ve always believed that maintenance is a superpower. Taking ten minutes to fix a leak today saves you hundreds of dollars and a massive headache down the road. It’s about being proactive rather than reactive. Now that you’ve tackled this, go ahead and check the rest of your house—once you start looking at things through the lens of a system, you’ll realize how much easier life becomes when everything just works.
